
Best for: Large datasets, advanced reporting, multiple projects, and automation.
What You'll Need
-
Jira account
-
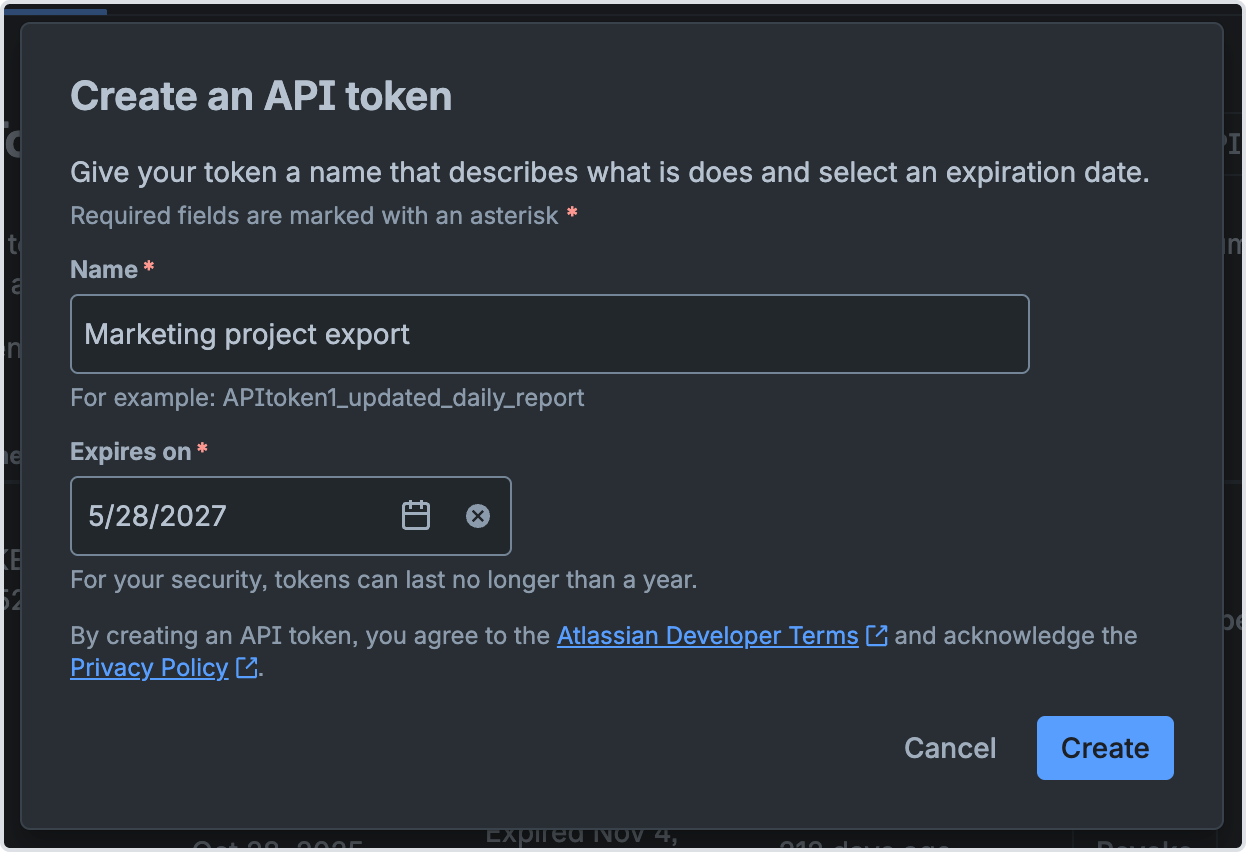
Jira API token
-
Google account
-
Python installed on your computer
Step 1. Create a Google Cloud Project
-
Open the Google Cloud Console.
-
Create a new project.
Give it a name such as:
jira-reporting
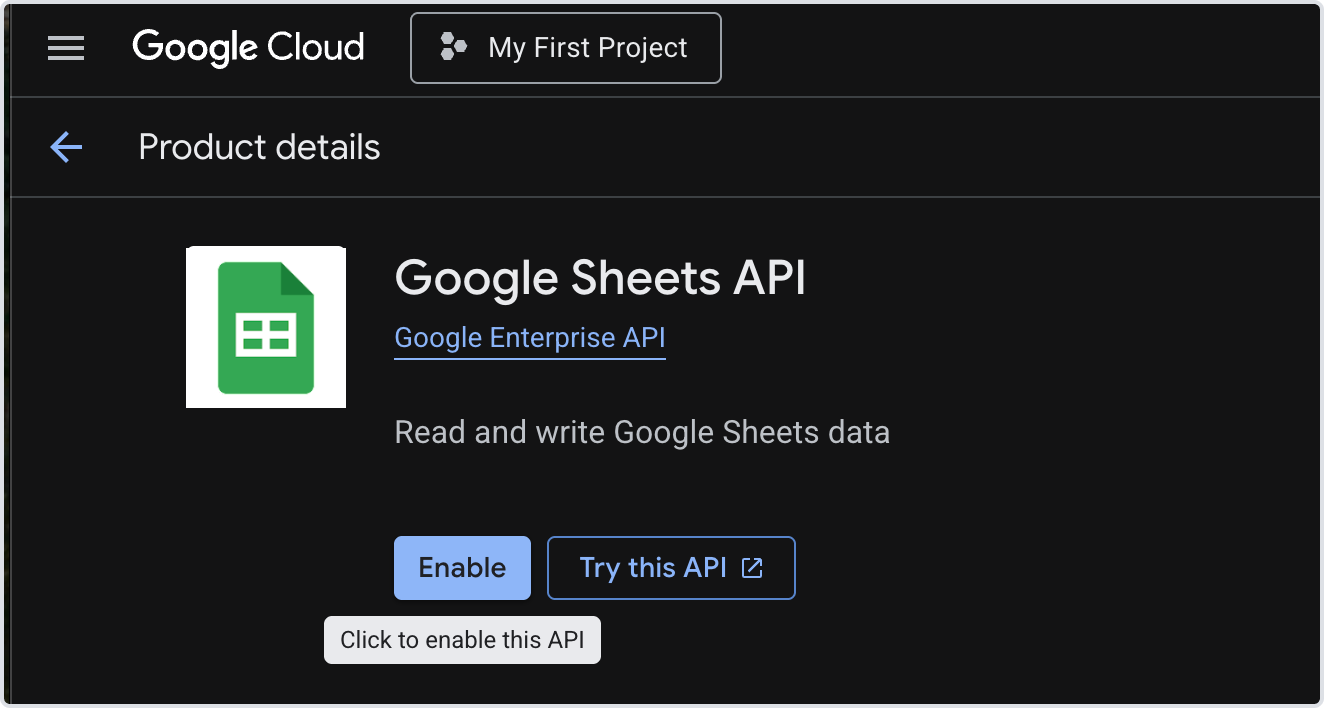
Step 2. Enable Required APIs
Open:
APIs & Services → Library
Enable:
-
Google Sheets API
-
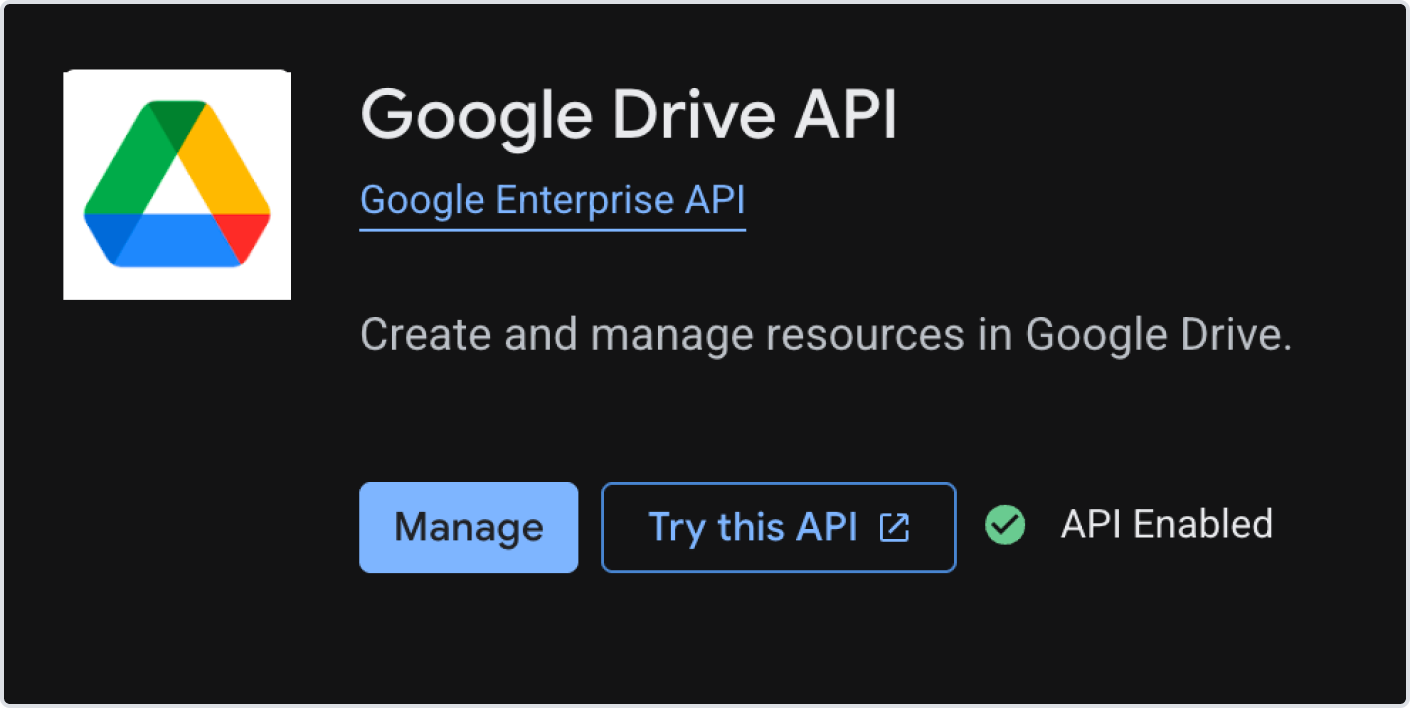
Google Drive API
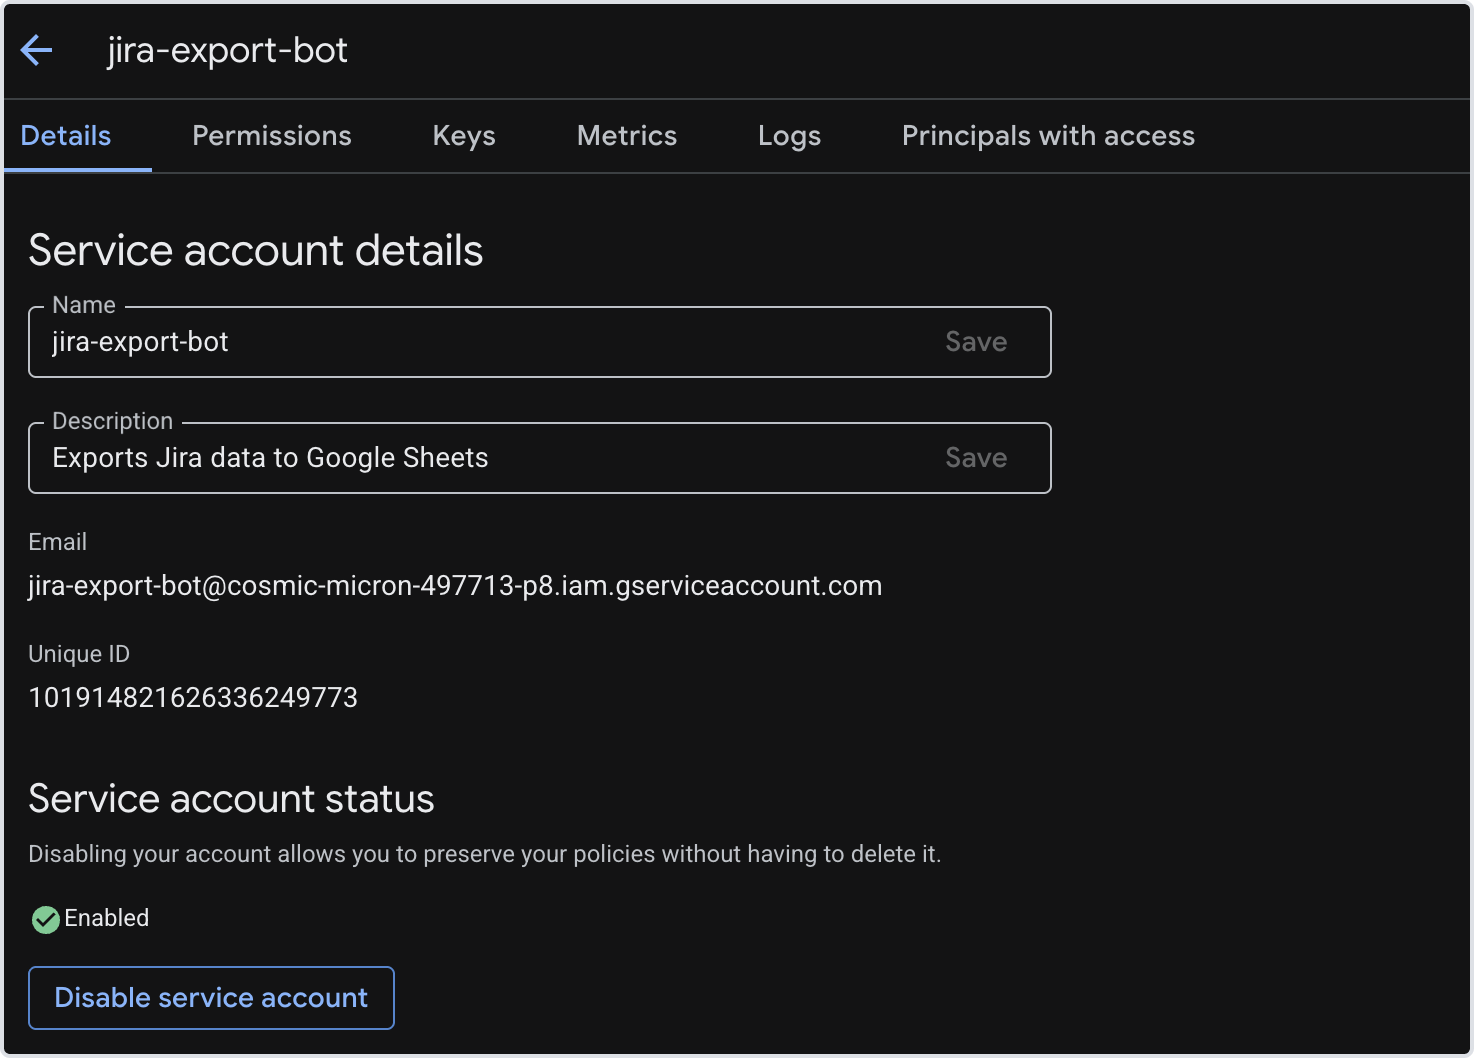
Step 3. Create a Service Account
-
Open:
IAM & Admin → Service Accounts
-
Click Create Service Account.
-
Enter a name:
jira-export-service
-
Complete the wizard.
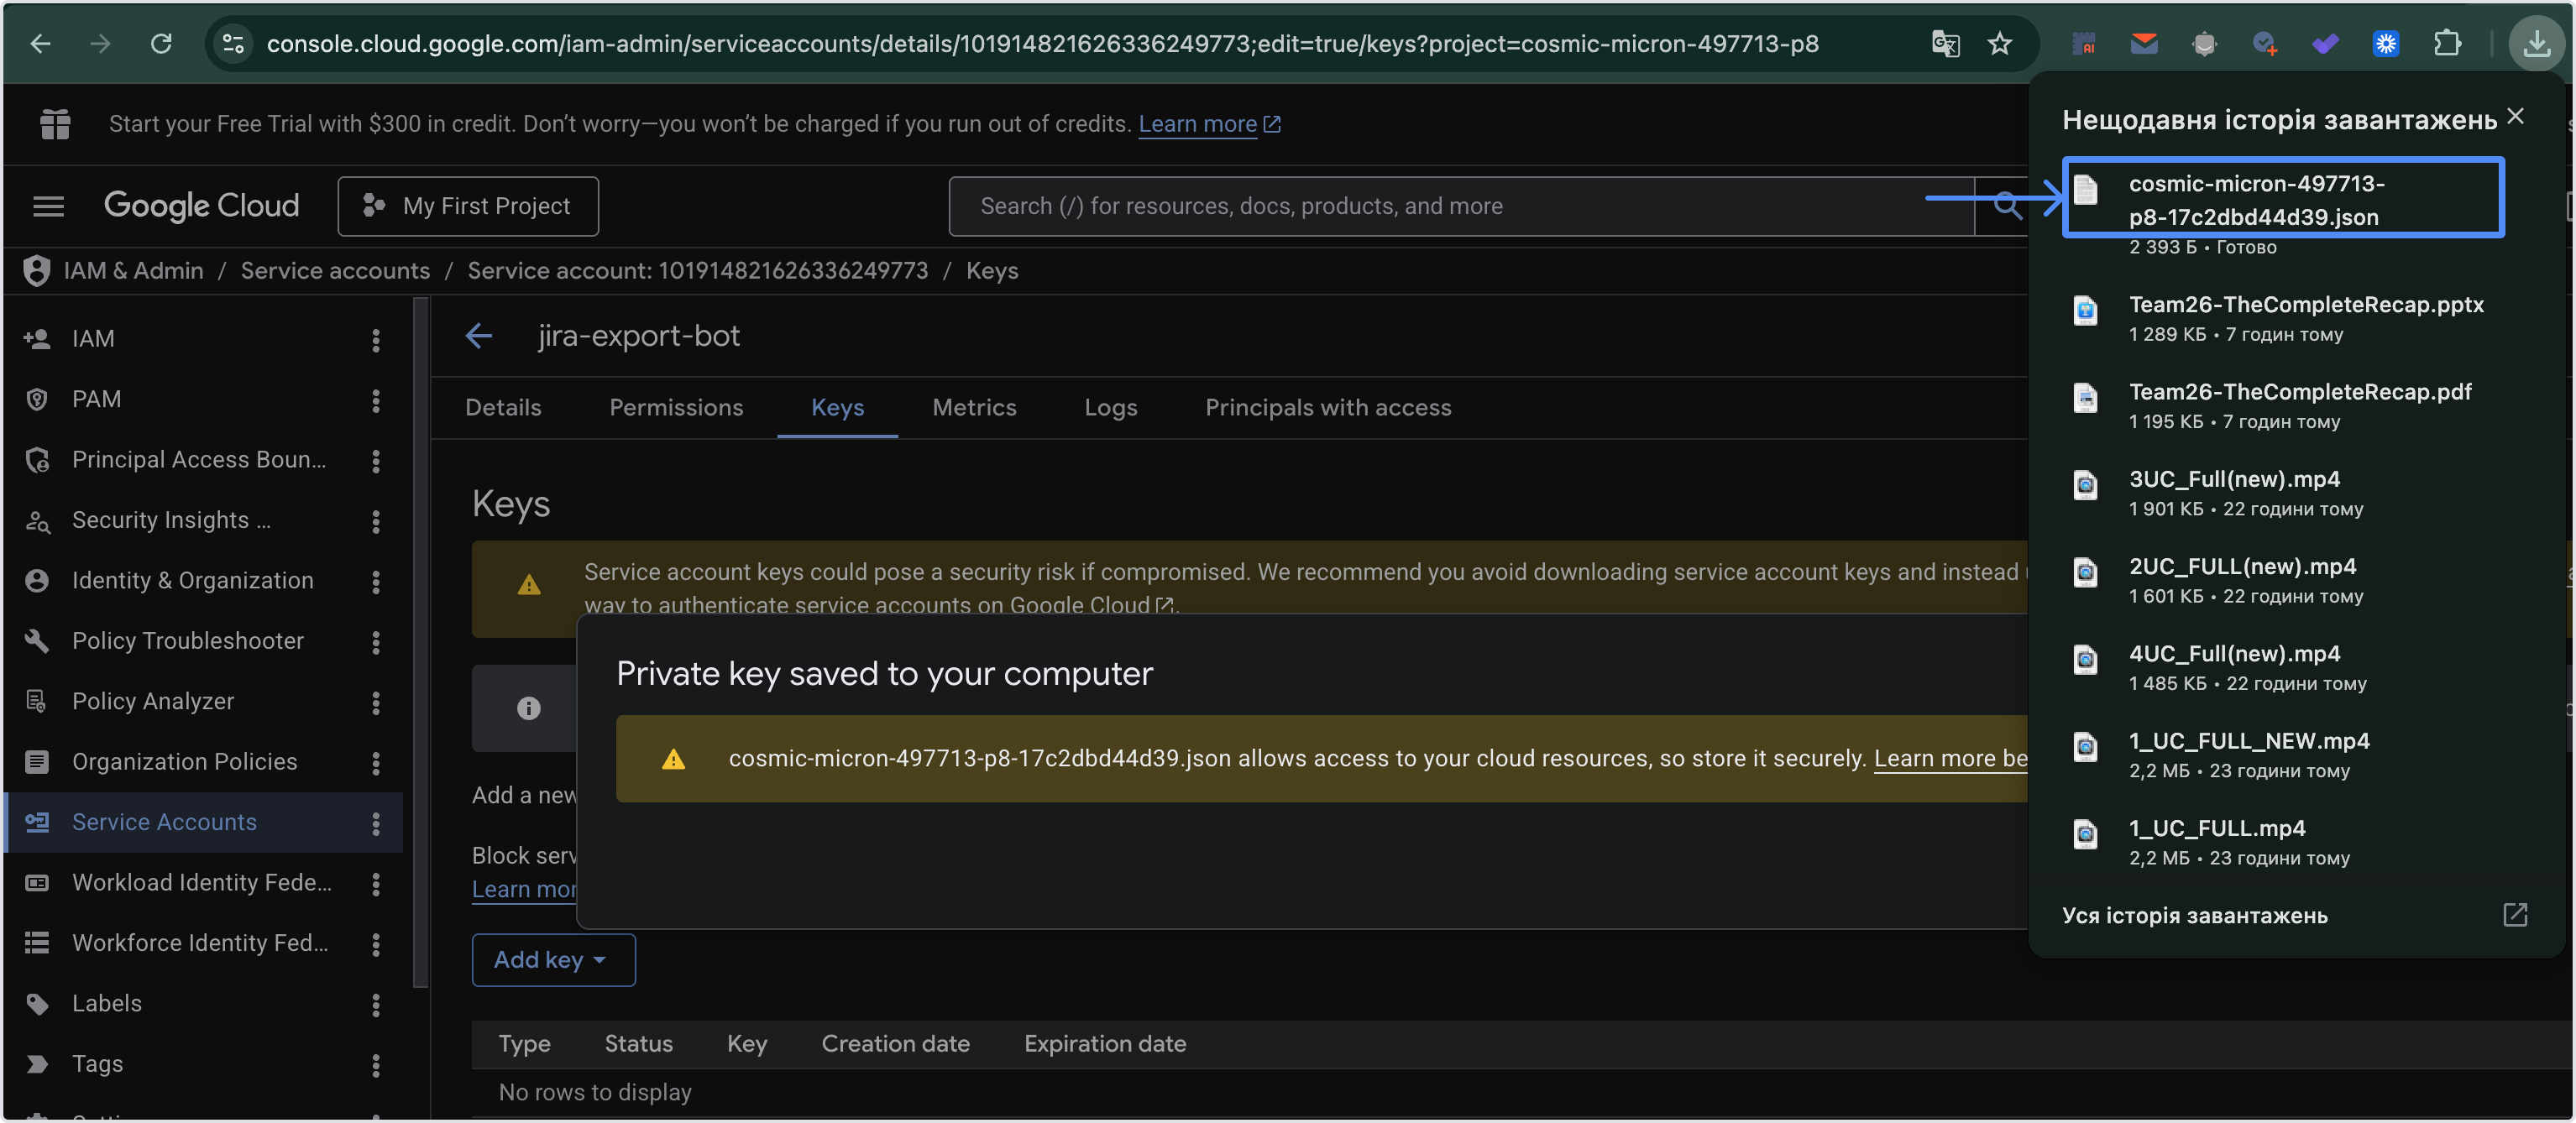
Step 4. Create a JSON Key
-
Open the newly created Service Account.
-
Go to:
Keys → Add Key → Create New Key
-
Select:
JSON
-
Download the file.
Example:
jira-export-service-123456.json
Store this file safely.
Step 5. Create a Google Spreadsheet
Create a new spreadsheet.
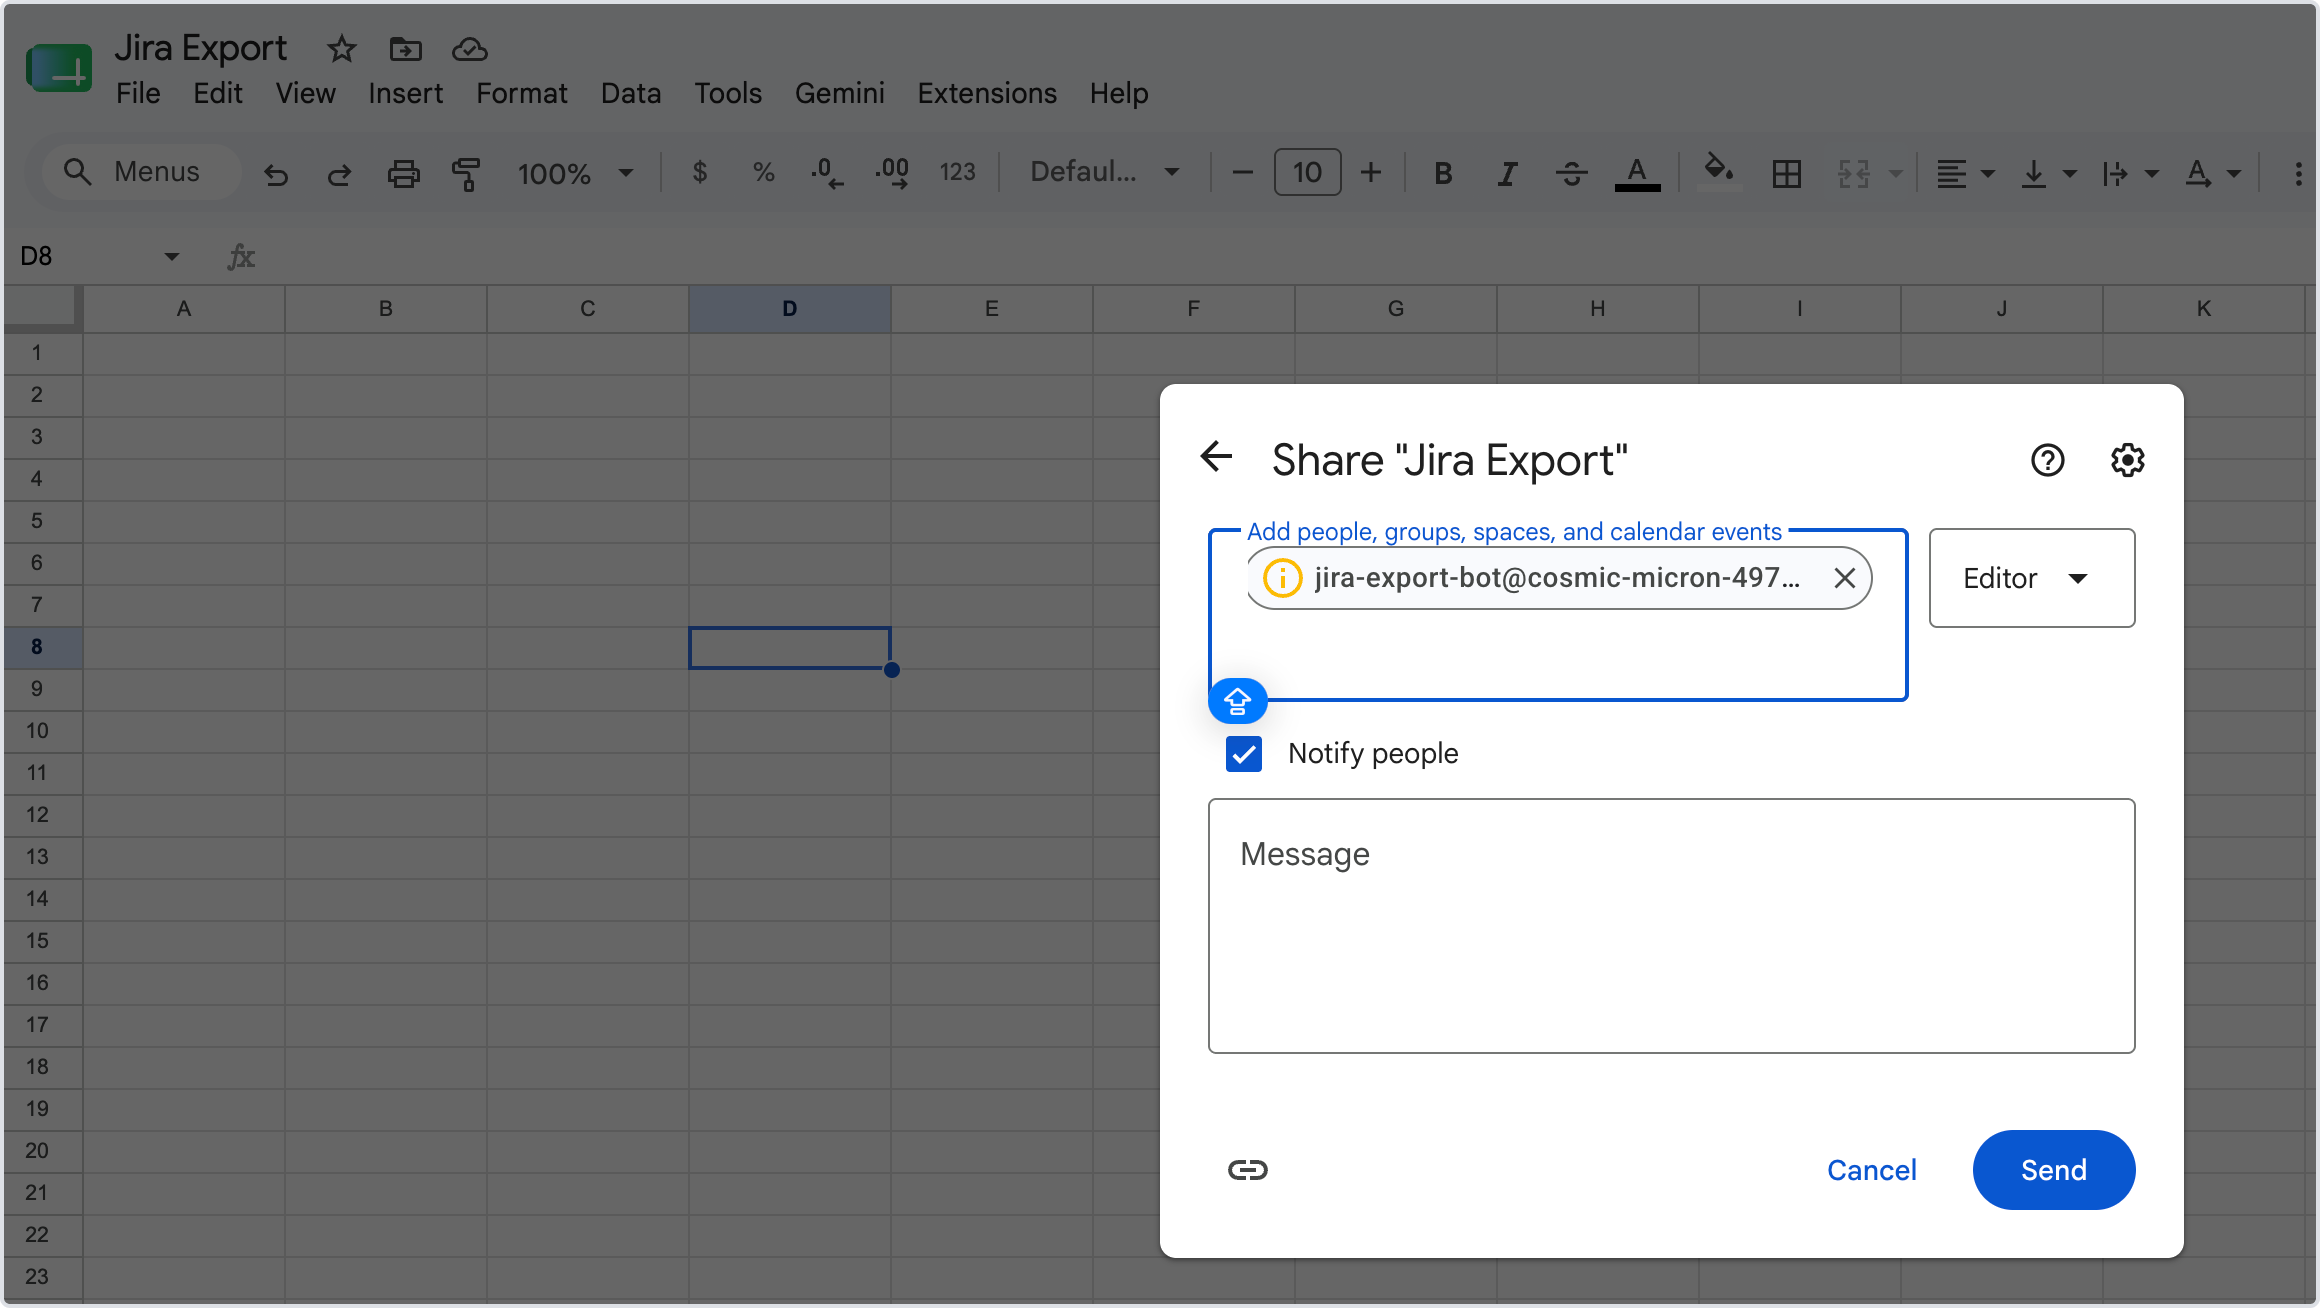
Step 6. Share the Spreadsheet with the Service Account
Inside the JSON file you'll find a service account email similar to:
jira-export-service@jira-reporting.iam.gserviceaccount.com
Share the spreadsheet with this email and grant Editor access.
This step is often missed.
Step 7. Install Python
For Windows
-
Visit the official Python website: Python Downloads
-
Download the latest Python 3 version.
-
Run the installer.
-
Important: Check the box:
Add Python to PATH -
Click Install Now.
-
Wait for the installation to finish.
Verify Installation
-
Open Command Prompt.
-
Run:
python --versionor
py --version -
You should see something similar to:
Python 3.13.5
For macOS
-
Visit: Python Downloads
-
Download the latest macOS installer.
-
Run the installer and follow the prompts.
Verify Installation
-
Open Terminal.
-
Run:
python3 --version -
Example output:
Python 3.13.5
Troubleshooting
"python is not recognized"
This usually means Python was installed without adding it to the system PATH.
Try:
py --version
If that works, use py instead of python in the following steps.
Otherwise, reinstall Python and make sure Add Python to PATH is selected during installation.
Step 8. Install Required Libraries
Open Terminal or Command Prompt:
pip install requests pandas gspread google-auth
Step 9. Create a Python Script
Create:
jira_export.py
Paste:
import requests
import pandas as pd
import gspread
from google.oauth2.service_account import Credentials

JIRA_URL = "https://your-company.atlassian.net"
EMAIL = "your-email@company.com"
API_TOKEN = "YOUR_API_TOKEN"

JQL = "project = TEST ORDER BY created DESC"

credentials = Credentials.from_service_account_file(
    "service-account.json",
    scopes=[
        "https://www.googleapis.com/auth/spreadsheets",
        "https://www.googleapis.com/auth/drive"
    ]
)

gc = gspread.authorize(credentials)

spreadsheet = gc.open("Jira Export")
worksheet = spreadsheet.sheet1

url = f"{JIRA_URL}/rest/api/3/search"

response = requests.get(
    url,
    params={
        "jql": JQL,
        "maxResults": 100
    },
    auth=(EMAIL, API_TOKEN)
)

issues = response.json()["issues"]

rows = []

for issue in issues:
    rows.append([
        issue["key"],
        issue["fields"]["summary"],
        issue["fields"]["status"]["name"],
        issue["fields"]["assignee"]["displayName"]
        if issue["fields"]["assignee"] else "",
        issue["fields"]["created"],
        issue["fields"]["updated"]
    ])

df = pd.DataFrame(
    rows,
    columns=[
        "Issue Key",
        "Summary",
        "Status",
        "Assignee",
        "Created",
        "Updated"
    ]
)

worksheet.clear()

worksheet.update(
    [df.columns.values.tolist()] +
    df.values.tolist()
)

print("Export completed successfully.")
Step 10. Update Configuration
Replace:
JIRA_URL = "https://your-company.atlassian.net"
with your Jira URL.
Replace:
EMAIL = "your-email@company.com"
with your Atlassian email.
Replace:
API_TOKEN = "YOUR_API_TOKEN"
with your Jira API token.
Replace:
project = TEST
with your Jira project key.
Replace:
service-account.json
with the name of your downloaded JSON file.
Step 11. Run the Script
Before running the script, make sure that:
-
The Python script (for example,
jira_export.py) -
The Service Account JSON file (for example,
jira-export-service-123456.json)
are located in the same folder on your computer.
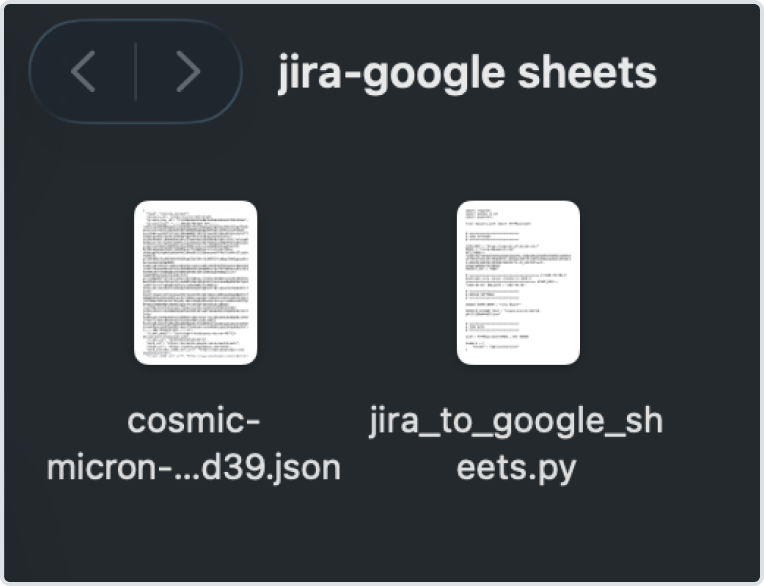
Example:
Jira Export/
├── jira_export.py
└── jira-export-service-123456.json
Navigate to the Folder
Open Terminal (macOS/Linux) or Command Prompt (Windows) and navigate to the folder containing both files.
Windows example:
cd "C:\Users\YourName\Documents\Jira Export"
macOS example:
cd "/Users/YourName/Documents/Jira Export"
You can verify that both files are present:
Windows:
dir
macOS/Linux:
ls
You should see something similar to:
jira_export.py
jira-export-service-123456.json
Run the Script
Windows:
python jira_export.py
or
py jira_export.py
macOS/Linux:
python3 jira_export.py
If everything is configured correctly, you'll see:
Export completed successfully.
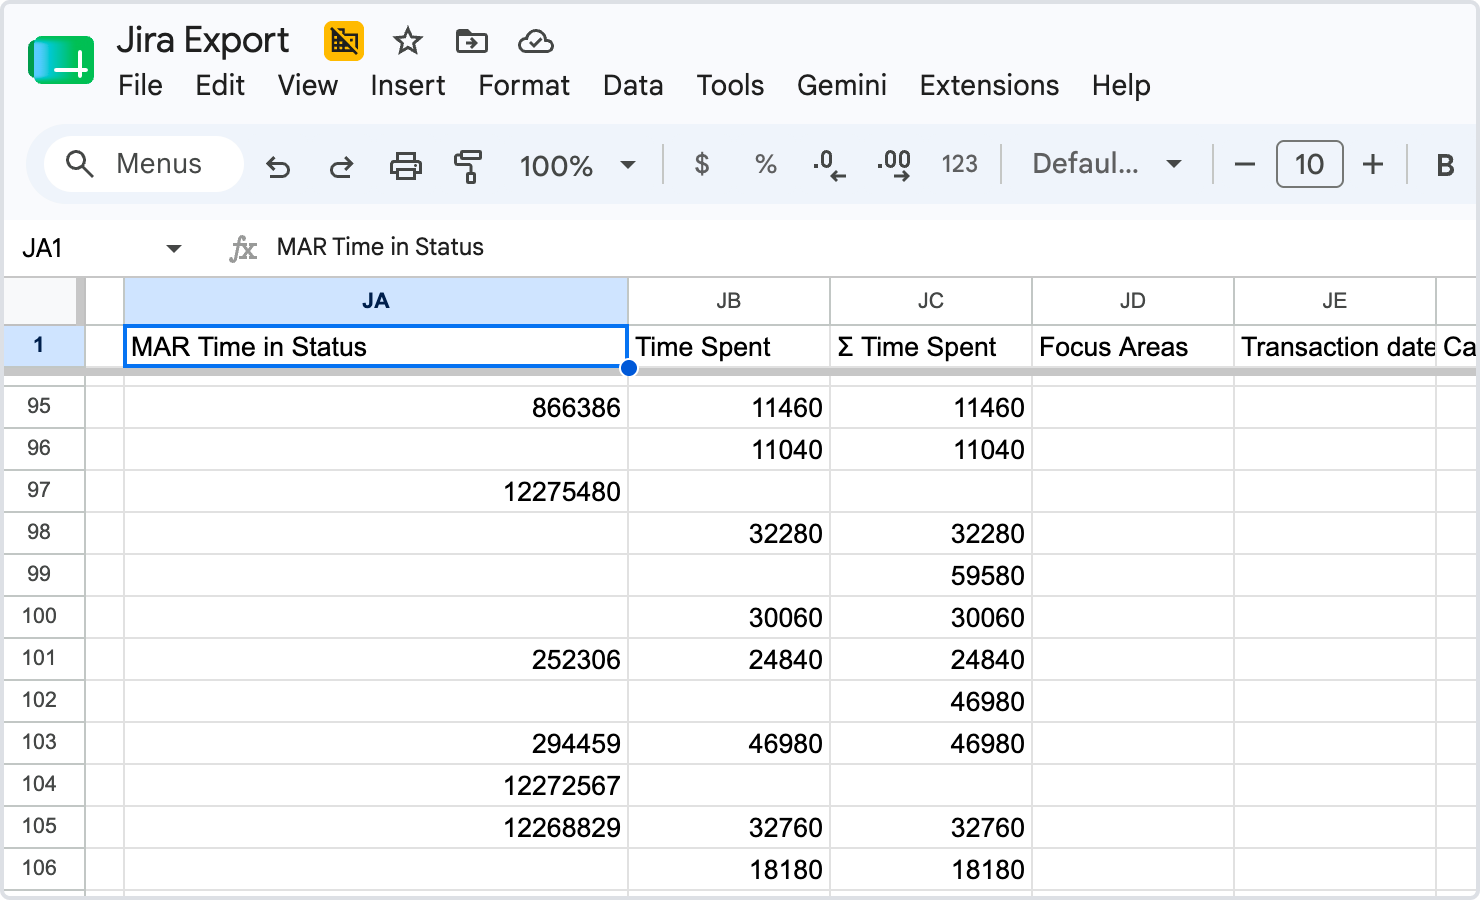
and your Google Sheet will be updated with the latest Jira data.
Tip: If you store the JSON file in a different folder, you'll need to specify its full path in the script. Keeping the JSON file and the Python script in the same folder is the simplest option for beginners.
Once the export is complete, you'll get a list of Jira issues with all the fields you specified. Custom fields from the Time in Status app are also supported, and their values will be exported within seconds.
If you need help or want to ask questions, please contact SaaSJet Support or email us at support@saasjet.atlassian.net
Haven't used this add-on yet? Try it now!