
Best for: PMs, Scrum Masters, Team Leads, Analysts, and other non-technical users.
What You'll Need
-
A Jira account
-
Access to the Jira project
-
A Jira API token
-
A Google account
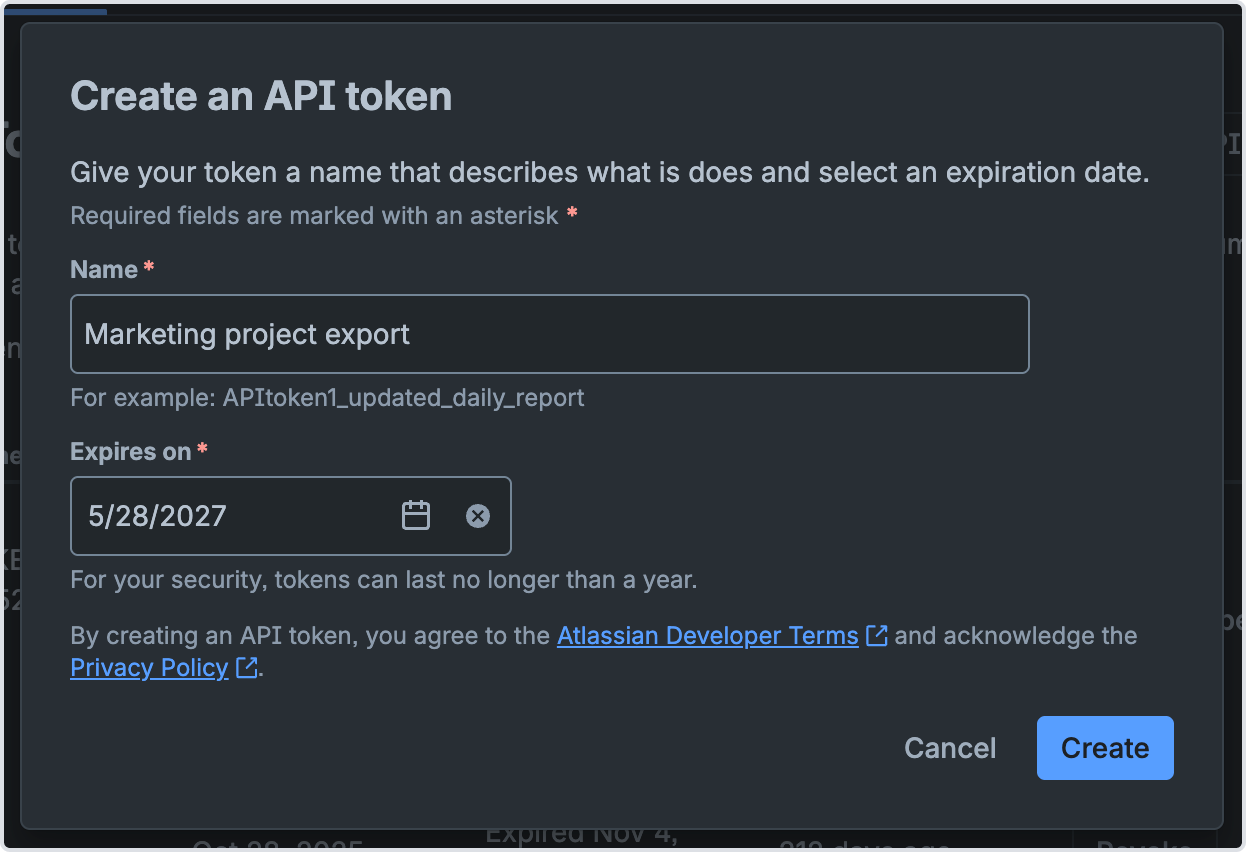
Step 1. Create a Jira API Token
-
Log in to your Atlassian account.
-
Open Account Settings → Security → API Tokens.
-
Click Create API Token.
-
Enter a name (e.g., "Google Sheets Export").
-
Copy and save the generated token.
You'll need:
-
Atlassian email
-
API token
Step 2. Find Your Jira URL
Example:
https://your-company.atlassian.net
Step 3. Create a Google Spreadsheet
-
Open Google Sheets.
-
Create a new spreadsheet.
-
Name it:
Jira Export
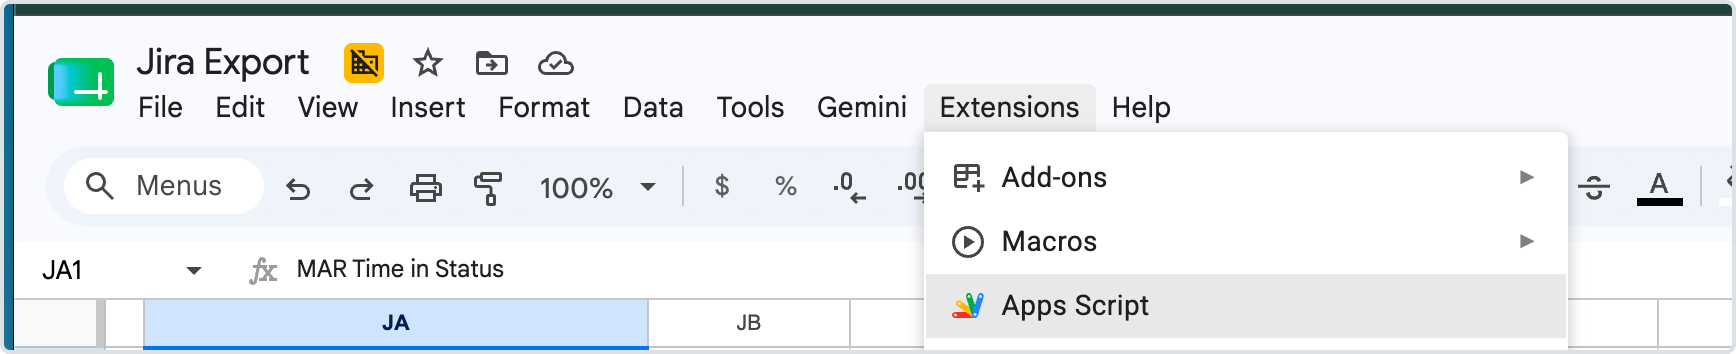
Step 4. Open Apps Script
-
In the spreadsheet, click:
Extensions → Apps Script
-
Remove any existing code.
Step 5. Paste the Script
function exportJiraIssues() {

  const jiraDomain = "https://your-company.atlassian.net";
  const email = "your-email@company.com";
  const apiToken = "YOUR_API_TOKEN";

  const jql = "project = TEST ORDER BY created DESC";

  const url =
    jiraDomain +
    "/rest/api/3/search?jql=" +
    encodeURIComponent(jql) +
    "&maxResults=100";

  const credentials =
    Utilities.base64Encode(email + ":" + apiToken);

  const options = {
    method: "get",
    headers: {
      Authorization: "Basic " + credentials,
      Accept: "application/json"
    }
  };

  const response = UrlFetchApp.fetch(url, options);
  const data = JSON.parse(response.getContentText());

  const sheet = SpreadsheetApp.getActiveSpreadsheet()
    .getActiveSheet();

  sheet.clear();

  sheet.appendRow([
    "Issue Key",
    "Summary",
    "Status",
    "Assignee",
    "Priority",
    "Created",
    "Updated"
  ]);

  data.issues.forEach(issue => {
    sheet.appendRow([
      issue.key,
      issue.fields.summary,
      issue.fields.status?.name || "",
      issue.fields.assignee?.displayName || "",
      issue.fields.priority?.name || "",
      issue.fields.created,
      issue.fields.updated
    ]);
  });
}
Step 6. Update the Configuration
Replace:
const jiraDomain = "https://your-company.atlassian.net";
with your Jira URL.
Replace:
const email = "your-email@company.com";
with your Atlassian email.
Replace:
const apiToken = "YOUR_API_TOKEN";
with your API token.
Replace:
project = TEST
with your project key.
Example:
project = MARKETING
Step 7. Run the Script
-
Click Save.
-
Click Run.
-
Authorize Google permissions when prompted.
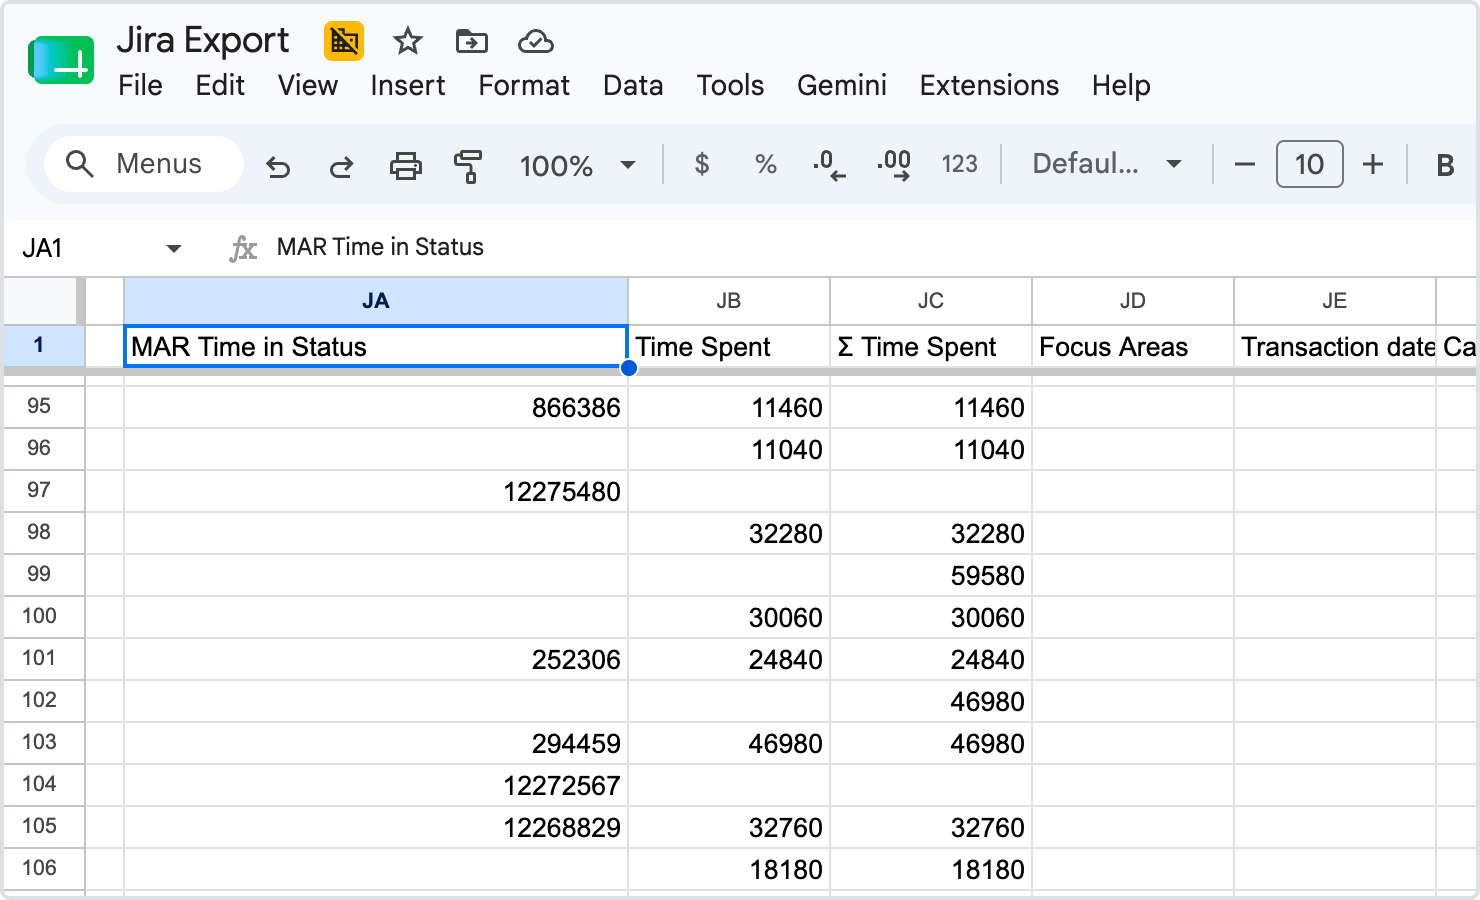
The spreadsheet will be populated with Jira issues.
Step 8. Schedule Automatic Updates (Optional)
-
Open Apps Script.
-
Click Triggers (clock icon).
-
Click Add Trigger.
-
Select:
-
Function:
exportJiraIssues -
Event Source: Time-driven
-
Frequency: Daily or Hourly
-
The spreadsheet will refresh automatically.
Once the export is complete, you'll get a list of Jira issues with all the fields you specified. Custom fields from the Time in Status app are also supported, and their values will be exported within seconds.
If you need help or want to ask questions, please contact SaaSJet Support or email us at support@saasjet.atlassian.net
Haven't used this add-on yet? Try it now!