
We prepared this guide to help you quickly and without confusion get started with Issue History for Jira. Instead of figuring things out on your own, you can follow a clear set of steps and start using the app in real scenarios right away. Each step focuses on one specific action and links to a detailed guide, so you always know what to do next.

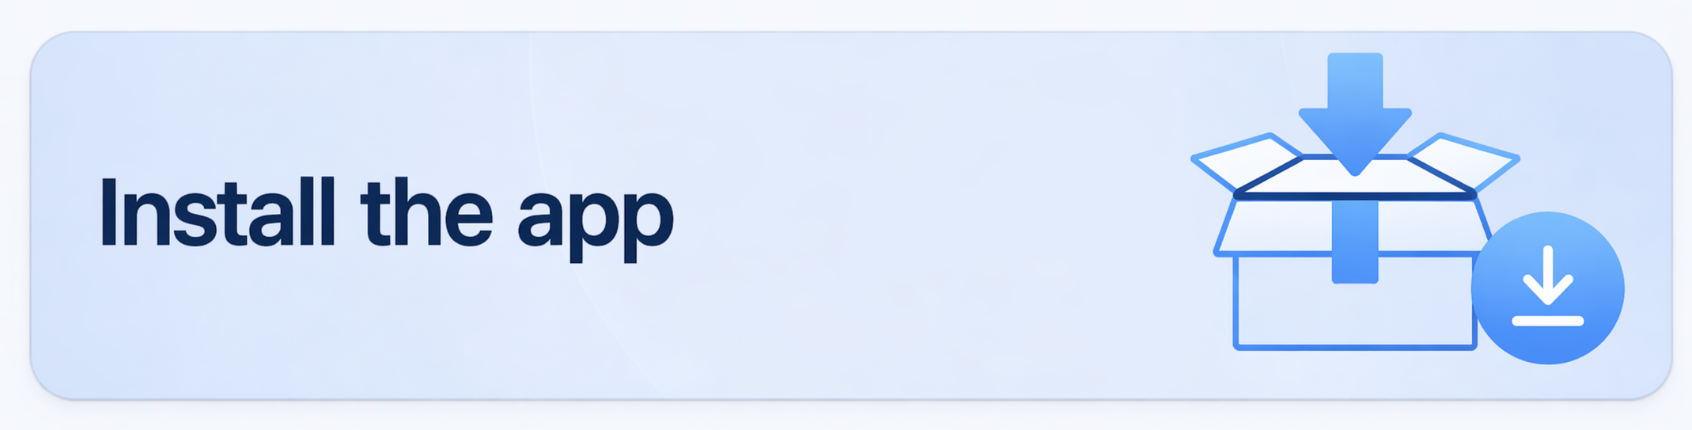
- Install the app from the Atlassian Marketplace or the Jira admin page (you need to be a Jira admin to install Issue History, or ask your admin to install it). If needed, install the app in a sandbox environment to test it before production use
- Open Jira and ensure you have the required permissions to view and use the app
- In Jira settings, check which user groups have access to the app
- Verify the app is available and accessible in your environment
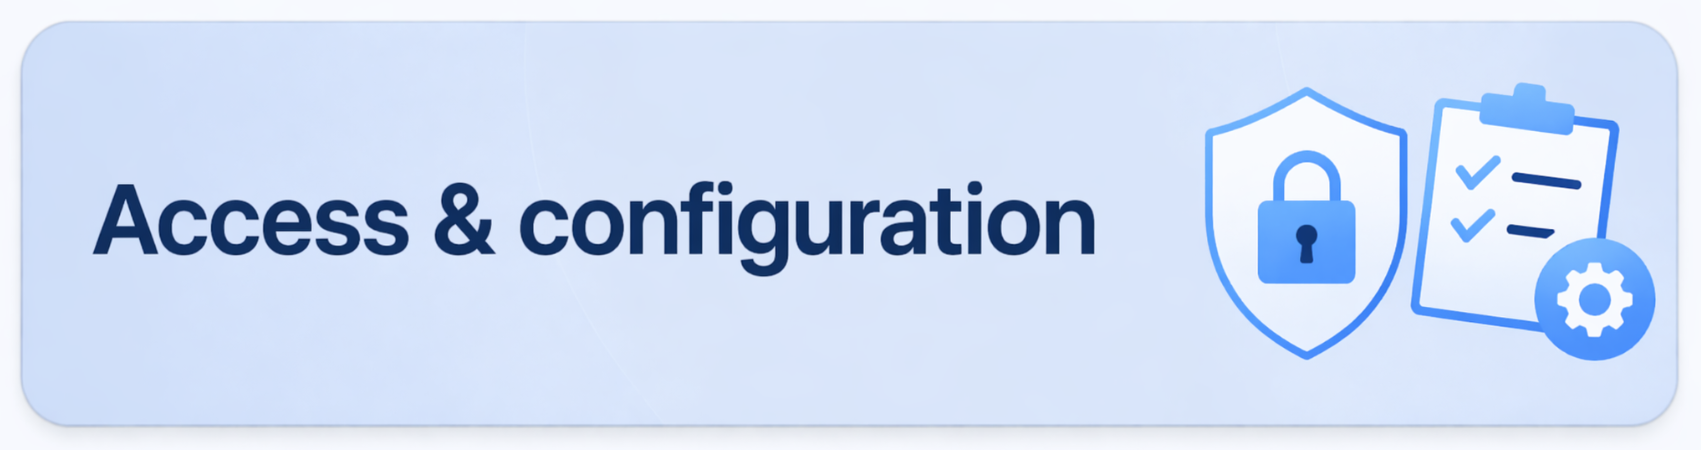
- Open the app in Jira and configure permissions for who can access the app and some of its features
- Set which user groups can view and use app data
- Activate key features:
- Verify the configuration is applied correctly
- Explore how to use the app:
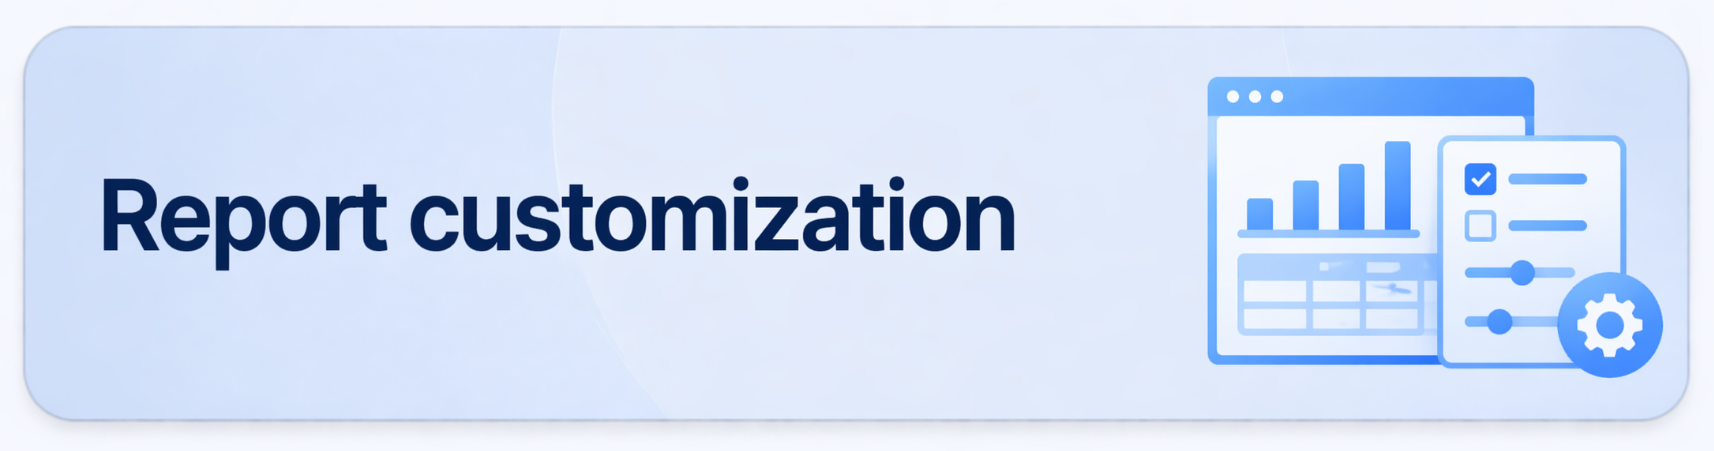
- Create your first work item history report by selecting target projects, applying filters (by user, date range, or field)
- Customize report views for audits, compliance, or management needs
- Save report templates for future use and faster reporting

- Ask your team to start using Issue History for Jira in their daily work
If you need help or have any questions, please book a demo with our team. You can also contact SaaSJet Support or email us at support@saasjet.atlassian.net.