
Use the following instruction in order to install the extension and connect it to Jira Cloud.
-
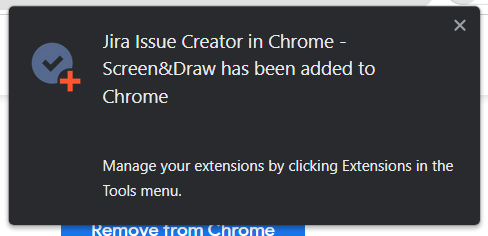
Go to the Chrome Web Store. Link >> Jira Issue Creator in Chrome - Screen&Draw.

Press the “Add to Chrome” button
-
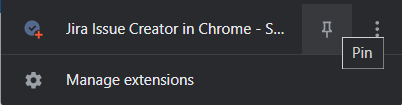
The application icon will appear in your extensions. Don't forget to pin the extension to the top menu; you always have it in quick access.
Connect Chrome extension with your Jira Cloud
-
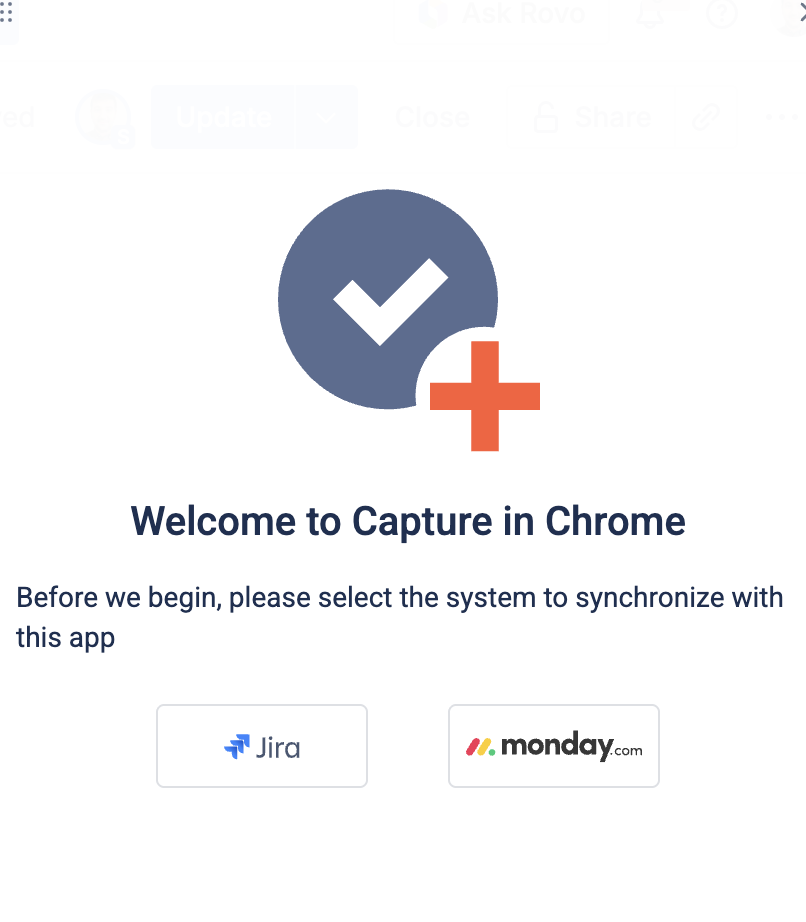
Now, the Extention icon, should be available next to the web-site URL are in your Chrome.

Click on the icon and select Jira in planforms selection.
-
Click “Login in Jira“, so you will be redirected to Jira Cloud Auth page, where you should Authorise as a Atlassian app user.

Once you completed the Authorisation, please click on any Jira space or Atlassian app, so it will set the cookies to Chrome Extension.
-
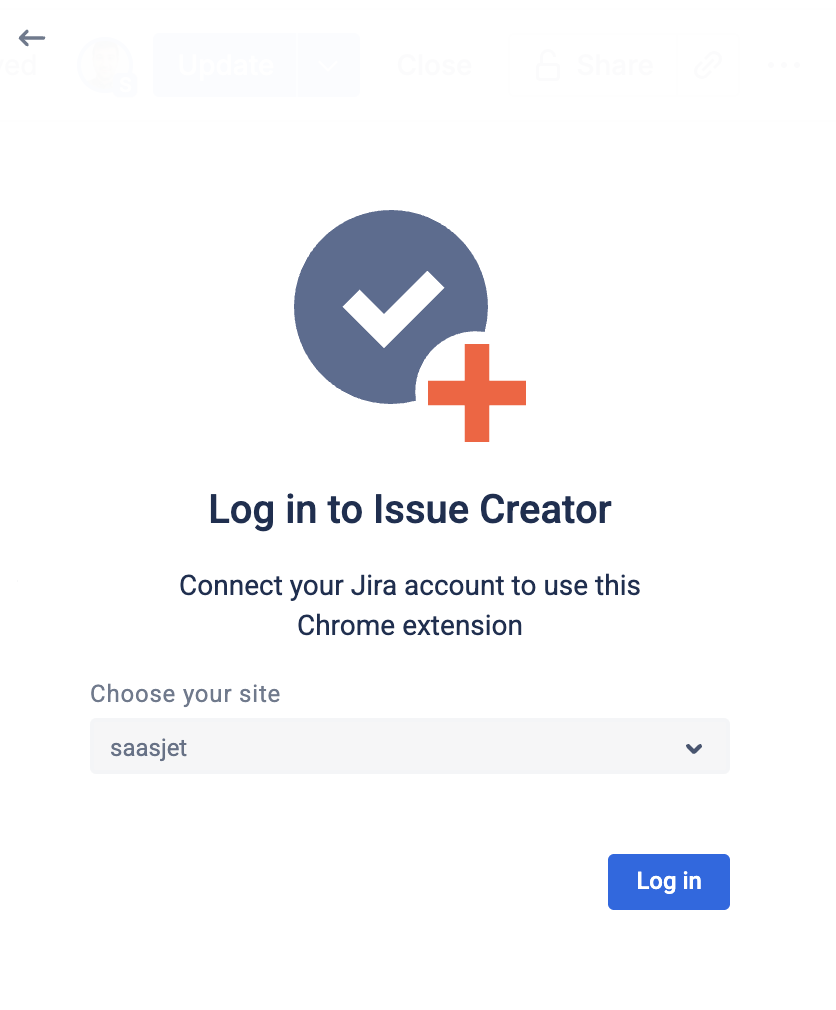
Next, click on Extension icon again. Now you should be able to see all the Jira instances available for synchronisation.
Select the Jira instance you would like to connect. Then click “Log in“.
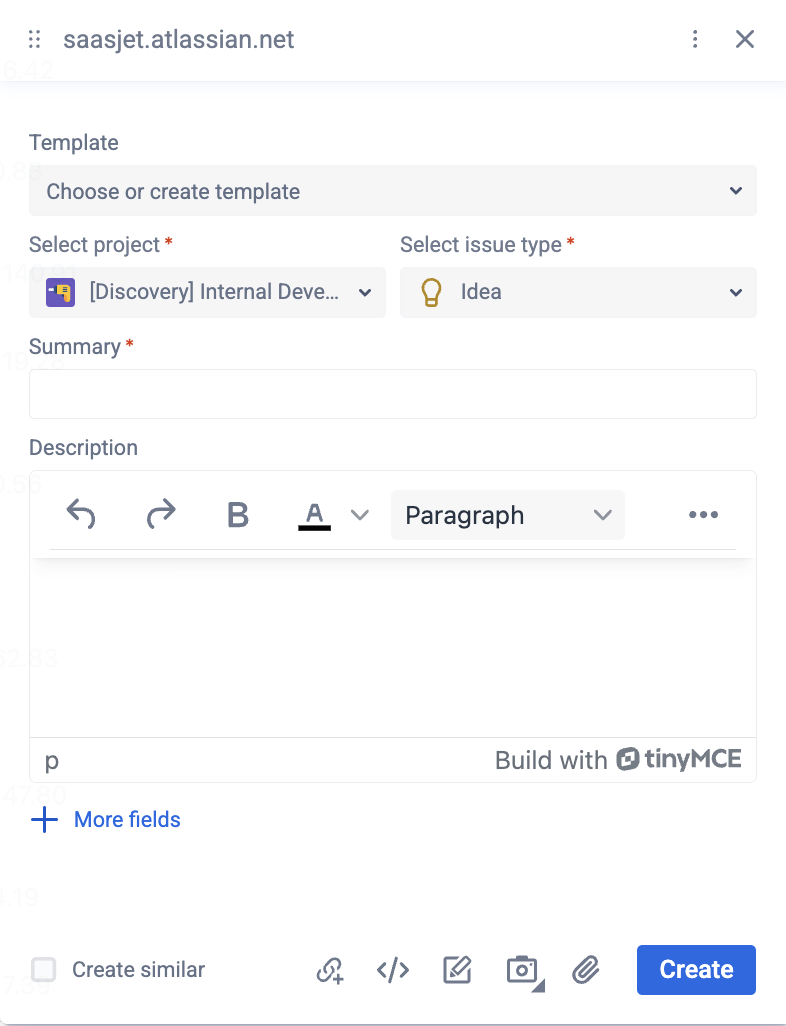
You will should see the form to create your first Jira item using the Extension capabilities.
If you need help or want to ask questions, please contact SaaSJet Support or email us at support@saasjet.atlassian.net