Report scheduler: email your issue history reports
Please note that Report scheduler feature is currently on hold and temporarily unavailable as we work on migrating Issue History for Jira app to Forge.
We understand this may cause inconvenience and appreciate your patience.
We’re committed to bringing Report scheduler back as soon as possible, making it more efficient than before.
If you have any questions, please contact our support team.
Available only for the Table View
This option allows the scheduling of regular emails to notify the required people about key past changes.
You can schedule any report you saved previously with the Save view option.
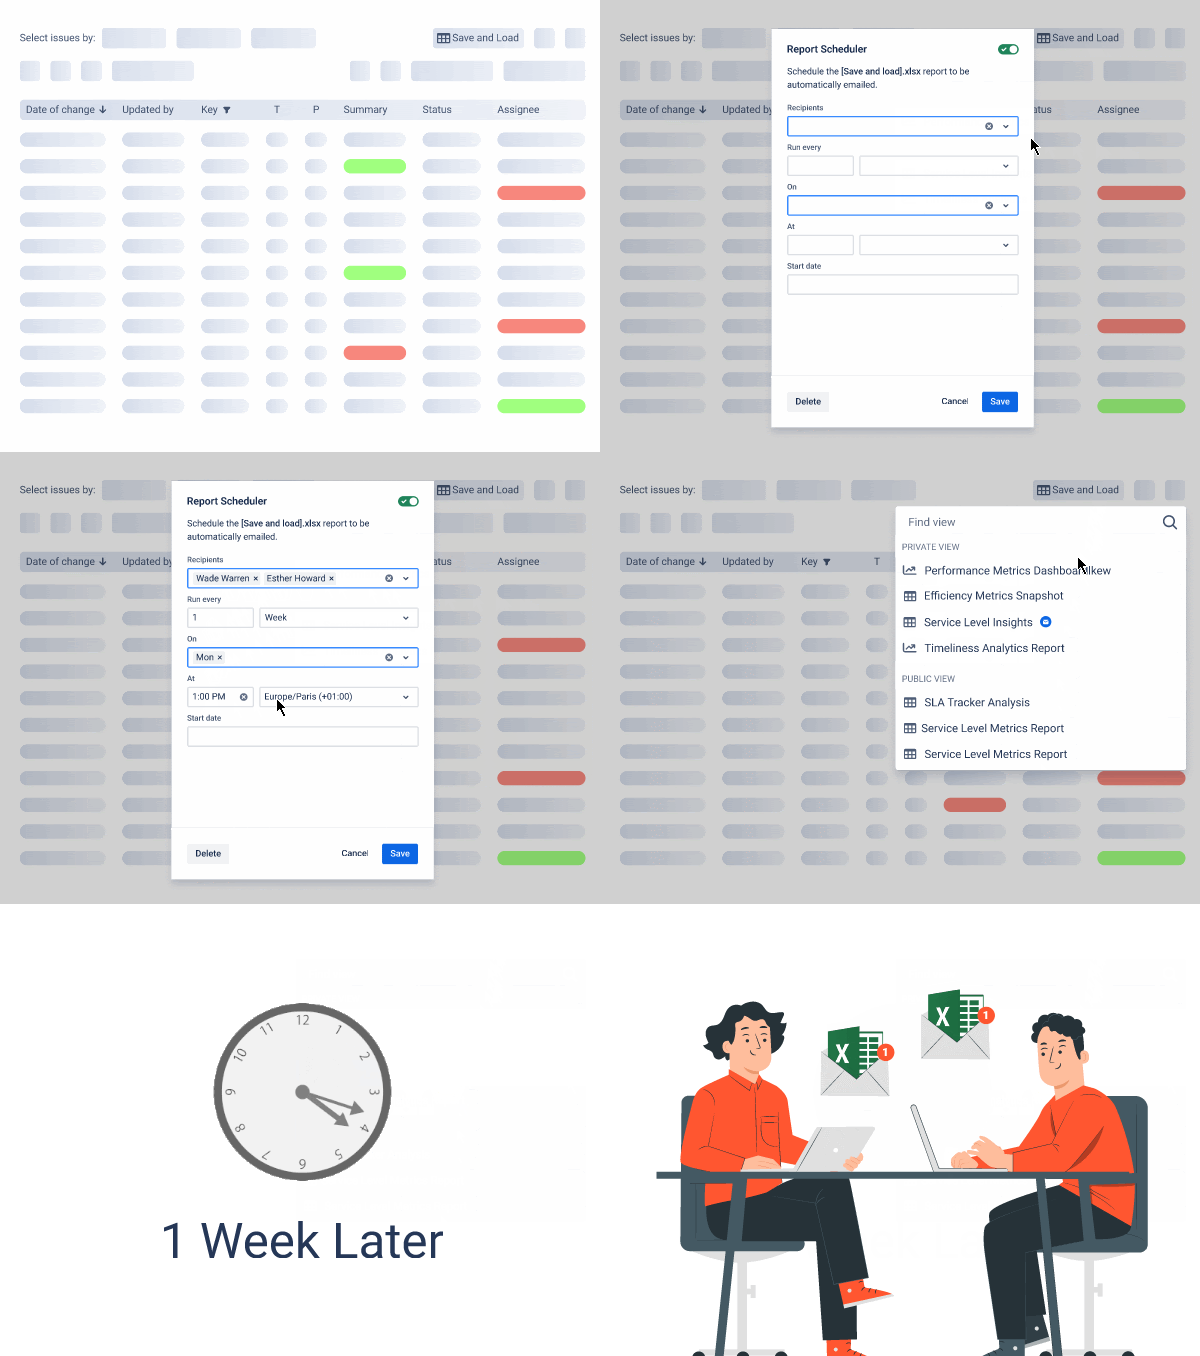
Configuration
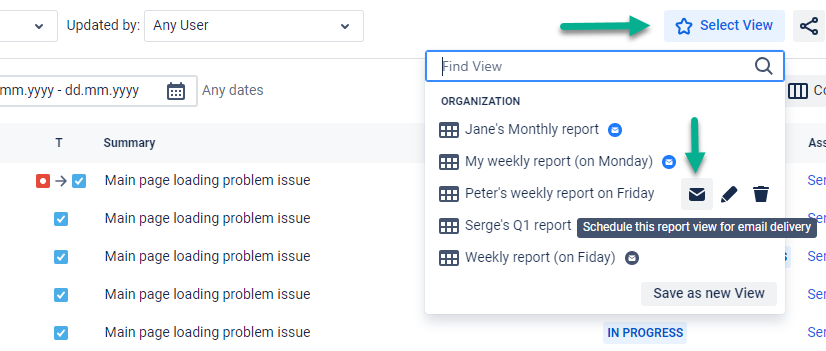
Click on the envelope icon to start setting up the automatic sending of the report.
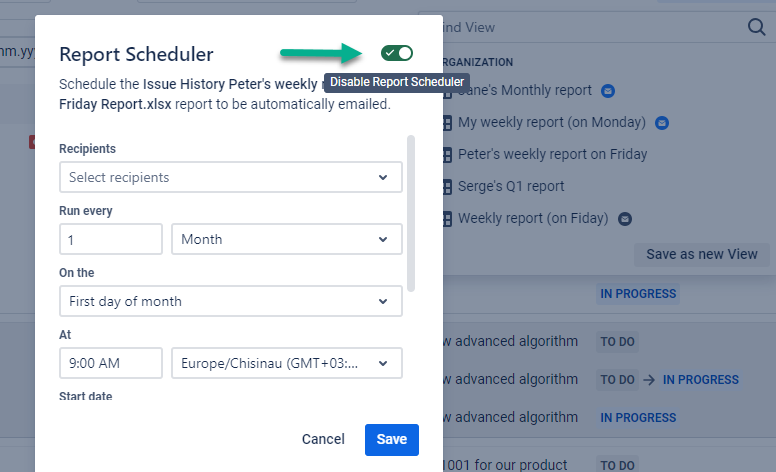
Activate the green toggle if you want your report to be sent on schedule. If you don't need to send a report temporarily, turn off the toggle.
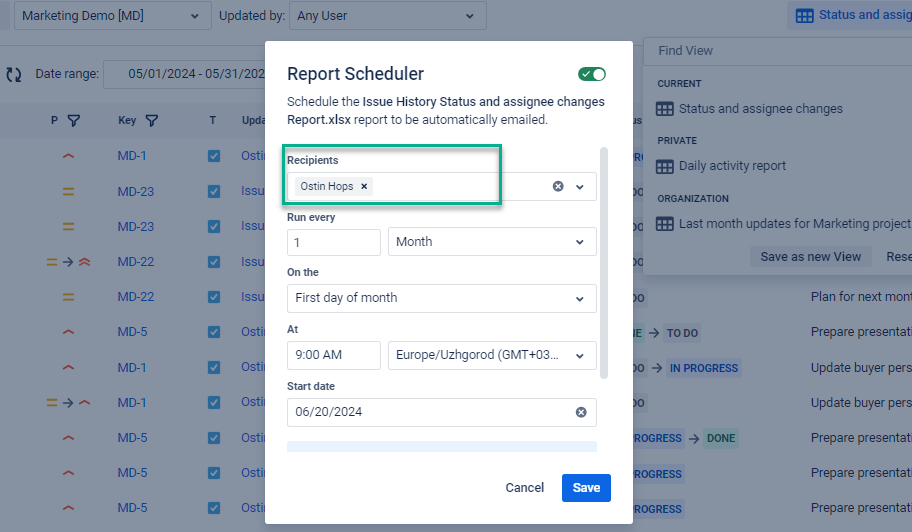
Select the recipients of the report. These can be members of your team or people within your organization. A maximum of 5 recipients can be added.
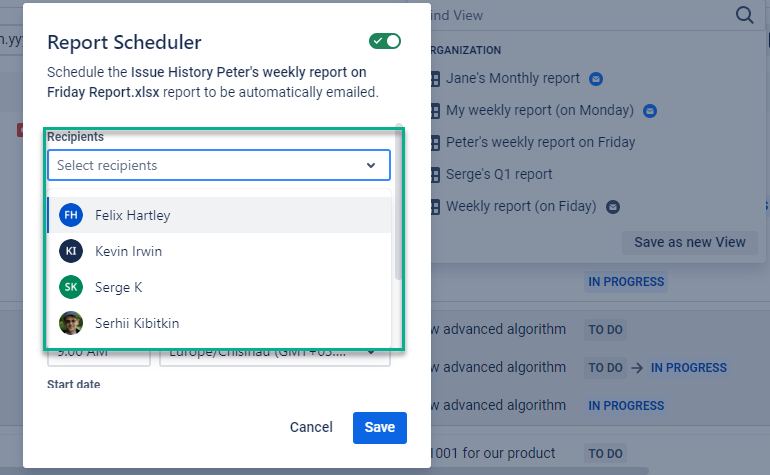
The author of the report will be added to recipients automatically.
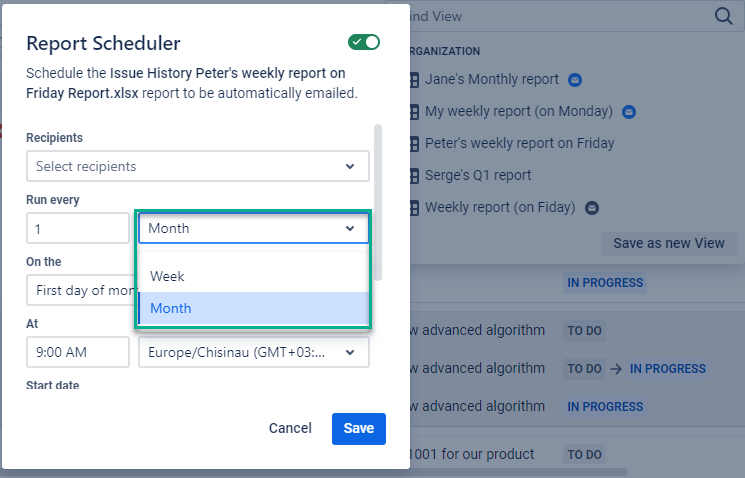
Set the interval. You can choose weekly or monthly.
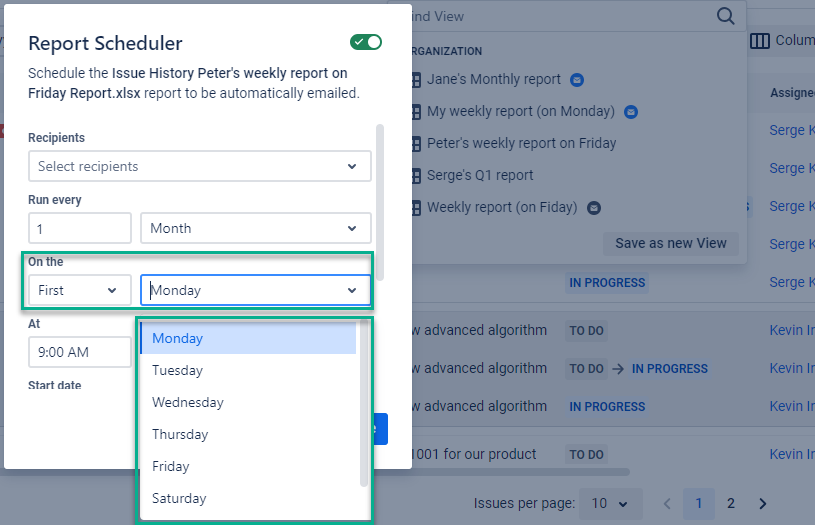
The next step is to schedule the start point for the report sending frequency.
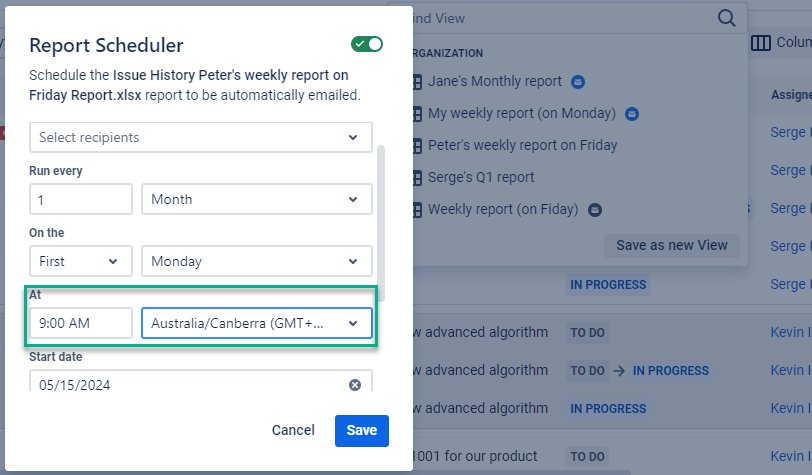
Also, set the time and your time zone. This is relevant if you work with distributed teams on different continents.
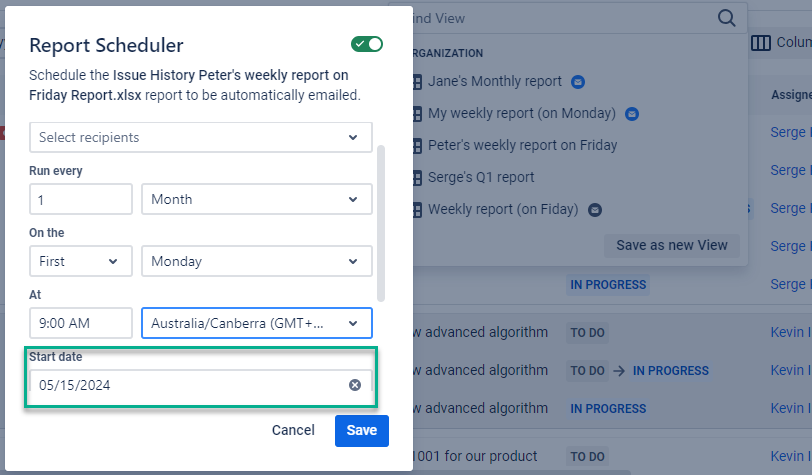
Set the start date for sending the report. Our system will then start counting down the next sending interval.
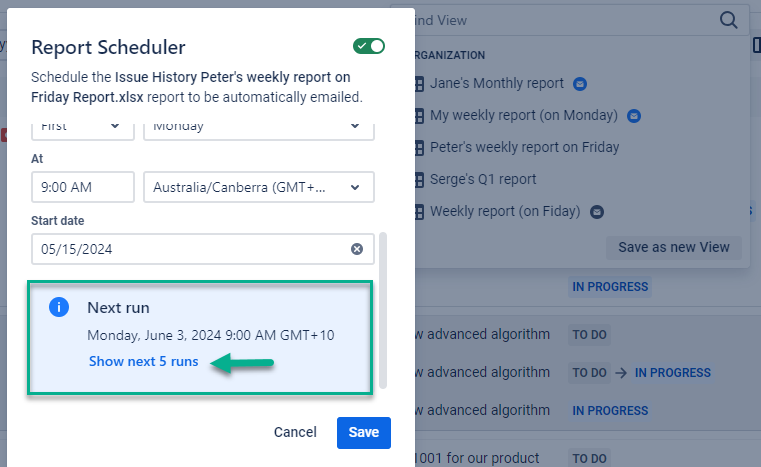
Use the preview of the activation time to determine exactly when the report will be sent. You can also check up on the next five runs.
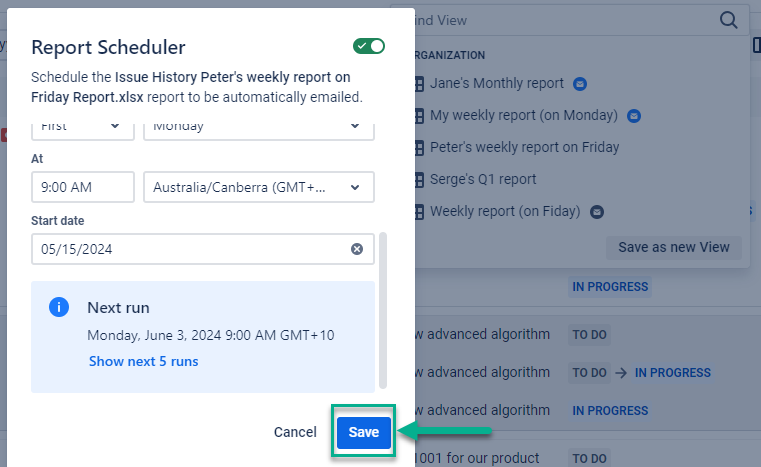
Press the button to save the settings.
If you did everything correctly, a blue envelope icon will appear next to the saved report template. Hovering the cursor over it lets you know when your next report will be sent.
Watch the video guide
Q: How many reports can be sent?
A: There are no particular restrictions.
The number of reports depends on the number of saved templates.
Q: What file size will be sent in the report?
The maximum size is 25 MB, which is the limit usually used in mail settings.
Q: How many report recipients can I add?
A: Maximum up to 5 people.
Haven't used this add-on yet, then you’re welcome to try it [free for 30 days] ⬇
https://marketplace.atlassian.com/apps/1220385/issue-history?hosting=cloud&tab=overview&utm_source=Confluence&utm_medium=refferal&utm_campaign=Documentation_Report-generation-with-Issue-History