
Name your SLA
To start setting up your SLA, you need to Name your SLA.
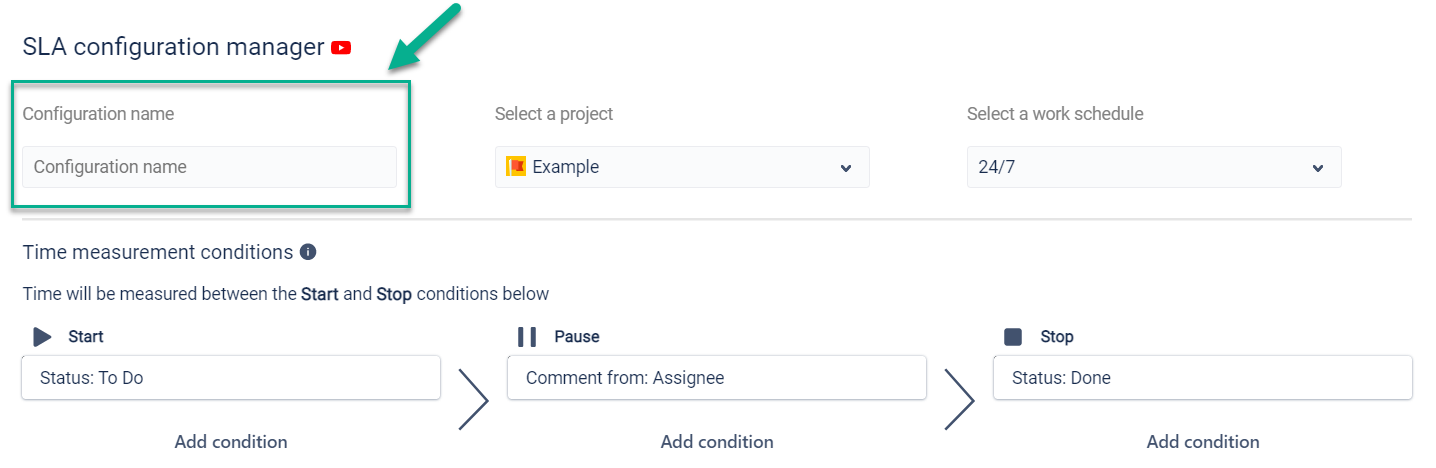
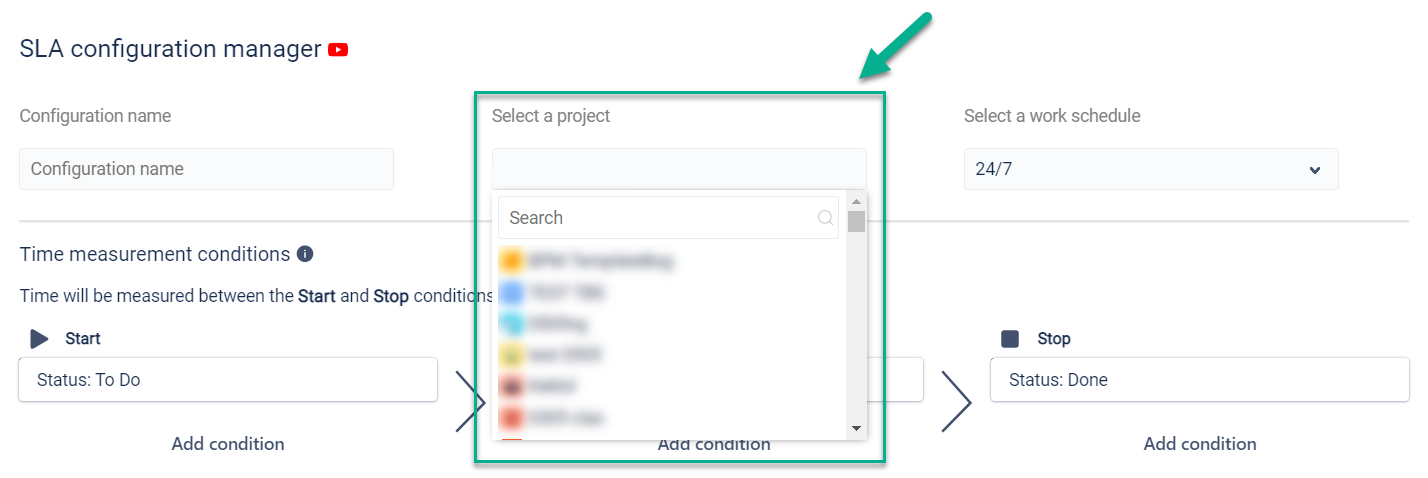
After that choose a Project from the existing projects. If necessary, use a Search bar to find it.
Important: you can choose only one Project for one SLA. If you want to control, for example, 3 Projects in 1 SLA, you need to create 3 SLAs.
Then select a Work schedule or Create a new calendar.
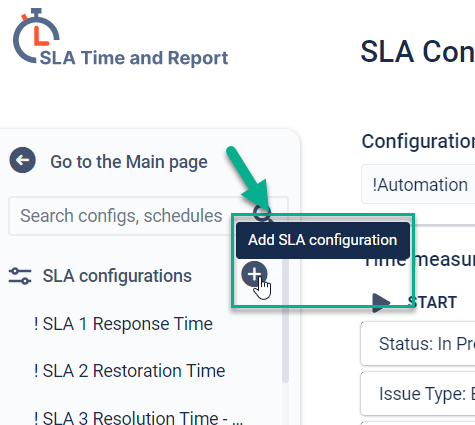
To check what SLAs you have, go to the “SLA Configurations” on the left sidebar. There you can also add new SLA configurations if you click “+” (Add SLA Configuration) on the right.
If you need help or want to ask questions, please contact us through a SaaSJet Support or via email support@saasjet.atlassian.net
Haven't used this add-on yet, then try it now!