
Instruction
-
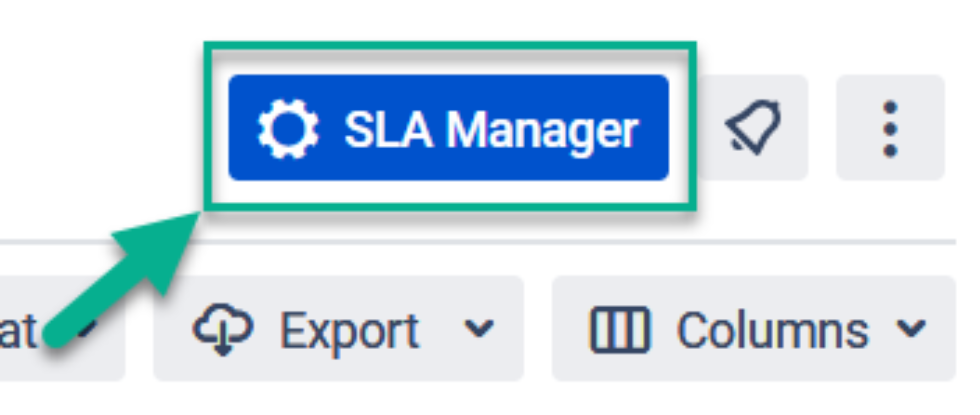
Click the “SLA Manager” button in the top right corner.
2. At the bottom of the page you’ll get a block with goals configuration.
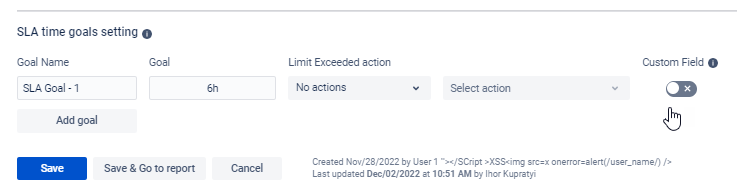
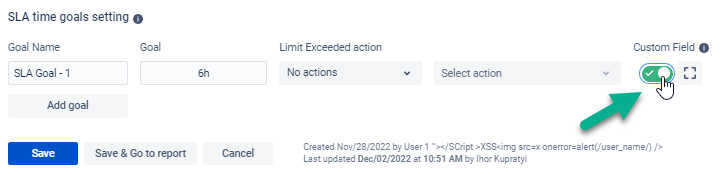
3. Add goals (time limits) to your SLA config and enable the Custom fields.
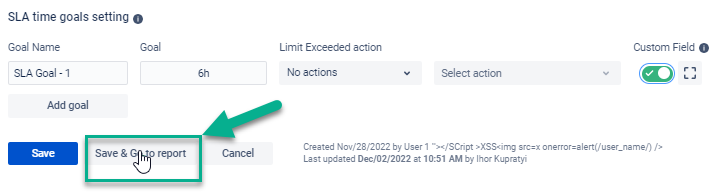
4. Click a “Save&Go to report” button to move to the grid with data.
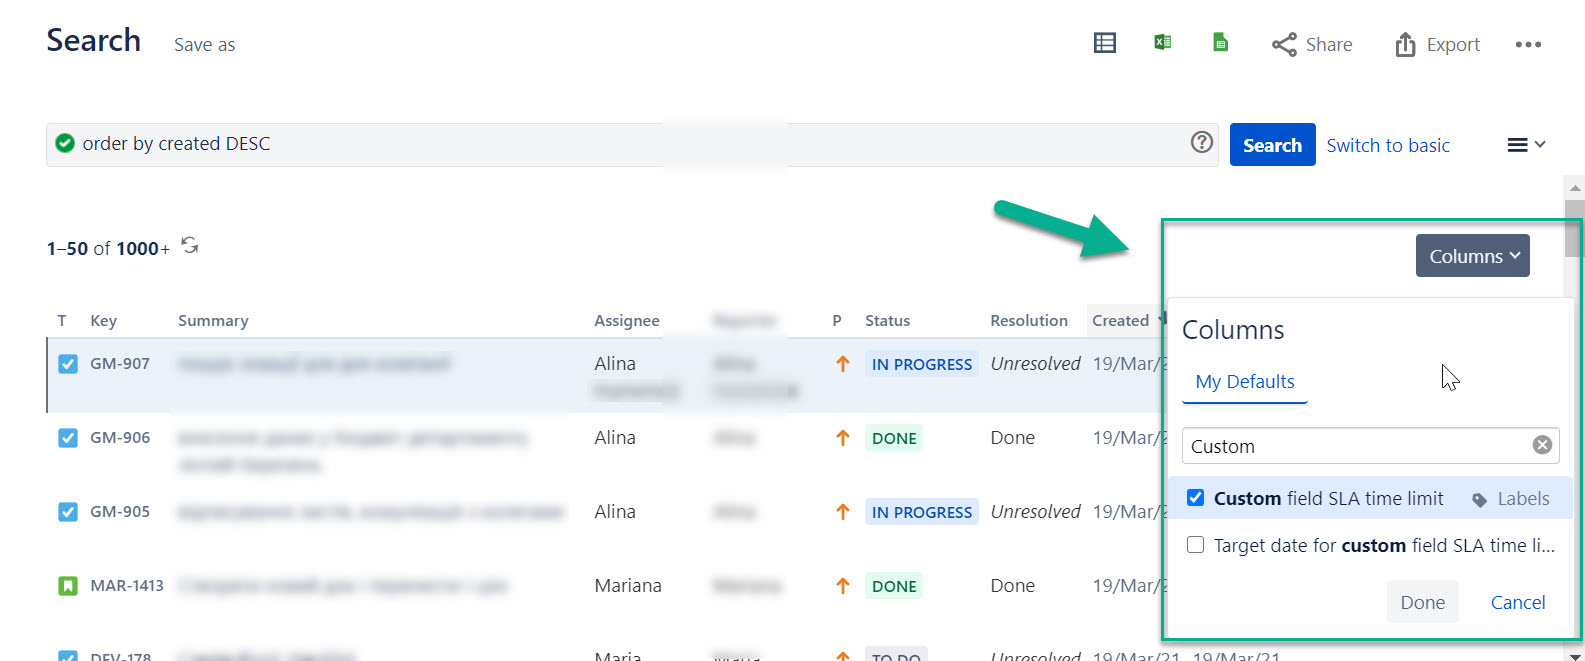
5. Click the Columns Manager to get a drop-down where you can type text and find the necessary item.
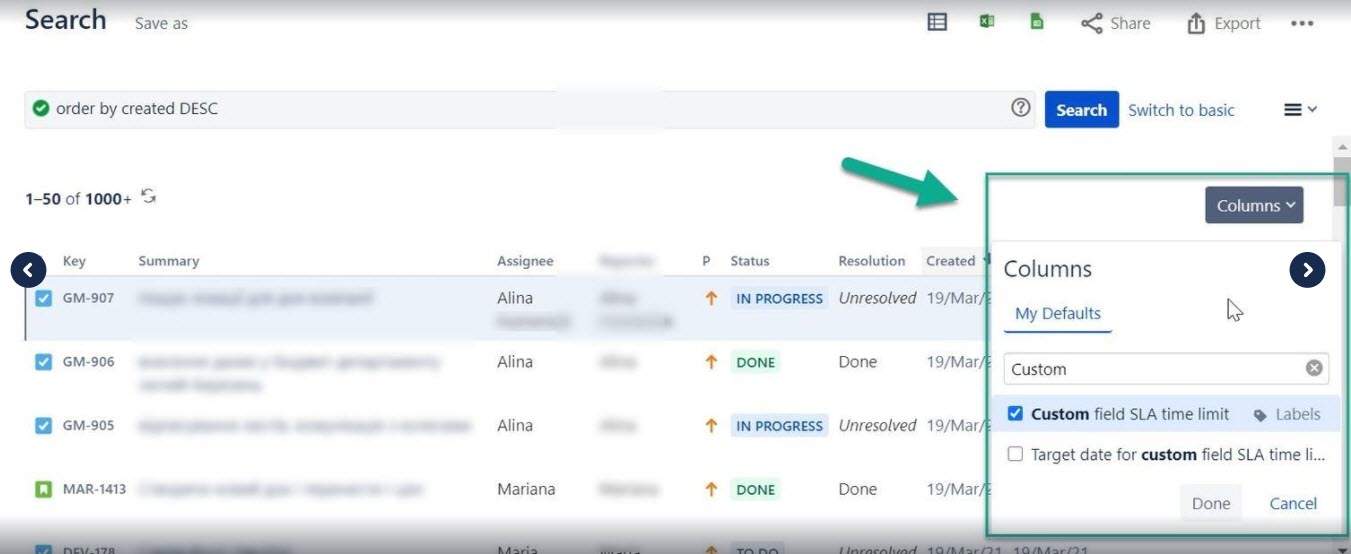
6. Add a column with selected SLA Config Goal from the Jira list.
7. Then move to a JQL function in 2 ways:
-
using the JQL in SLA Time and Report

-
using the advanced search
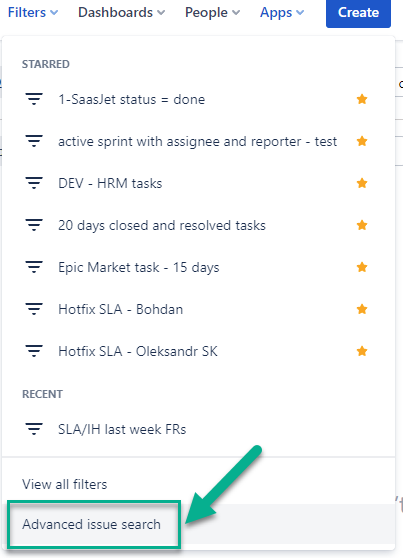
8. Type this code in the search field and save a filter based on it.
JQL - "field name" != EMPTY

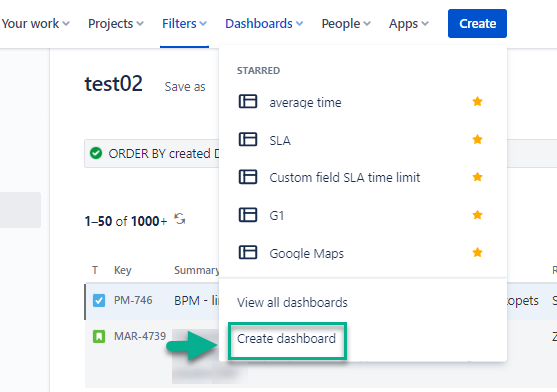
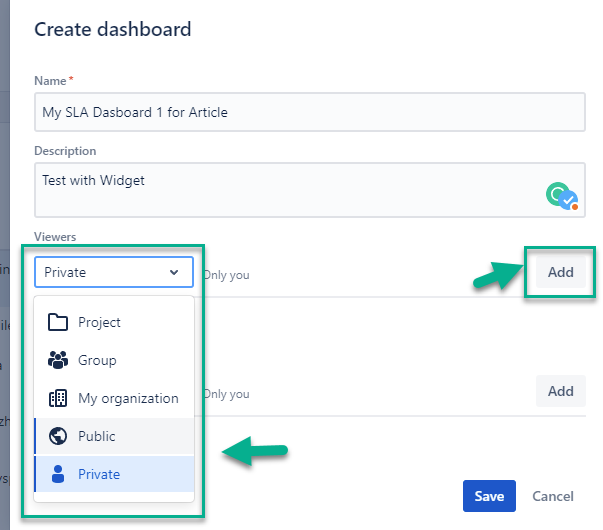
9. Go to Dashboard and create a new one.
10. Choose the access type: Public or Private.
Note: Public means that every team member can see and edit info on dashboard.
Private gives access for editing only for the owner (for you in this case).
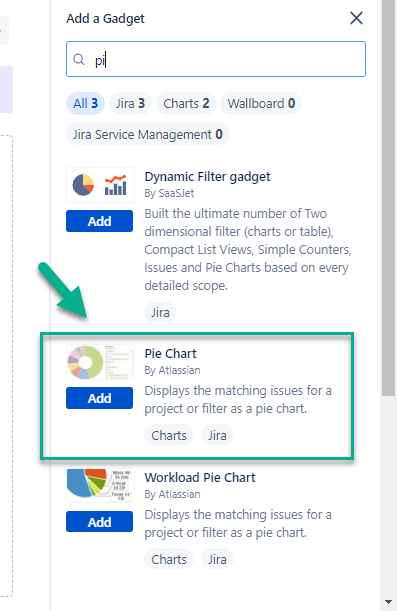
11. Add a gadget to a Dashboard.

12. Choose a Pie Chart.
13. Configure it according to your needs.
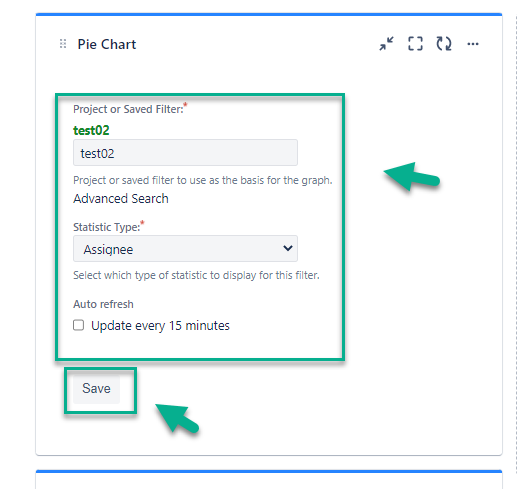
That’s all! 🎉 Get a ready-generated Pie Chart Gadget.
.png?cb=f48eab10c18b4db6d1ea1f44a9f5d9ec)
If you need any help or have questions, please contact us via SaaSJet Support or email support@saasjet.atlassian.net
Haven't used this add-on yet, then try it now!