
Classic Project
This short step-by-step guide will help you to use Custom fields easily.
Open the “SLA Time and Report” add-on.
1. Create
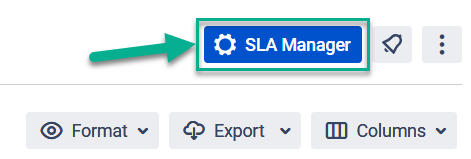
1.1. Click the “SLA Manager”” button at the top right corner.
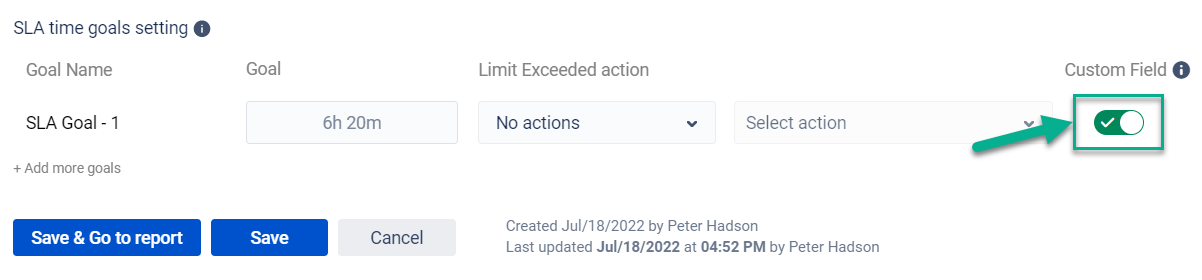
1.2. Then click the toggle button to enable custom fields.
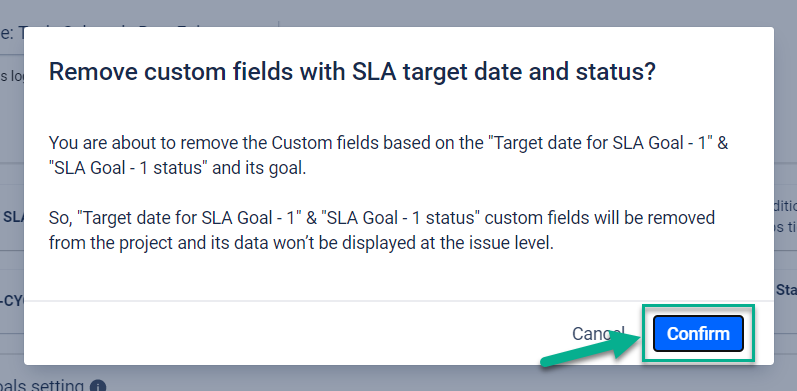
1.3. After activating custom fields, you’ll get a modal window with information and a request to create two Custom fields and populate them by SLA Time & Report data.
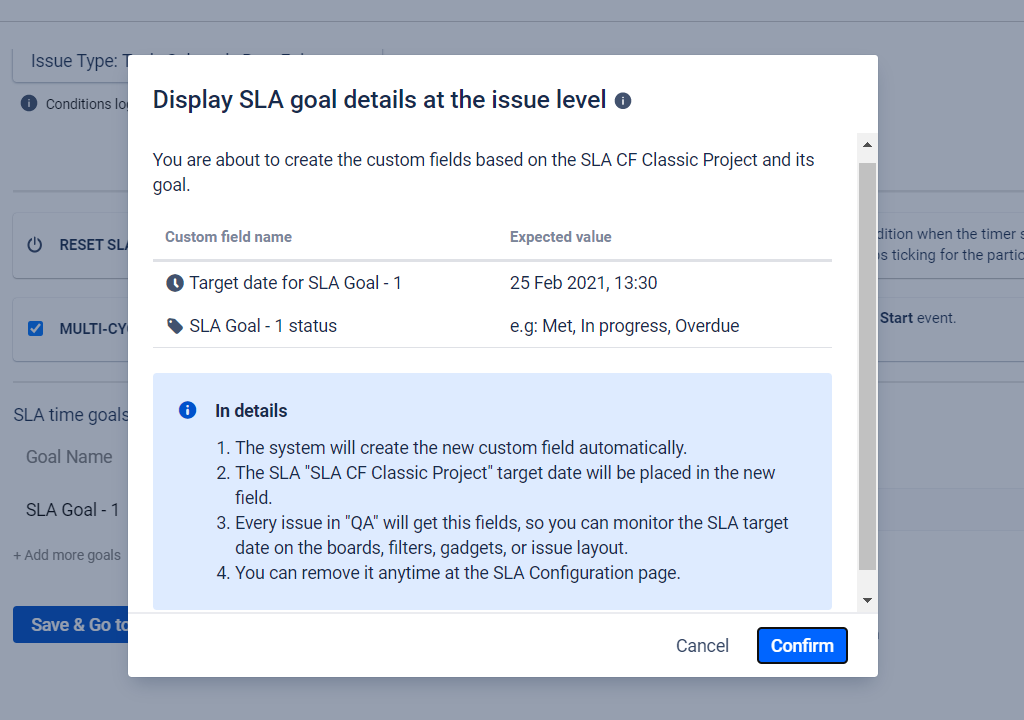
1.4. Click a “Confirm” button to save created Custom fields.

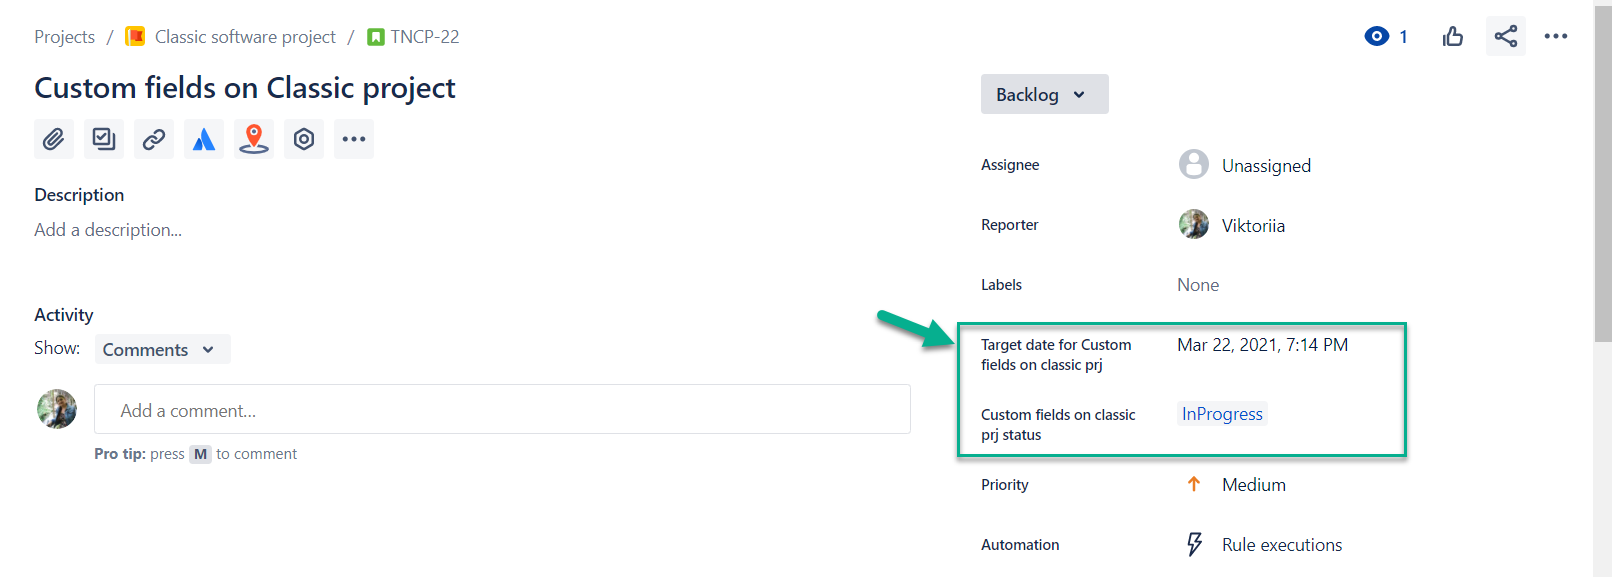
1.5. As a result, you’ll get the Target date and Status of the SLA goal in the issue custom field.
2. Deactivate and remove

2.1. To deactivate custom fields, hit on the active toggle and click the “Confirm” button that is shown on the following popup.
2.2. To delete the goal, click the “Confirm” button that is shown on the following popup.
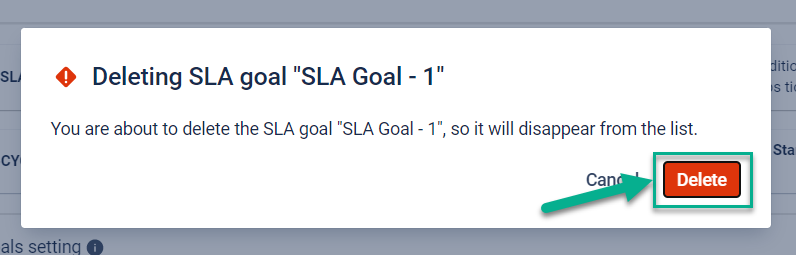
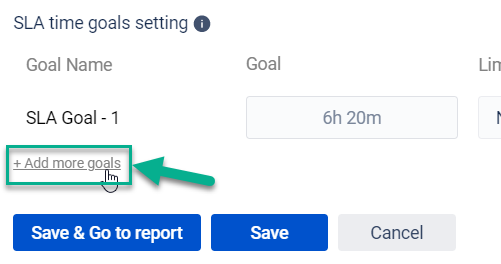
It’s impossible to delete a single SLA goal. You need to create at least one more goal.
If you need any help or have questions, please contact us via SaaSJet Support or email support@saasjet.atlassian.net
Haven't used this add-on yet, then try it now!