
If you want to track the task till a certain date, you may find this field useful.
For example, complete the task by March 10, 9 a.m.
Find more details here.
Step 1
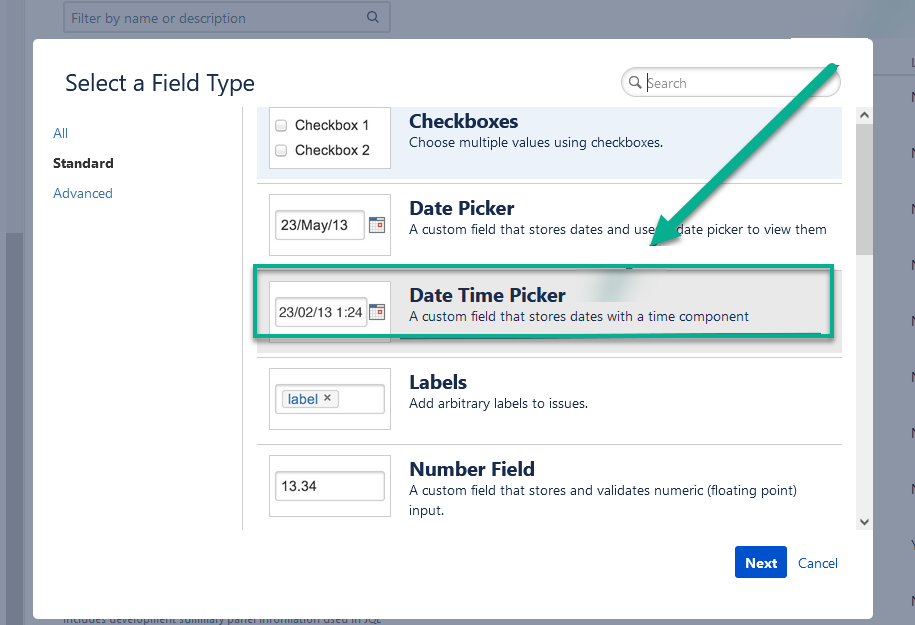
Before you can create a SLA config, you need to add an additional custom Date Time picker field.
-
Go to the Jira Cloud
-
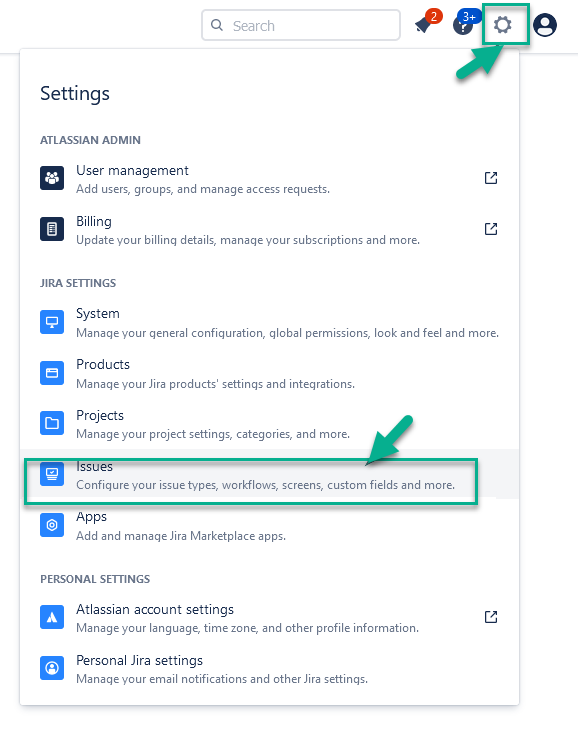
Click a “Gear” button , choose “Work Items” in a menu
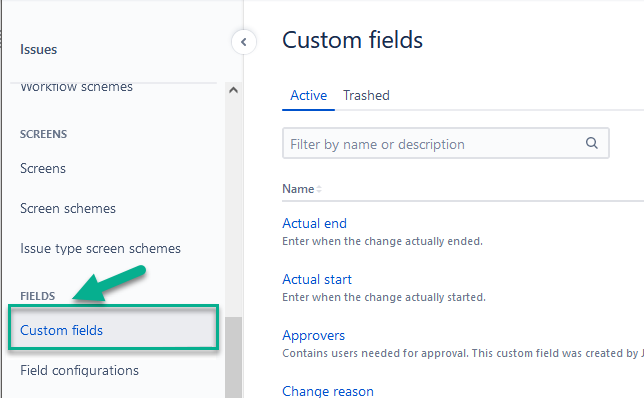
Select “Custom fields” from the list.
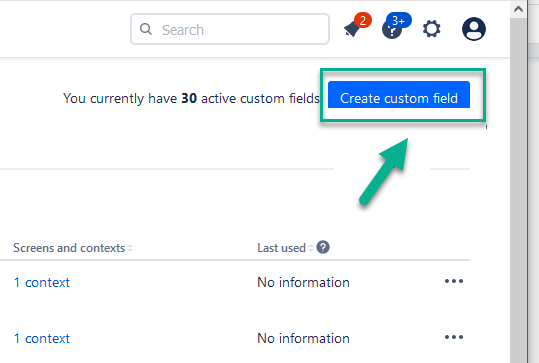
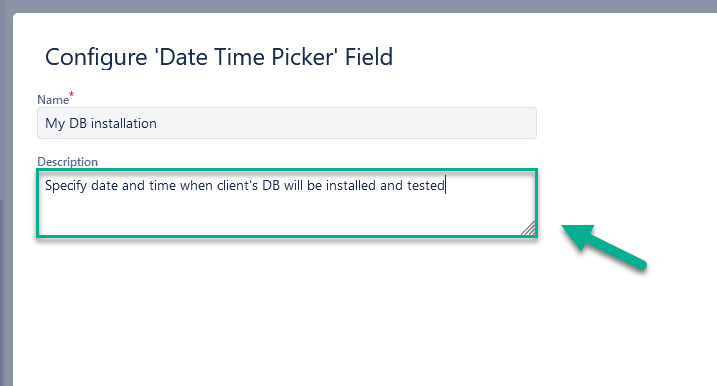
Create a new “Custom field” to specify a desired date and time for task execution.
Choose the Custom field with the determined date and time to point it in a task and take it under control.
Enter the name of the field and its description to find the field you want easily and conveniently.
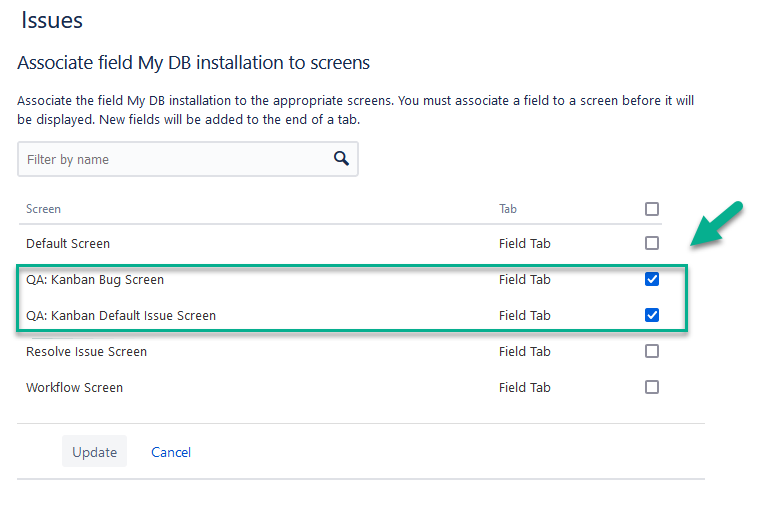
Important!
Don’t forget to assign Custom field to the Project, where you want to take this field under control for your SLA.
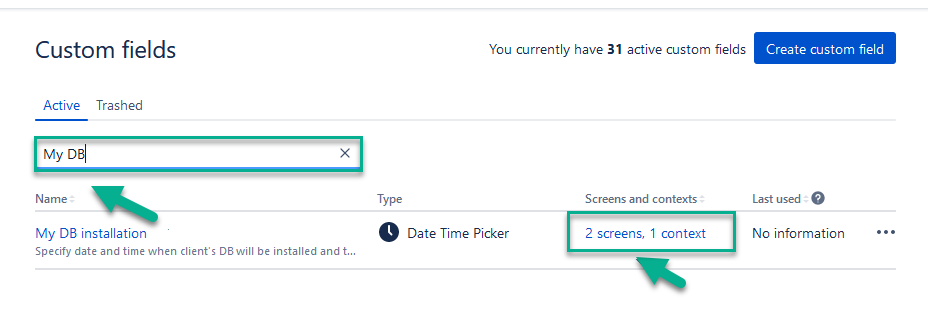
Once the Custom Field is created, it's easy to find by searching in the Custom Fields list in Jira.
To verify that the Custom Field is running in the Project, just create a test task and find your Date and Time field.
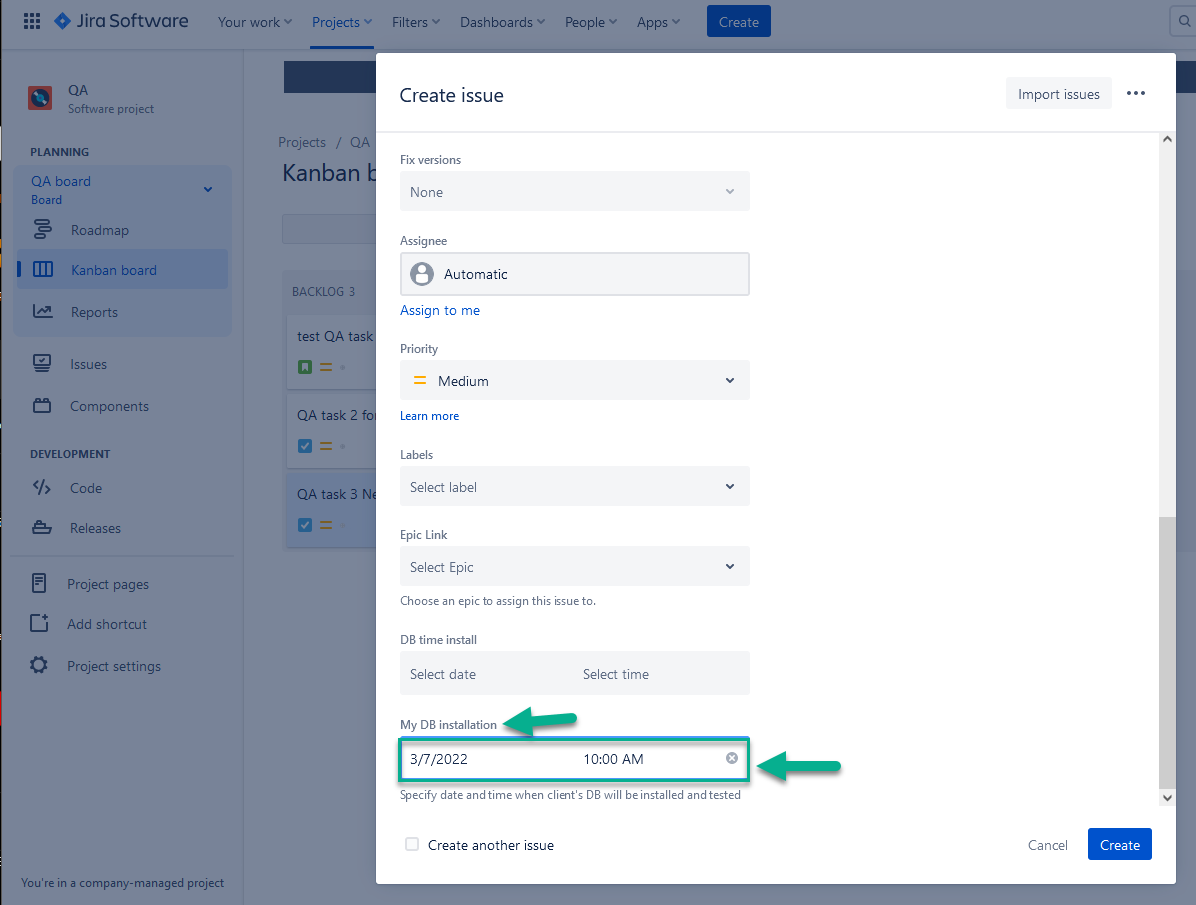
Congratulations, the custom date field works properly.
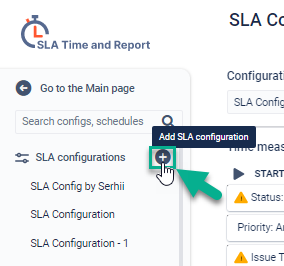
Step 2 - Create SLA Config for the Negotiated Date
Create a New SLA config - see Add New menu.
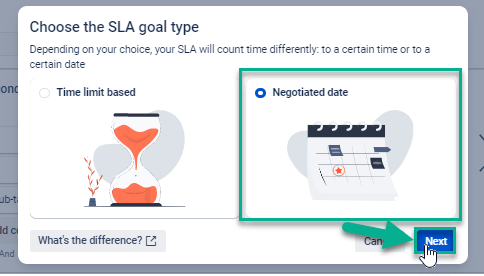
From the beginning, you need to choose the Negotiated Date format if you want to take under control the SLA config execution concerning a scheduled date and time.
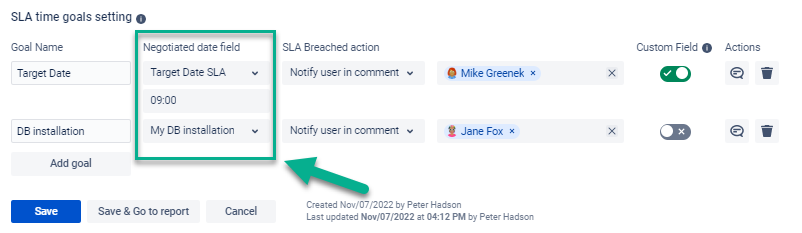
Choose a custom field, which has been created to take conditions under control.
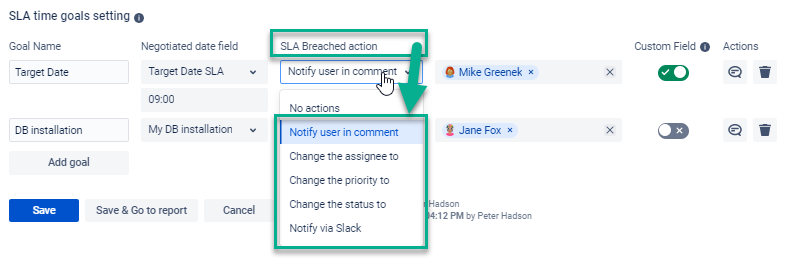
Don’t forget to choose the action that will be completed for this field, when the condition will work. We will inform a user via comment when the condition will work (as it’s shown in the example below).
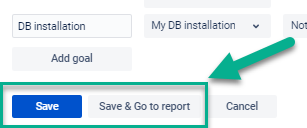
Save your SLA Config and see the results of the SLA control conditions on the Dashboard.
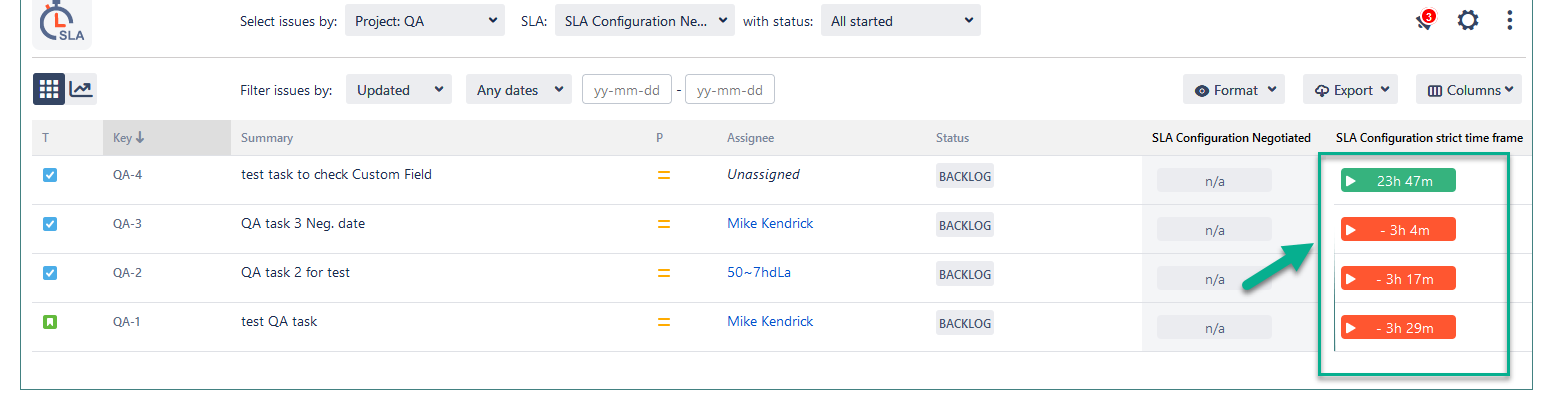
When everything is configured, the SLA table shows the following results:
How does the SLA config + Negotiated Date connection work in general?
.png?cb=8018ef2e97b277f87eaddd78a72cd9de)
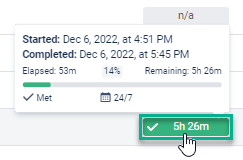
If a task is in a Backlog - a trigger will launch. (see. a green color on a table)
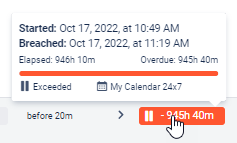
If the time of task execution is overdue and the task has not passed all the SLA stages - you will see the exceed time limit on the grid. (see. red color on the table)
That’s all!
If you need help or want to ask questions, please contact us through SaaSJet Support or via email support@saasjet.atlassian.net
Haven't used this add-on yet, then try it now!