Once you've installed the app and open it for the first time, you’ll be greeted with this screen:
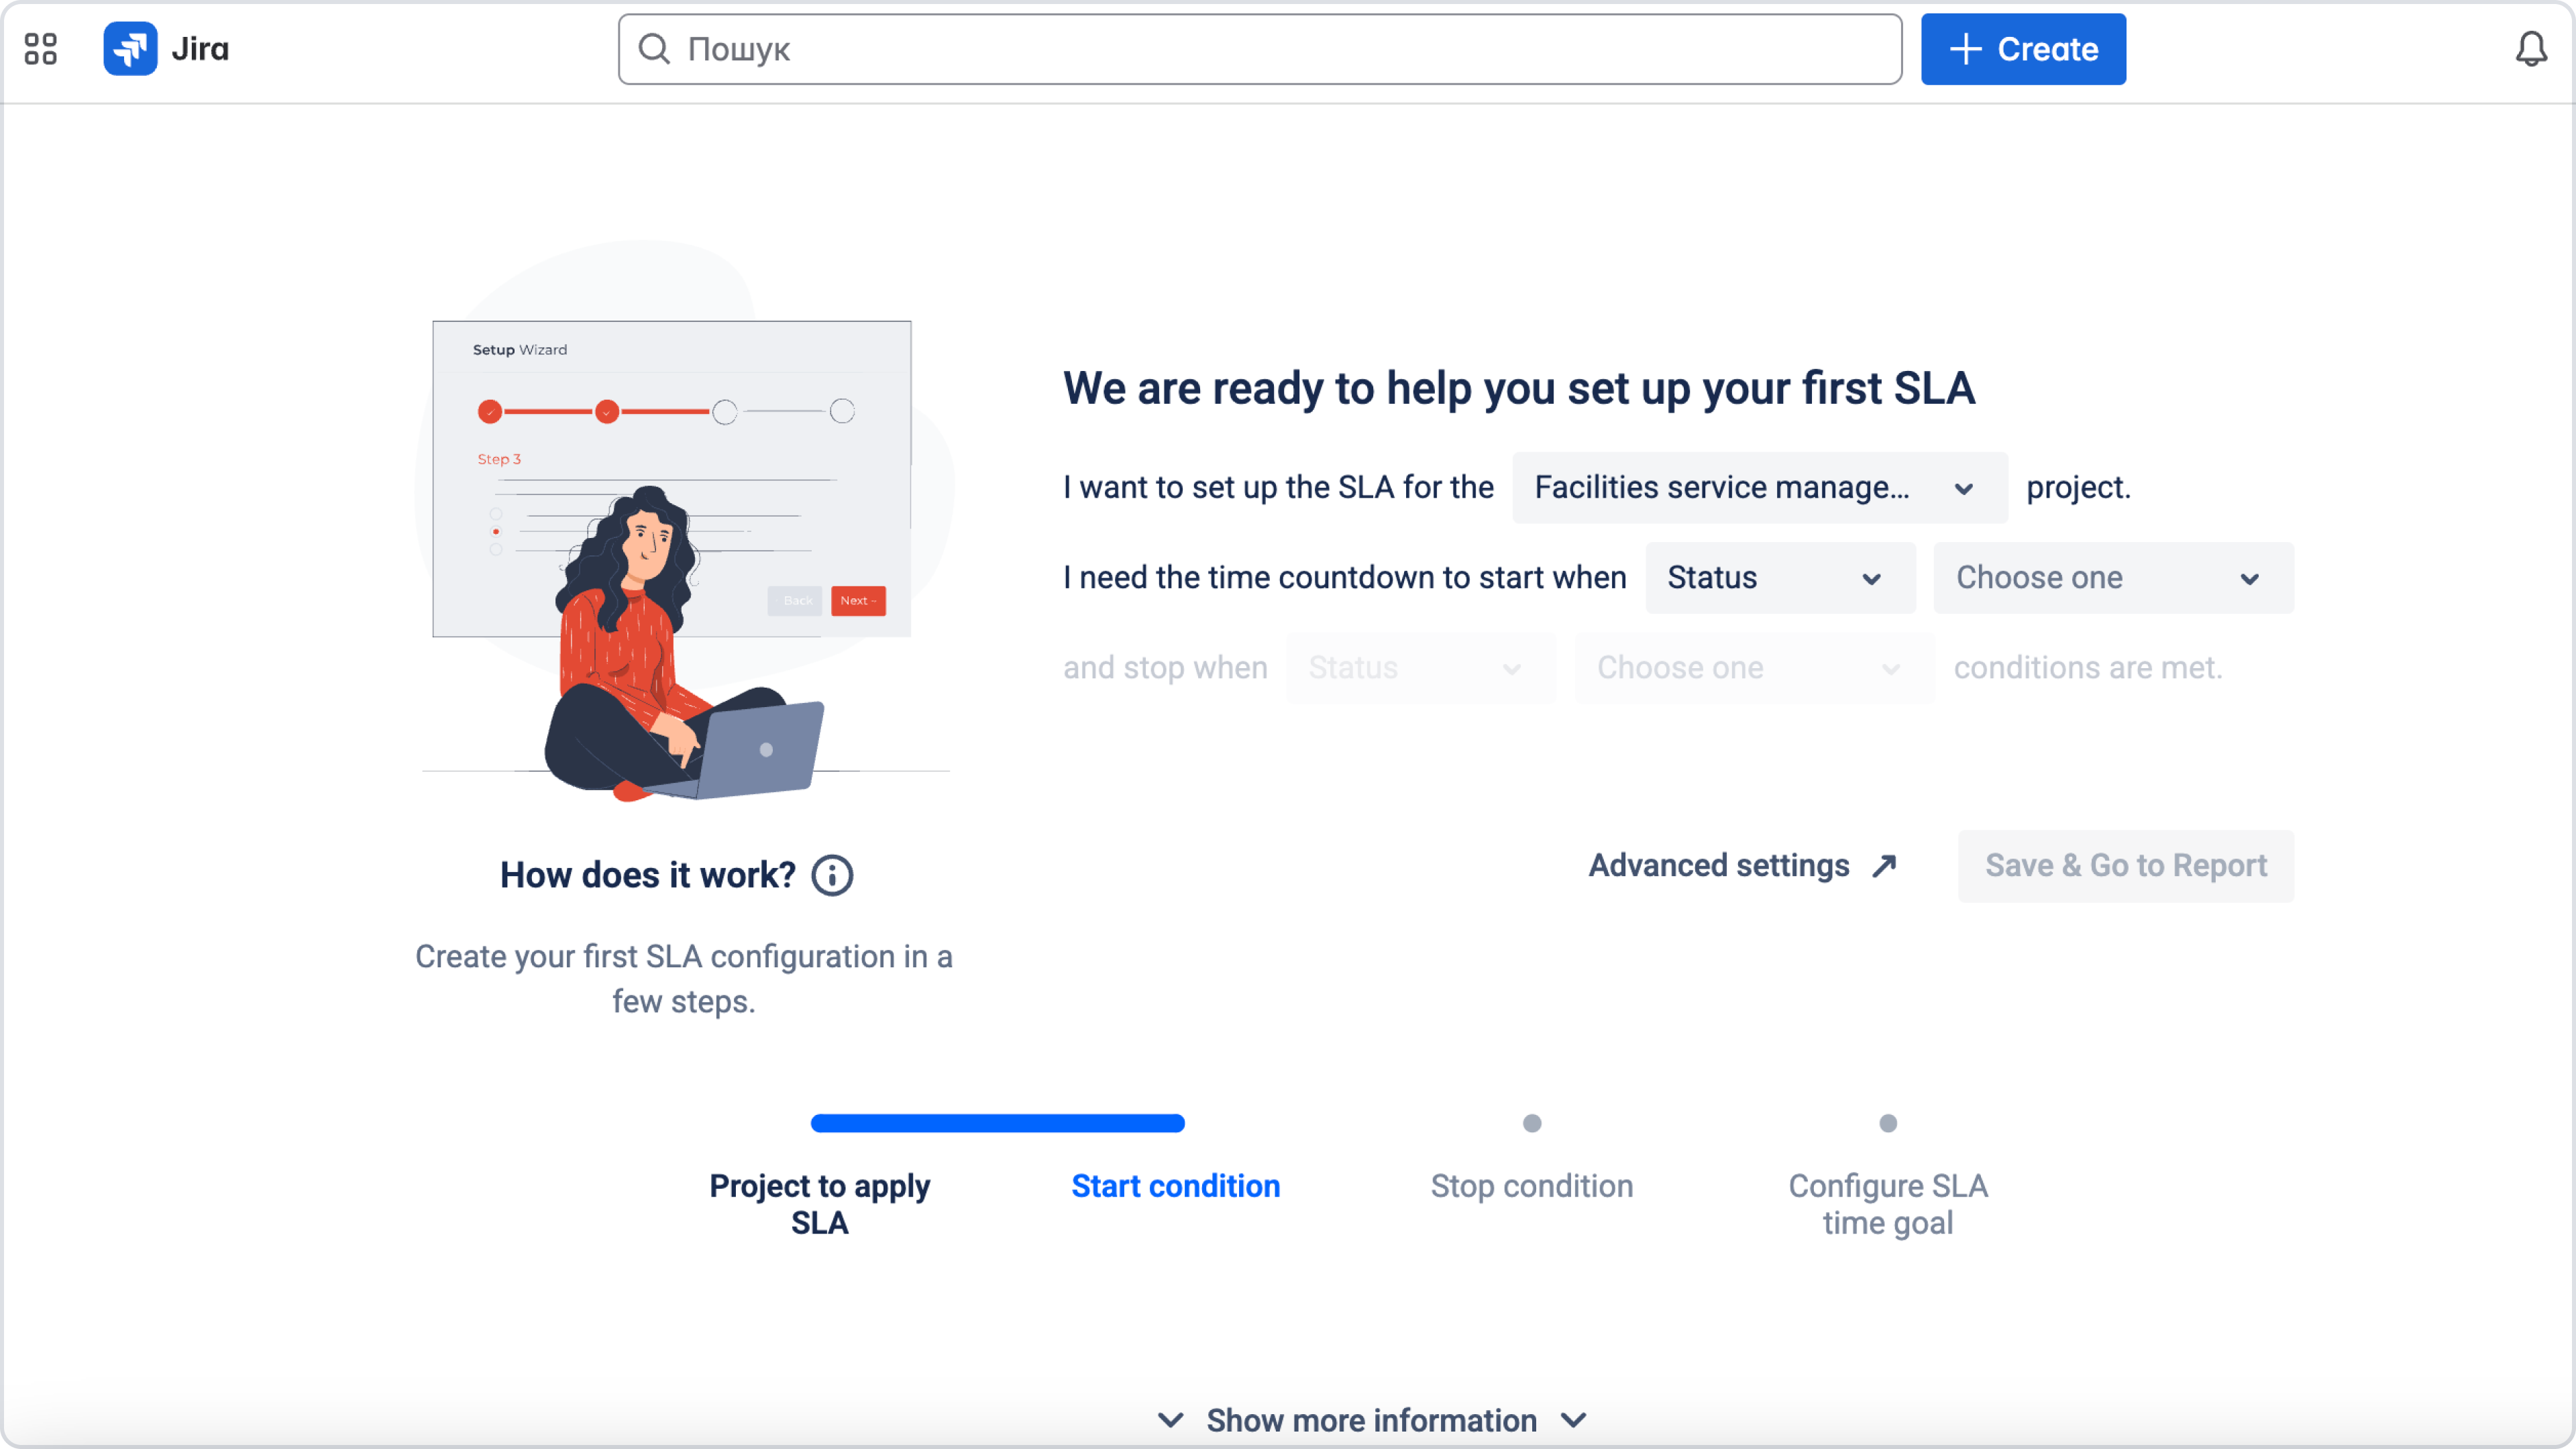
This is the starting point where you can easily configure your first SLA rule using a simple step-by-step interface.
Here, you can:
-
Select the Jira project you want to apply the SLA to
-
Define when the SLA countdown should start and stop
-
Set your target time goal (for example, 8 working hours)
This is the starting point for SLA tracking. From here, you can begin monitoring the time-based performance of your tasks. This page is designed to help you understand how to configure and launch your first SLA.
Next steps:
Once the SLA is configured, the app will:
-
Automatically start tracking issue time based on your conditions
-
Show real-time SLA status (green/red indicators)
-
Allow you to generate SLA reports and add them to your Jira dashboards
You can always return to the configuration later to edit, add multiple SLA rules, or fine-tune advanced options.
You don’t need to set everything up at once. Start with a single SLA rule to test and understand how the app works. You can build from there.
Need more context or ideas for your SLA setup?
Click “Show more information” to expand the section with extra resources. You’ll find:
-
A quick video tutorial on how to configure your first SLA
-
Key actions to complete after setup (like permission settings)
-
Use case examples with different SLA logic
-
Links to detailed documentation
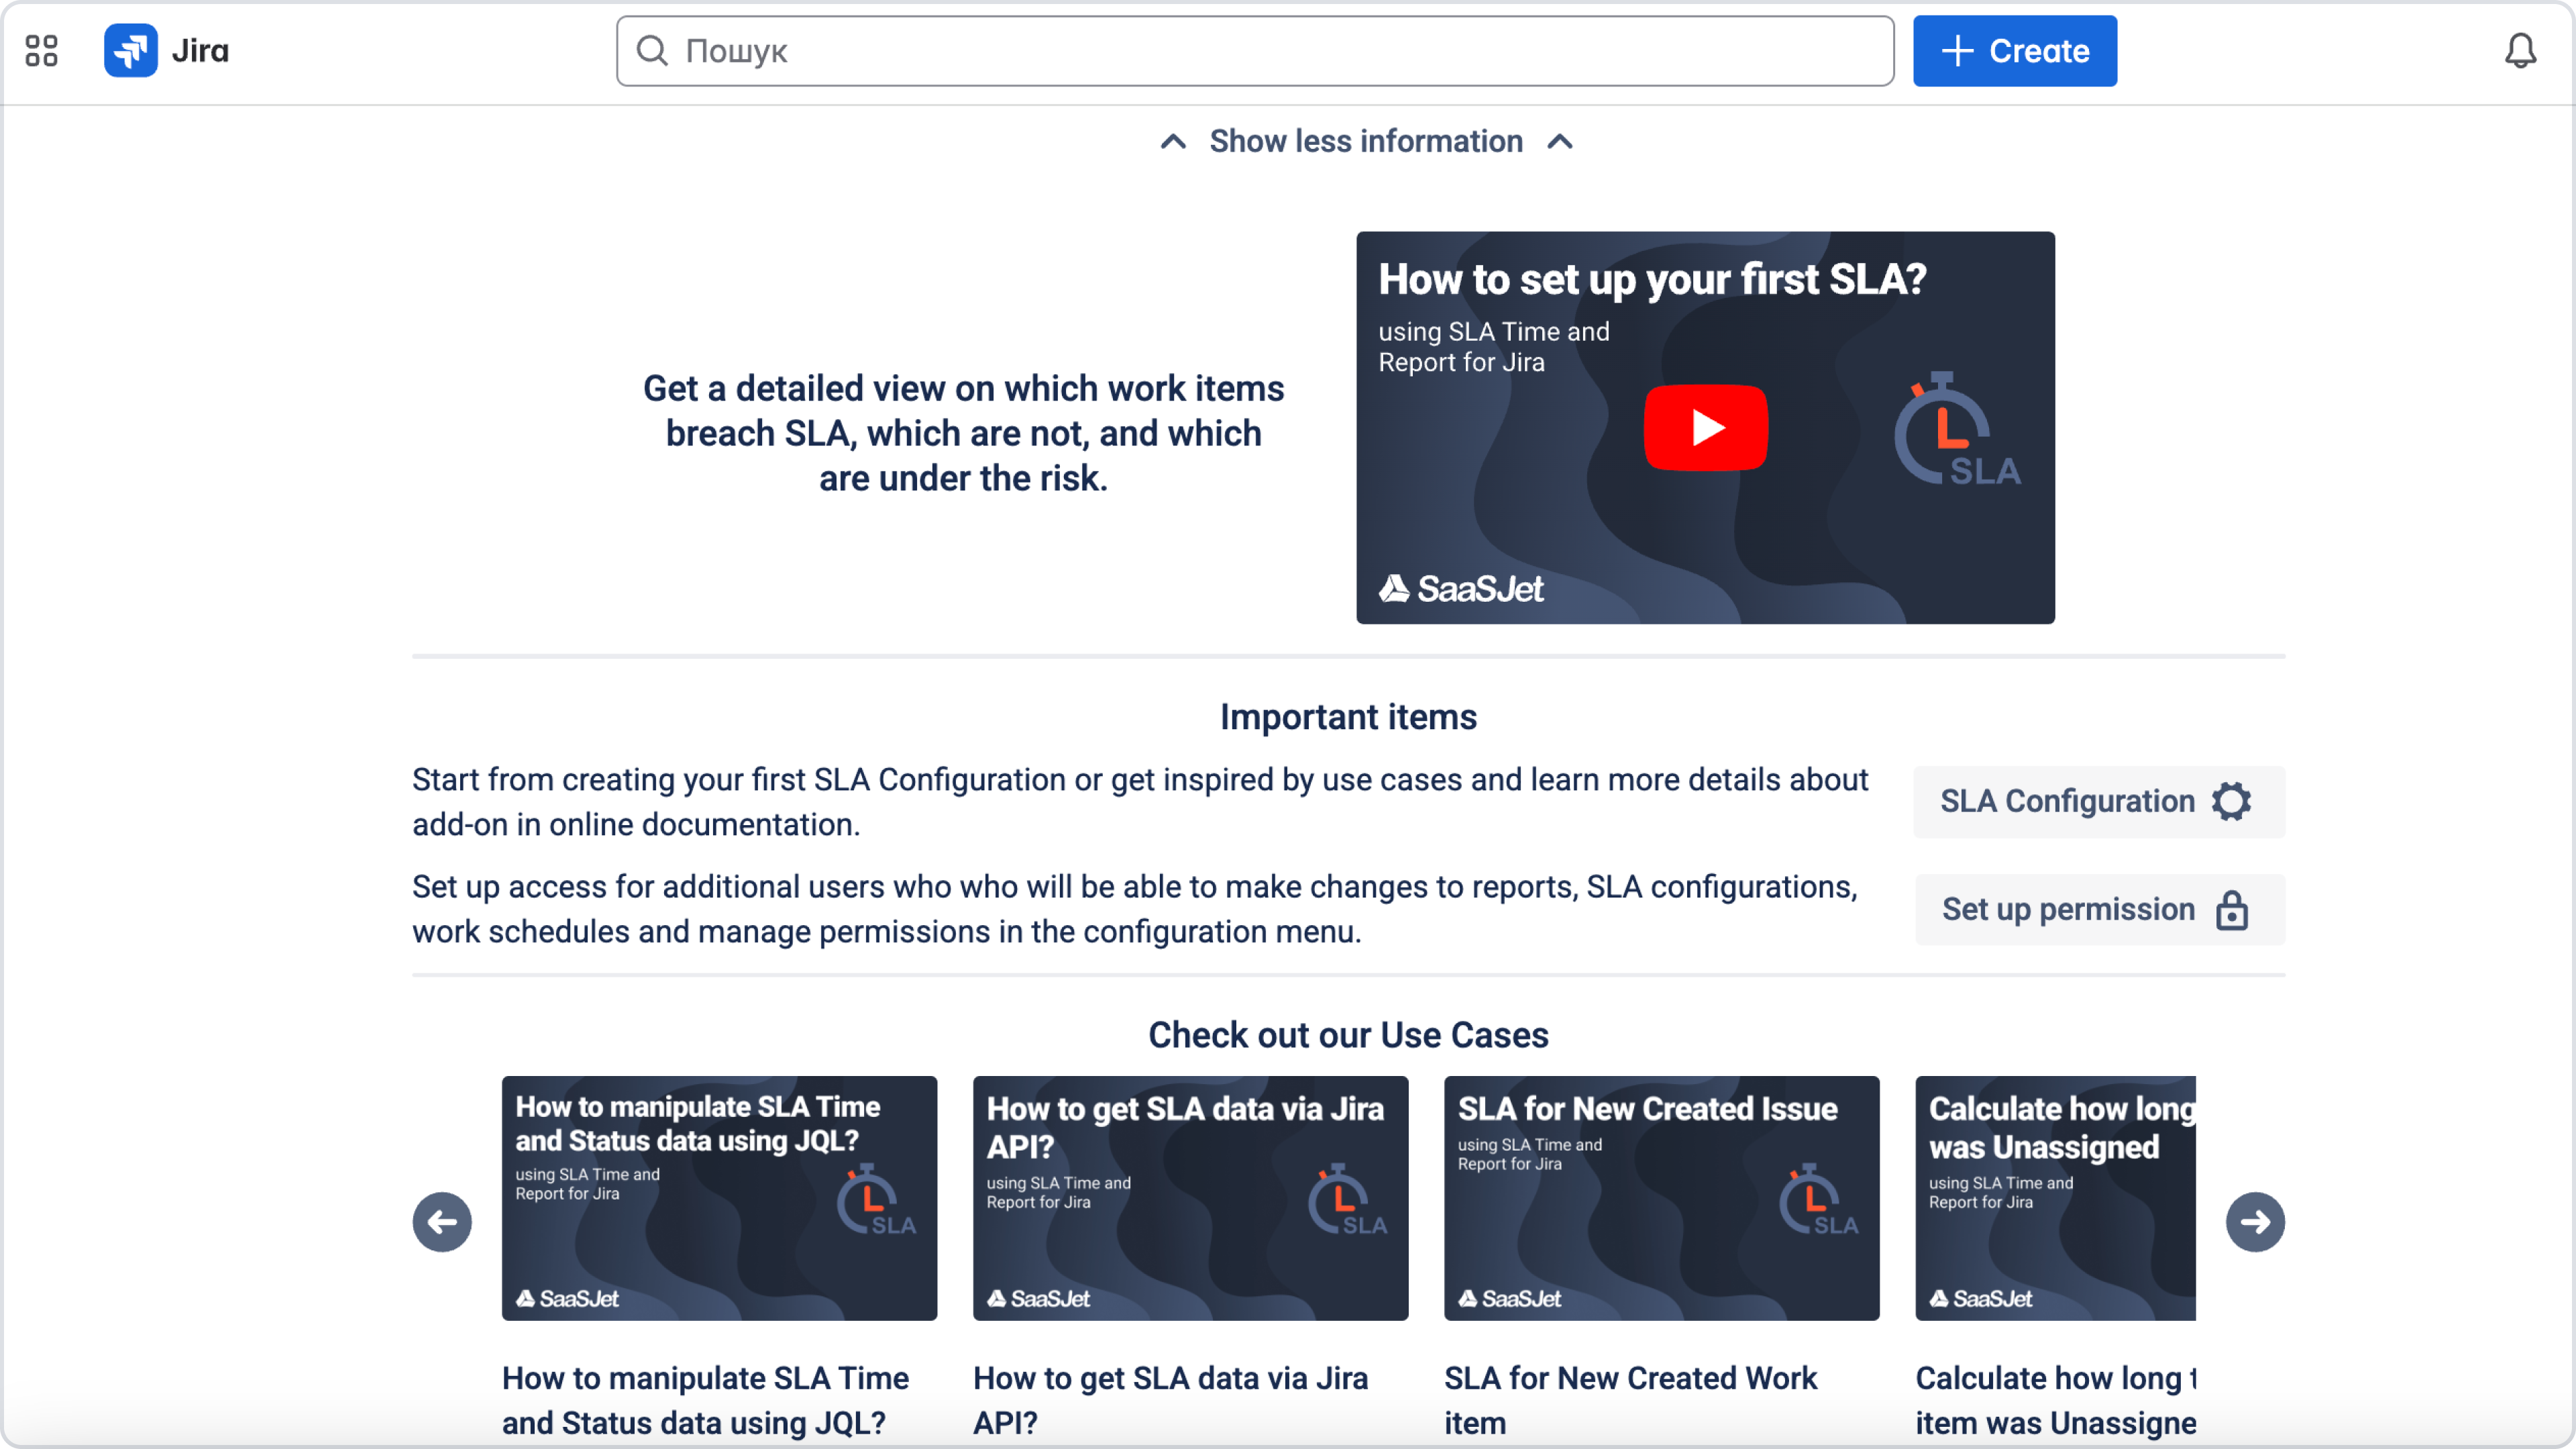
It’s a great way to explore real-life scenarios and set everything up properly from the beginning.
Helpful resources & links