
This guide explains how to prepare your environment to deploy Jira apps created with AI Apps Builder.
Why do you need the Forge Installer?
-
AI Apps Builder lets you build custom Jira apps without writing code.
-
To use those apps in your Jira Cloud, they must be deployed with Atlassian Forge®.
-
The Forge Installer does the setup for you: it installs Node.js, the Forge CLI, and all required dependencies, so everything runs smoothly.
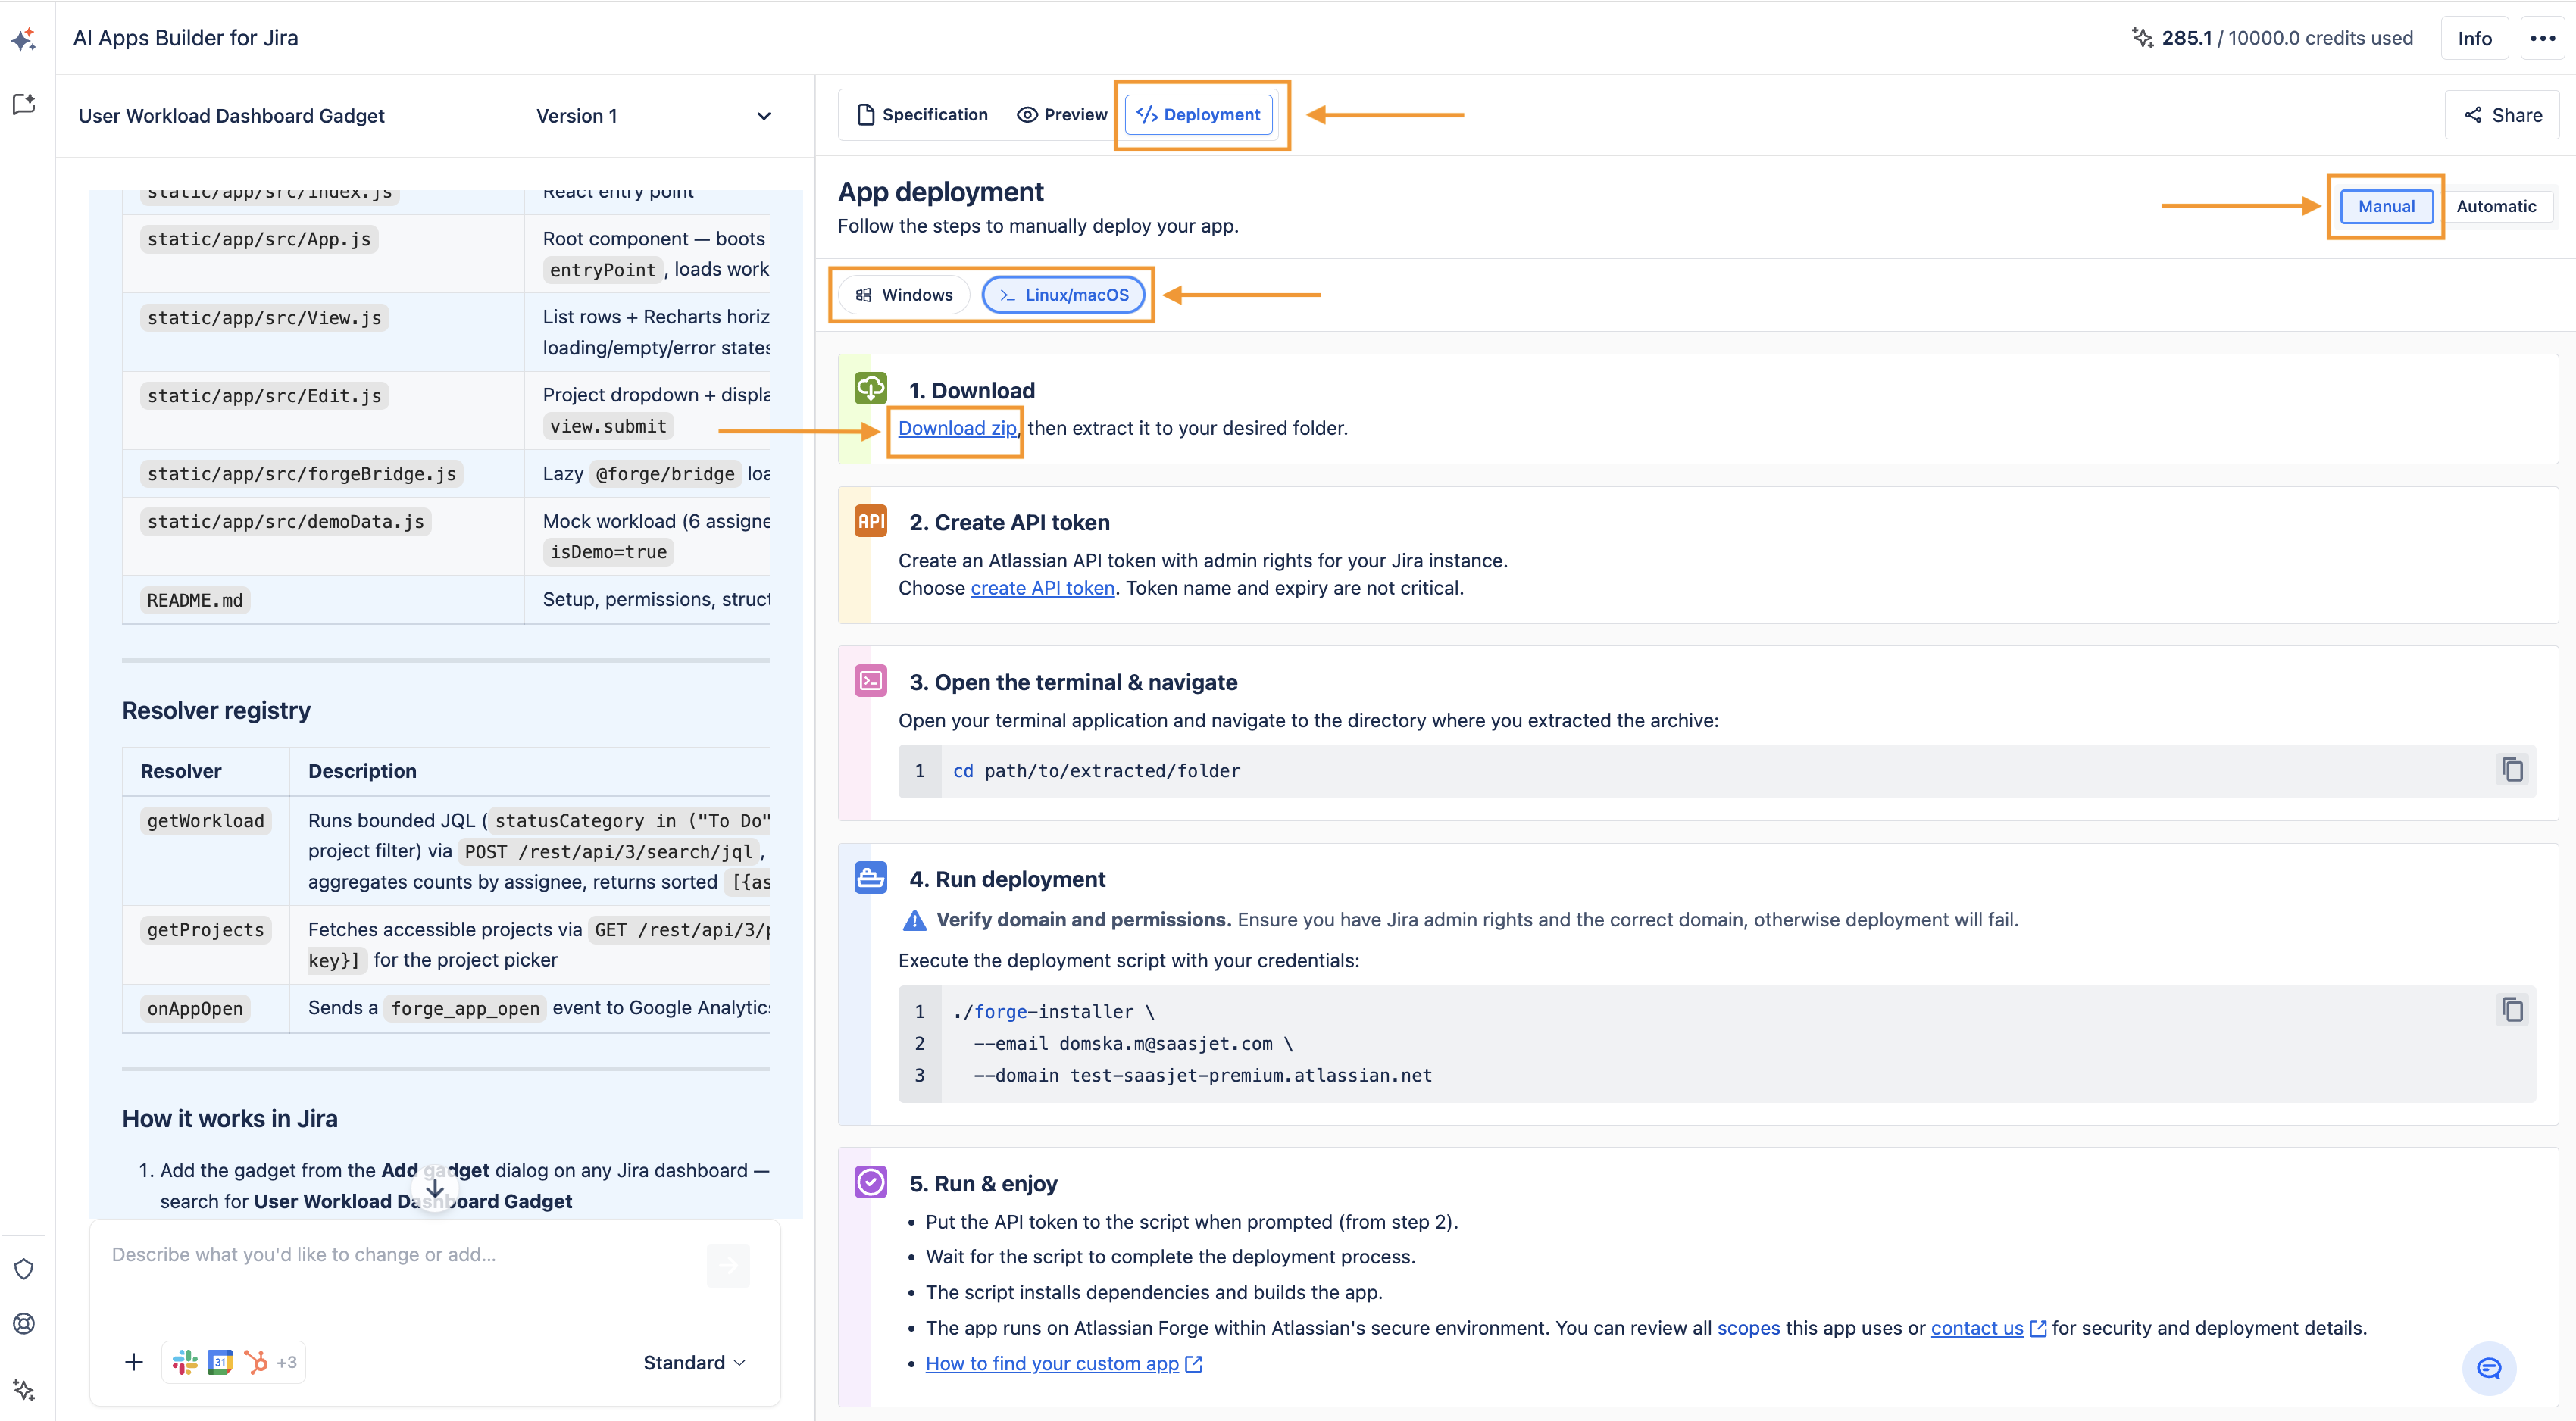
Follow the steps in this guide for your operating system (Windows, MacOS, or Linux).
Once setup is complete, you’ll be ready to deploy your own apps from AI Apps Builder directly into Jira. 🚀
Before deploying any app created with AI Apps Builder, ensure you are an administrator for the Jira site where the app will run.
Windows Deployment
1. Download the package
-
Download the archive with the auto-installer.
-
Unzip the archive to any folder.
2. Run the installer
Double-click on the forge-installer.

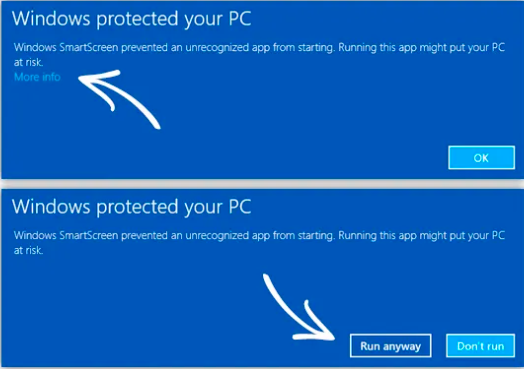
Important: On Windows 10 or newer, you may see a SmartScreen Protection message stating that the file may be unsafe. Click More info → Run anyway to continue.
3. Install Node.js (if not installed)
-
If Node.js is missing, the installer will automatically download it.
-
Just click Next in the Node.js setup wizard.
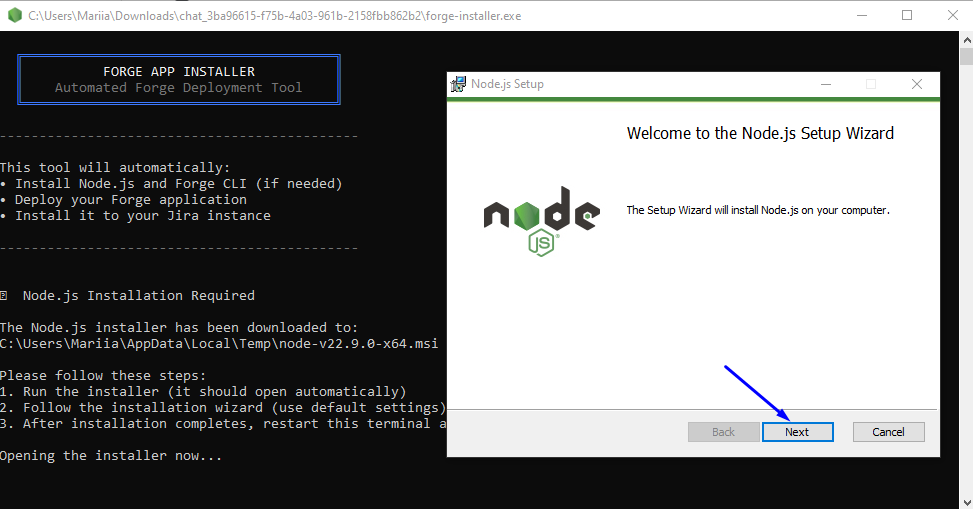
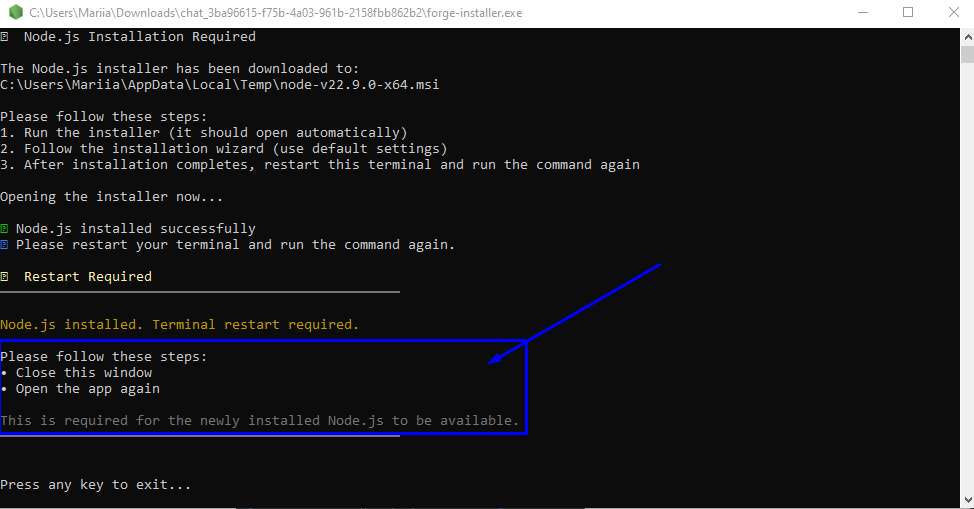
Necessary: After Node.js finishes installing, restart the forge-installer so it can continue.
4. Automatic dependency installation
The installer will install all required dependencies.

You will be asked to enter your Jira credentials:
-
email,

-
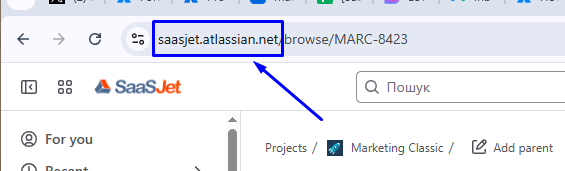
domain,
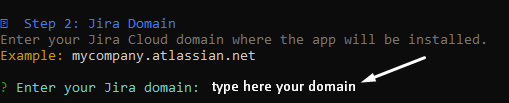
For instance, you can find your Jira domain by opening your account and checking the address box.
-
API token
The API token is used only during deployment to deploy the Forge app to a Jira site. The token is not used to read Jira data, access issues at runtime, or collect analytics. After deployment is complete, the API token no longer affects how the app works.
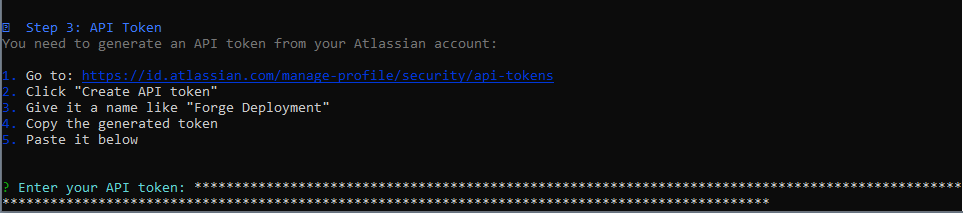
How to generate an API token? Follow the steps:
-
Go to: https://id.atlassian.com/manage-profile/security/api-tokens
-
Click “Create API token”
-
Give it a name
-
Copy the generated token
If the details are incorrect, you’ll see an error. If correct → the process continues.
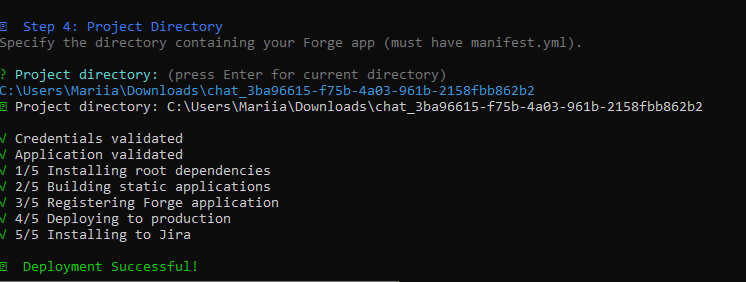
5. Deploy to Jira
-
Press Enter to start deployment.
-
Wait a few minutes.
-
When complete, you’ll see a confirming message “Deployment Successful”.
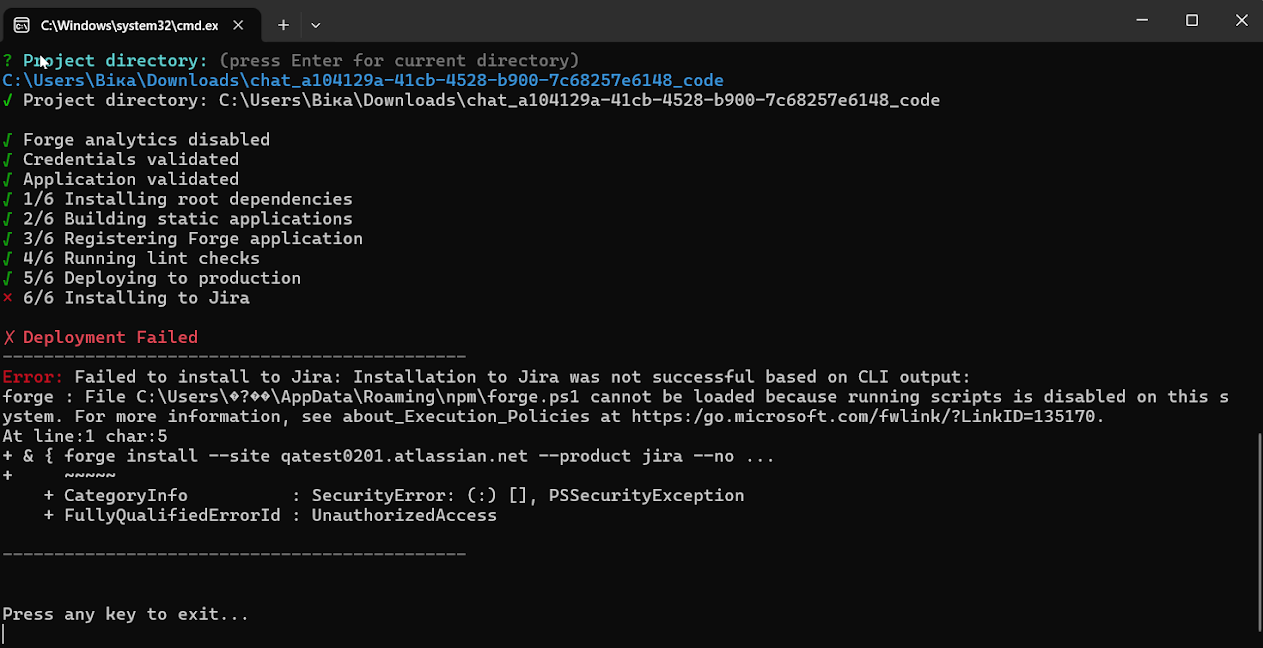
Troubleshooting
If you encounter the error shown in the screenshot below, run the following command:
Set-ExecutionPolicy -Scope CurrentUser RemoteSigned
If you have any questions, feedback, or ideas, just contact SaaSJet Support or email us at support@saasjet.com. We’re always happy to help.
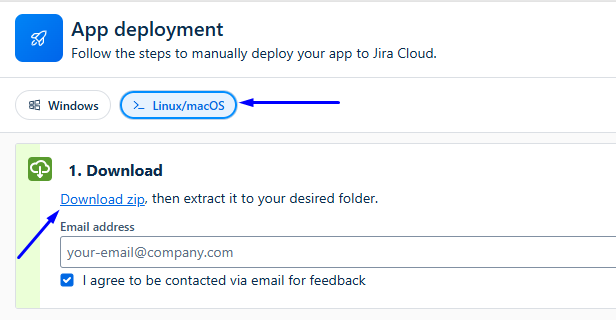
Linux / MacOS Deployment
Deployment on Linux and MacOS is almost the same. Below, we show Linux as an example.
1. Download the package
-
Download the archive with the app and installer.
-
Unzip it into a folder.
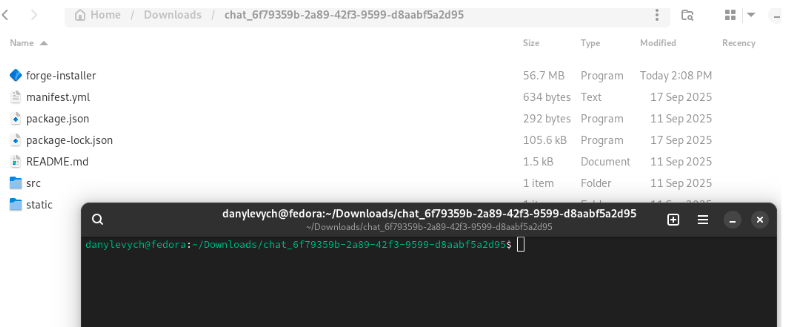
2. Run the installer
-
Open the terminal.
-
Go to the folder with the archive:
cd path/to/the/folder
Important: In the UI of AI Apps Builder, a code snippet will be generated using the first option.
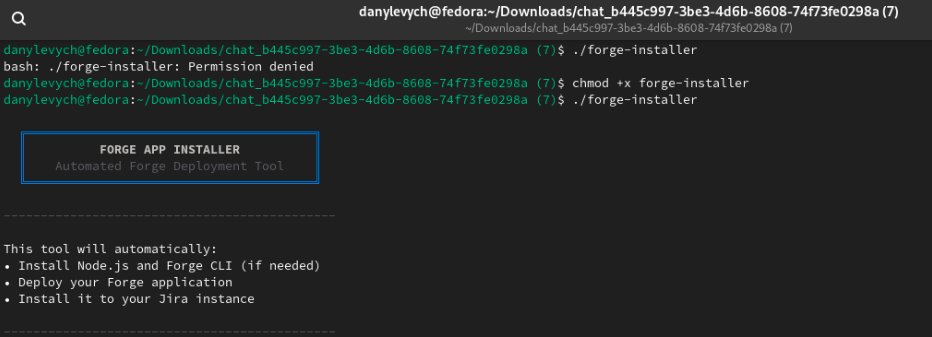
Important: In rare cases (which should not normally occur), the user may encounter an error when starting the Forge Installer.
The reason is that the installer file does not have execution permission.
On Linux and macOS, a program file must have the execute attribute.
If it does not, the system refuses to run the file, and the user sees an error message.

To fix this, you only need to give the installer execute permission once with the command:
chmod +x forge-installer
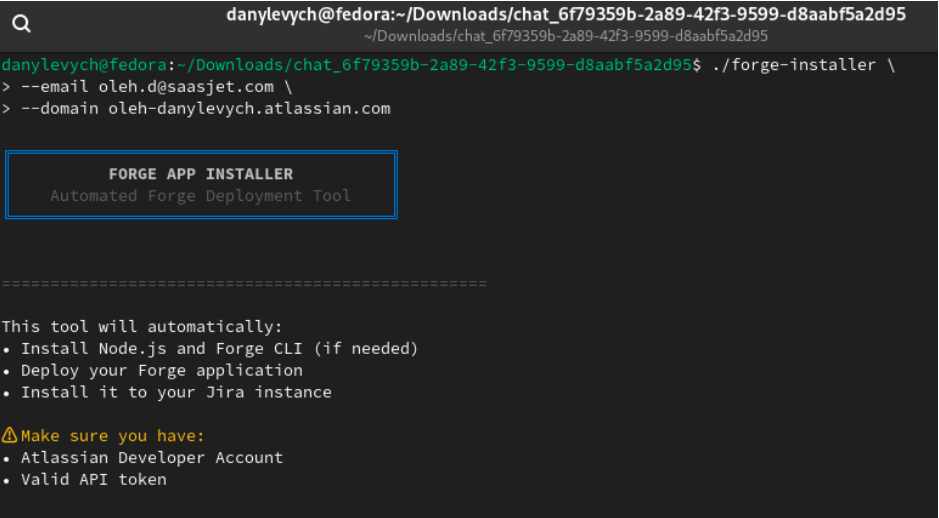
You can run the Forge installer in two ways:
Option A: With parameters
./forge-installer \
--email <user email> \
--domain <jira domain>
-
Default email and domain are filled automatically.
-
You can change them if needed.
Option B: Without parameters
./forge-installer
-
The script will ask you to enter the email and the domain manually.
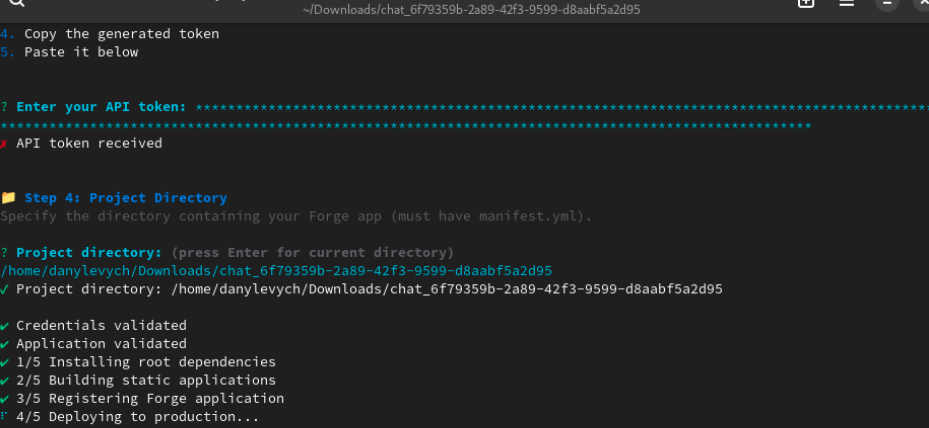
3. Install dependencies
-
The installer checks for Node.js. If missing → it downloads and installs automatically.
-
Then, dependencies are installed automatically.
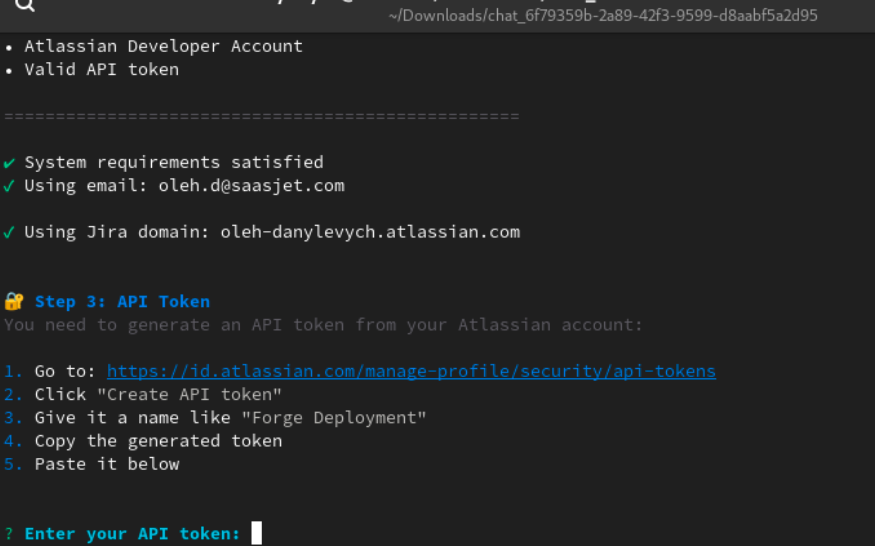
4. Enter API Token
-
The installer will ask for your Jira API Token.
During deployment, AI Apps Builder asks for an API token. The token is used only to authorize the installation of the generated Forge app to your specific Jira Cloud site.
The API token:
-
Is used only for deployment
-
Is not stored by AI Apps Builder
-
Is not used to access Jira data
-
Is not used at the app’s runtime
-
Is not used for analytics or data collection
-
Does not affect the app after deployment
Once deployment is complete, the app runs independently as a standard Forge app within your Jira environment. It does not rely on the API token in any way.
If the API token expires or is revoked, the deployed app will continue to function normally.
The token is simply a secure authentication mechanism required by Atlassian to authorize app deployment.
How to generate an API token? Follow the steps:
-
Go to: https://id.atlassian.com/manage-profile/security/api-tokens
-
Click “Create API token”
-
Give it a name
-
Copy the generated token
-
Enter the token and press Enter.
-
Installation starts automatically.
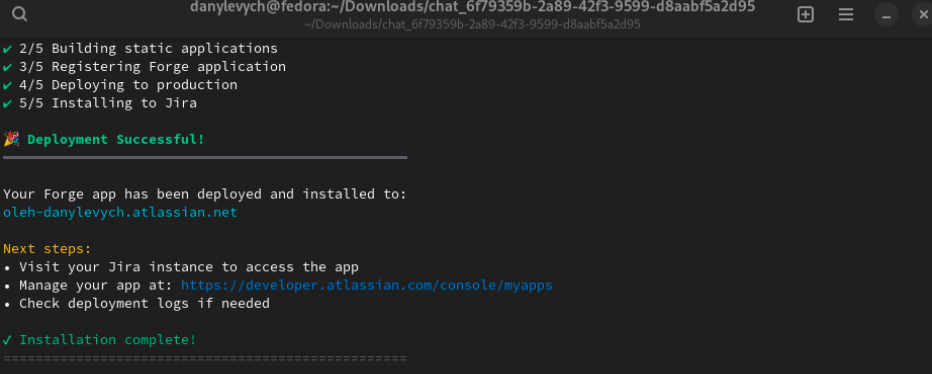
5. Finish installation
Once complete, you will see a message: 'Deployment successful.' Now you are ready to deploy Jira apps created with AI Apps Builder in your Jira instance.
Possible Security Warnings
-
On Linux, you may see a message about running an external script.
-
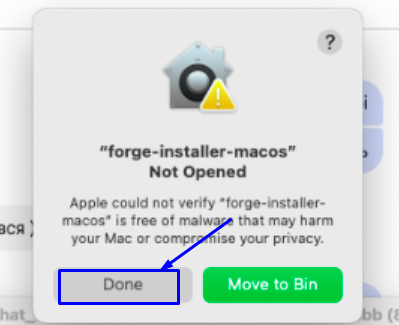
On MacOS, you may see a security warning that blocks the installer.
If this happens:
-
Open System Preferences → Security & Privacy → Allow Anyway.
-
If you see Move to Bin, ignore it, click the button “Done” and allow the installer to do it manually.
Haven't used AI Apps Builder yet? You're welcome to try it then!
Have questions or want to see AI Apps Builder in action?
Feel free to meet with us — book a demo today!