Export from Jira to Google Spreadsheets Using Time in Status App
Сopy the doc (it’s the template document in this use case): https://docs.google.com/spreadsheets/d/1atEE4DNdluGtQLvP8YR-Sim-oEHK-DKL_TXXNLHeYRI/edit?usp=sharing
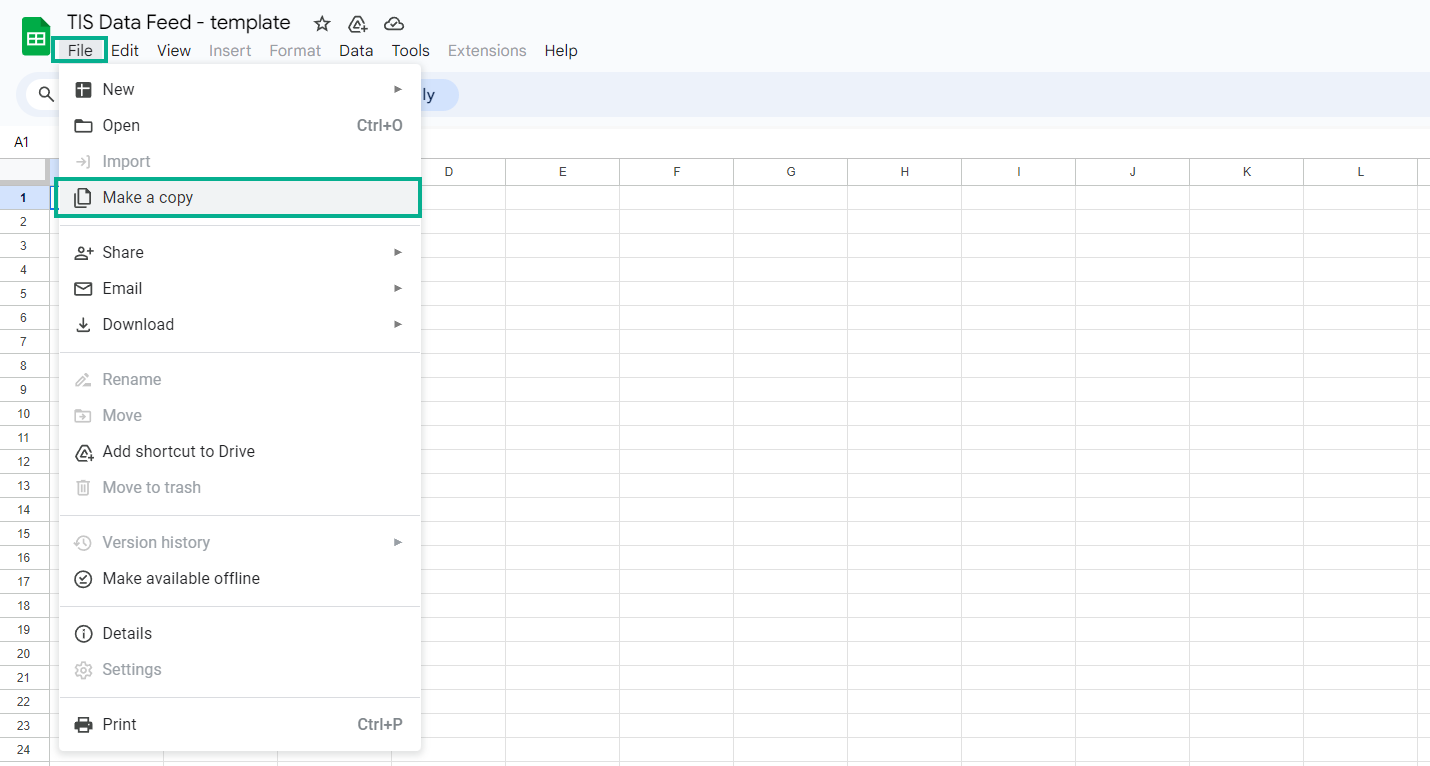
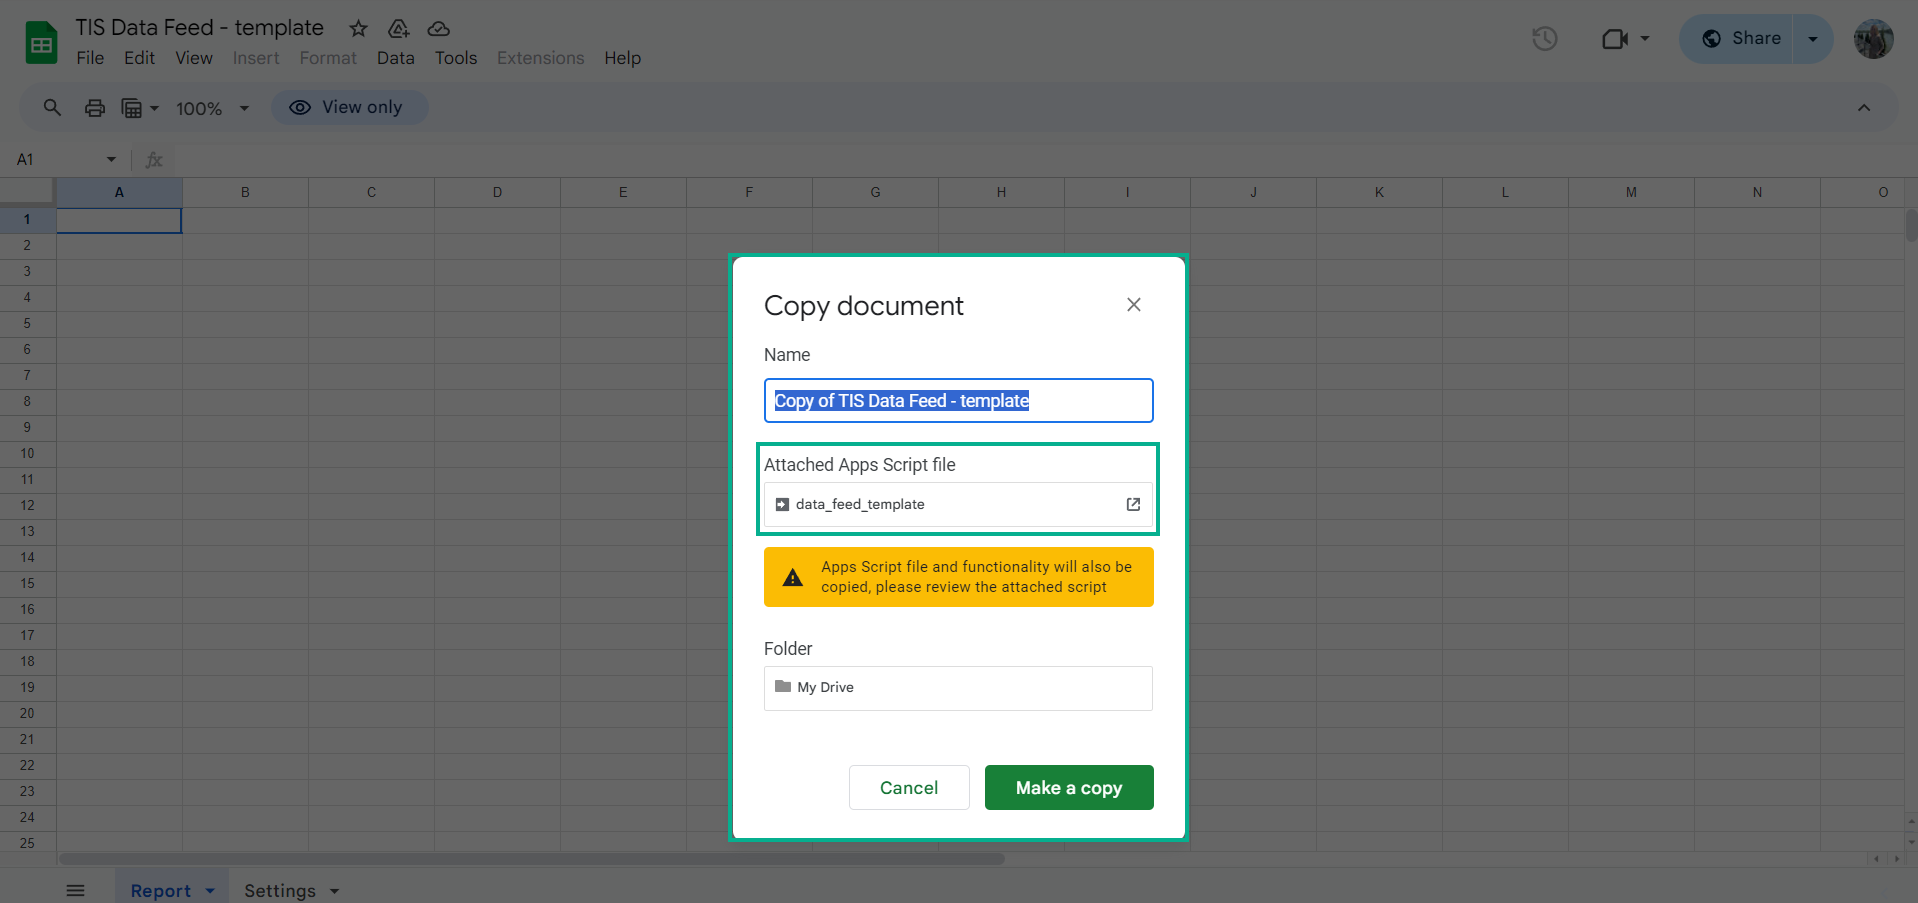
To connect a spreadsheet to the app, you need a script attached to this template. You can ignore the warning messages.
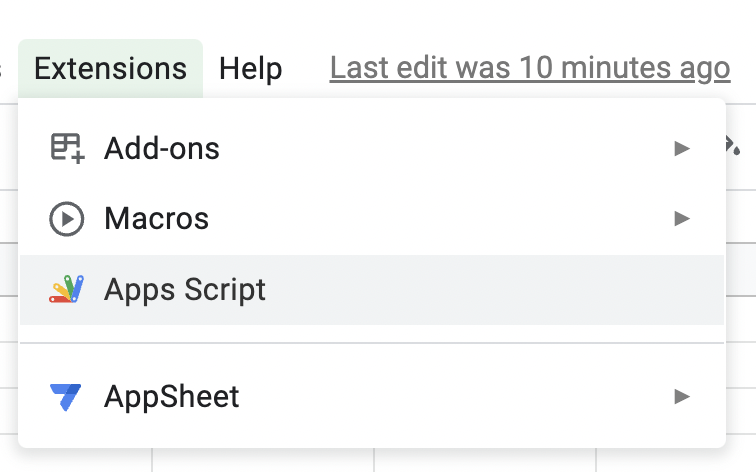
2. Then go to Extensions and choose → Apps Script .
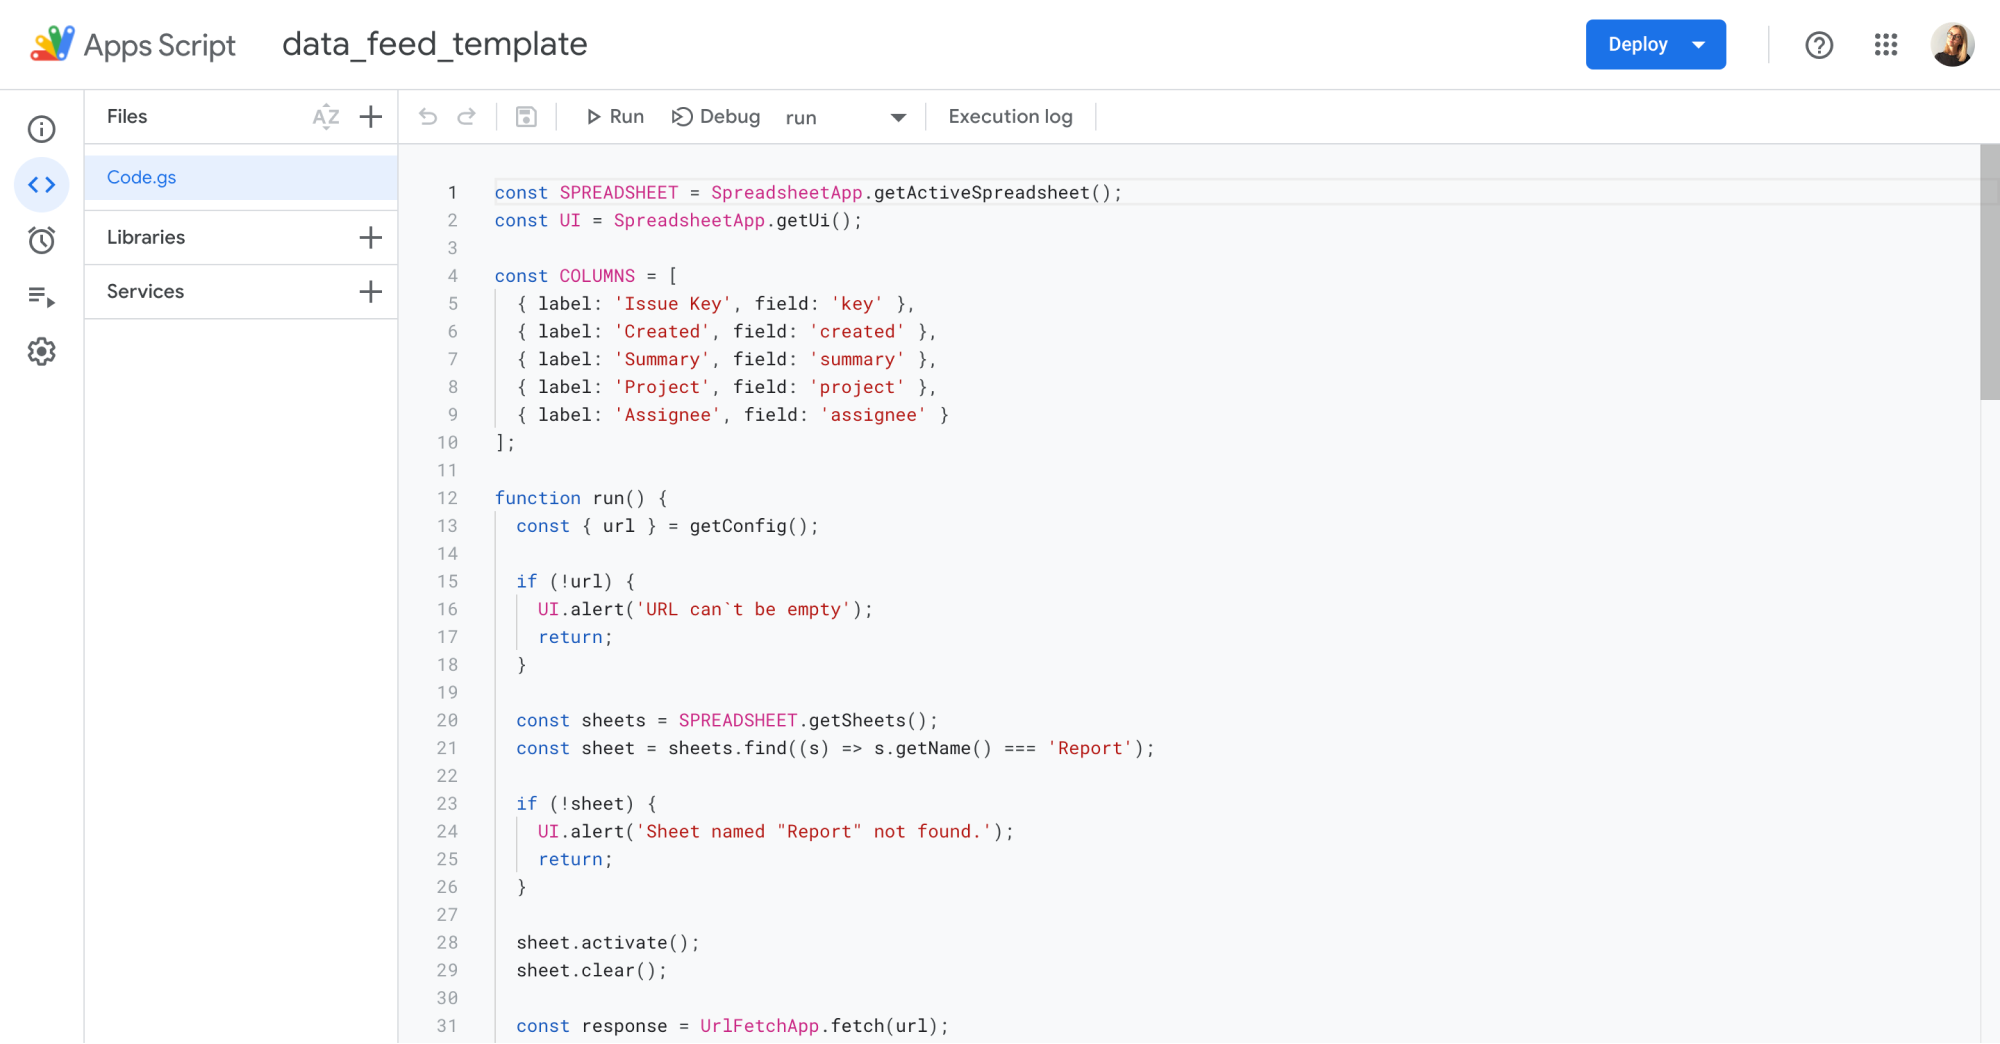
3. Deploy the Data Feed script as it’s shown below:
Click the Deploy button and choose New deployment from the drop-down list.
.png?inst-v=49ebad44-34d1-4646-828c-335c3eb4a389)
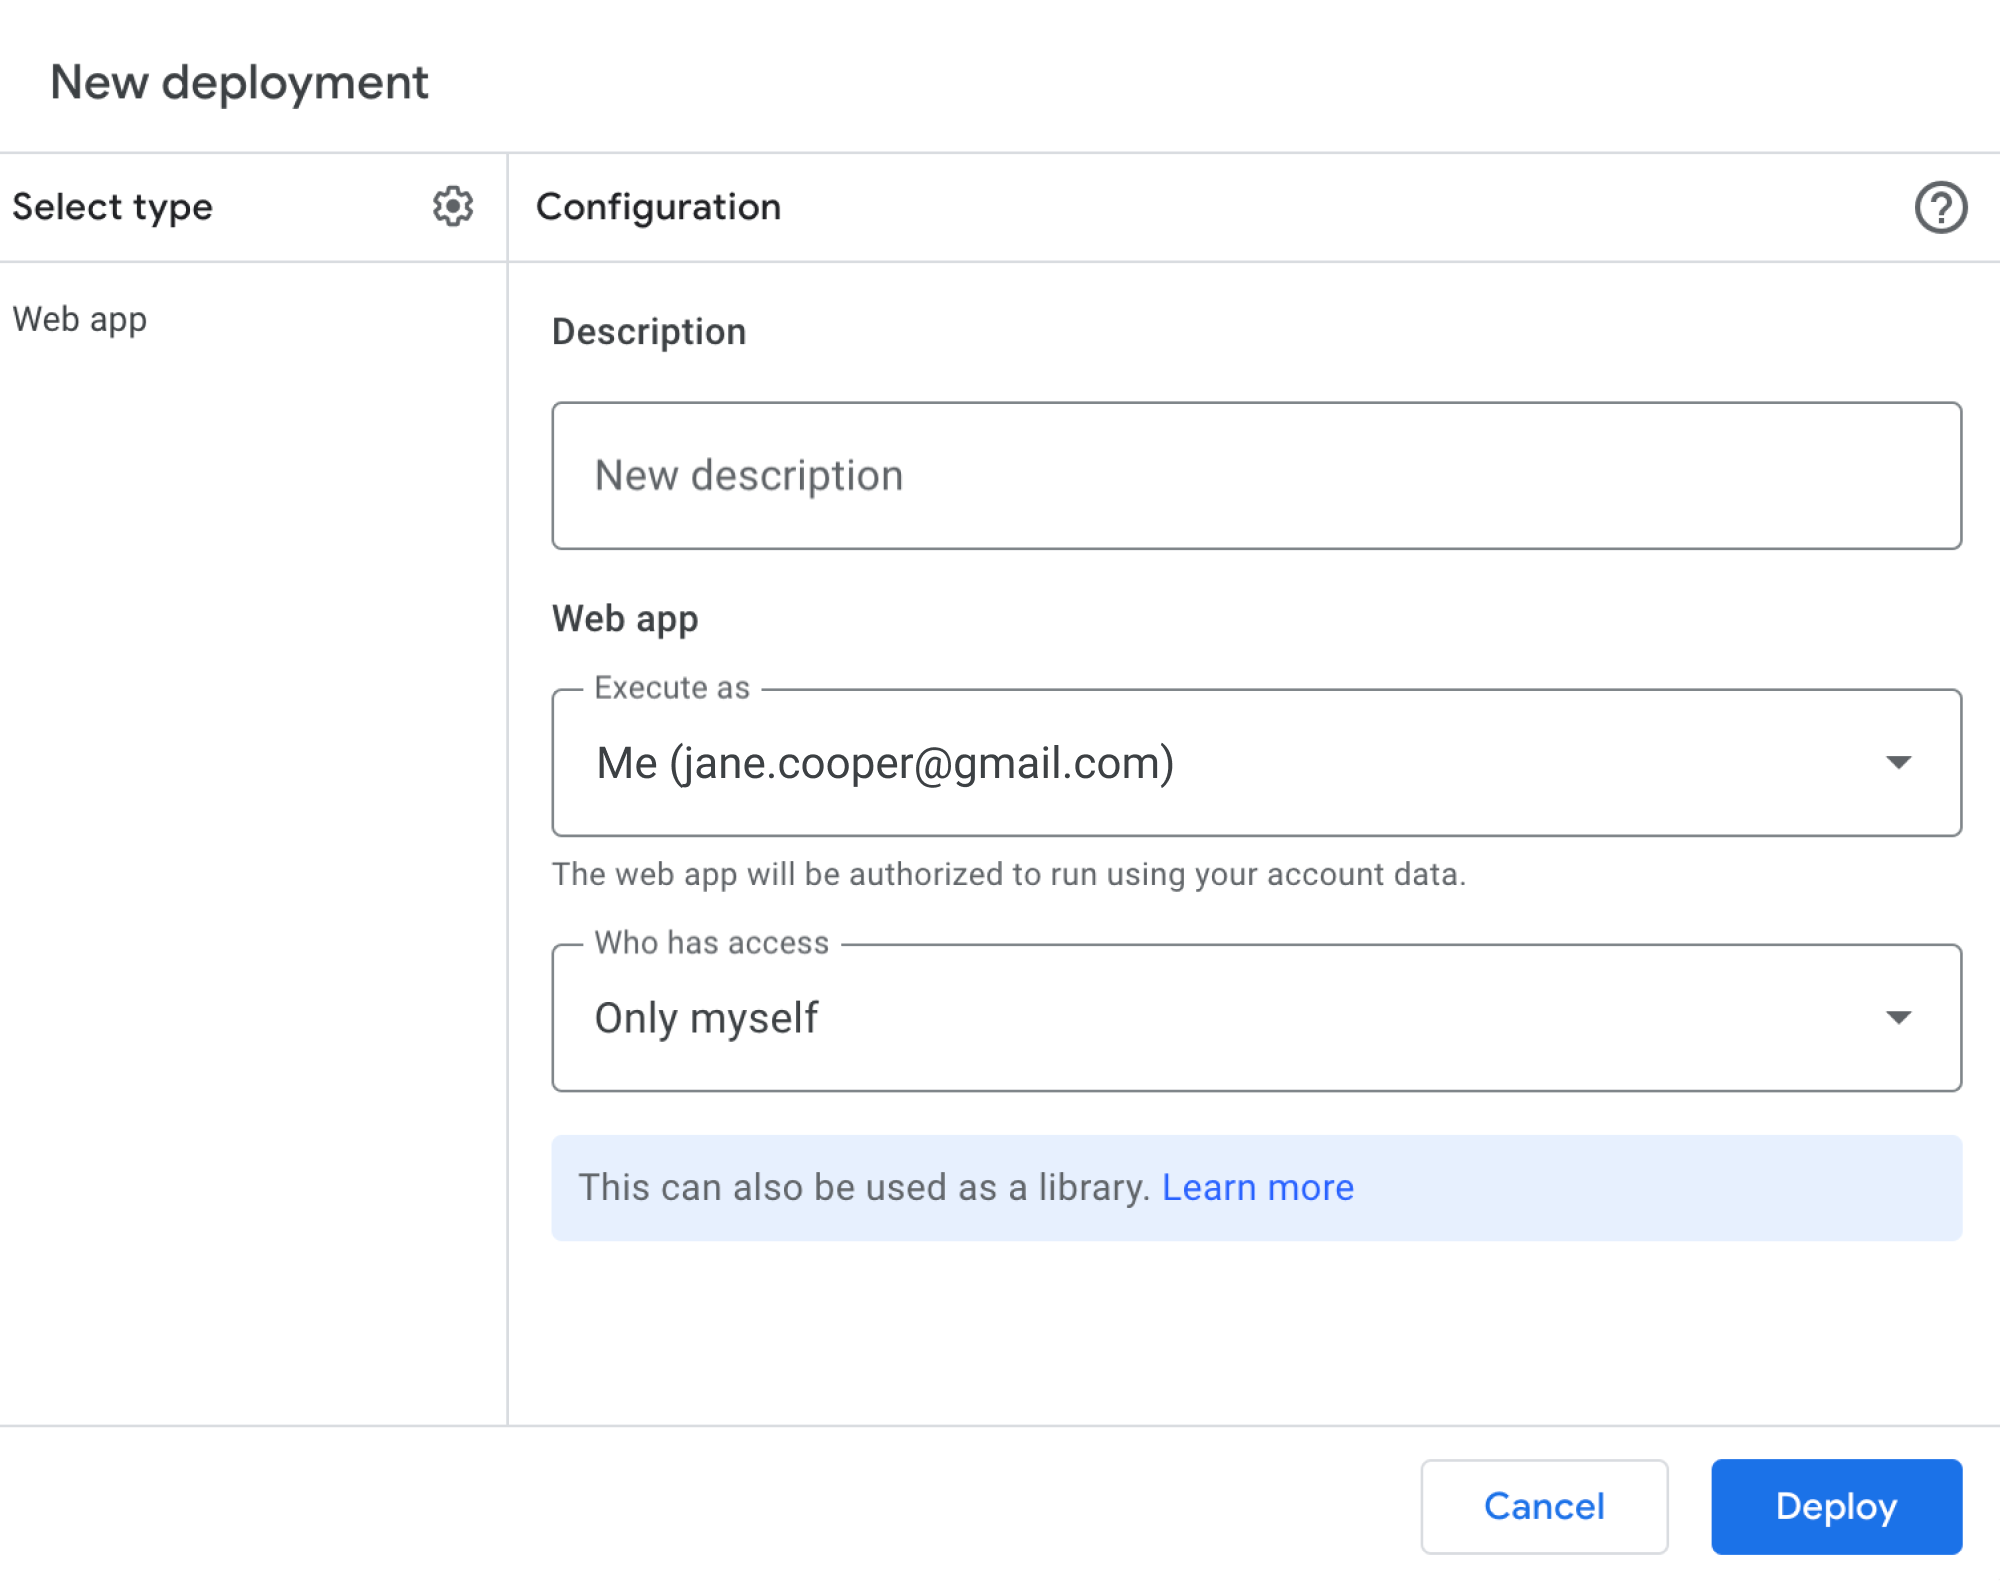
Check information in the Configuration pop-up and click the Deploy button.
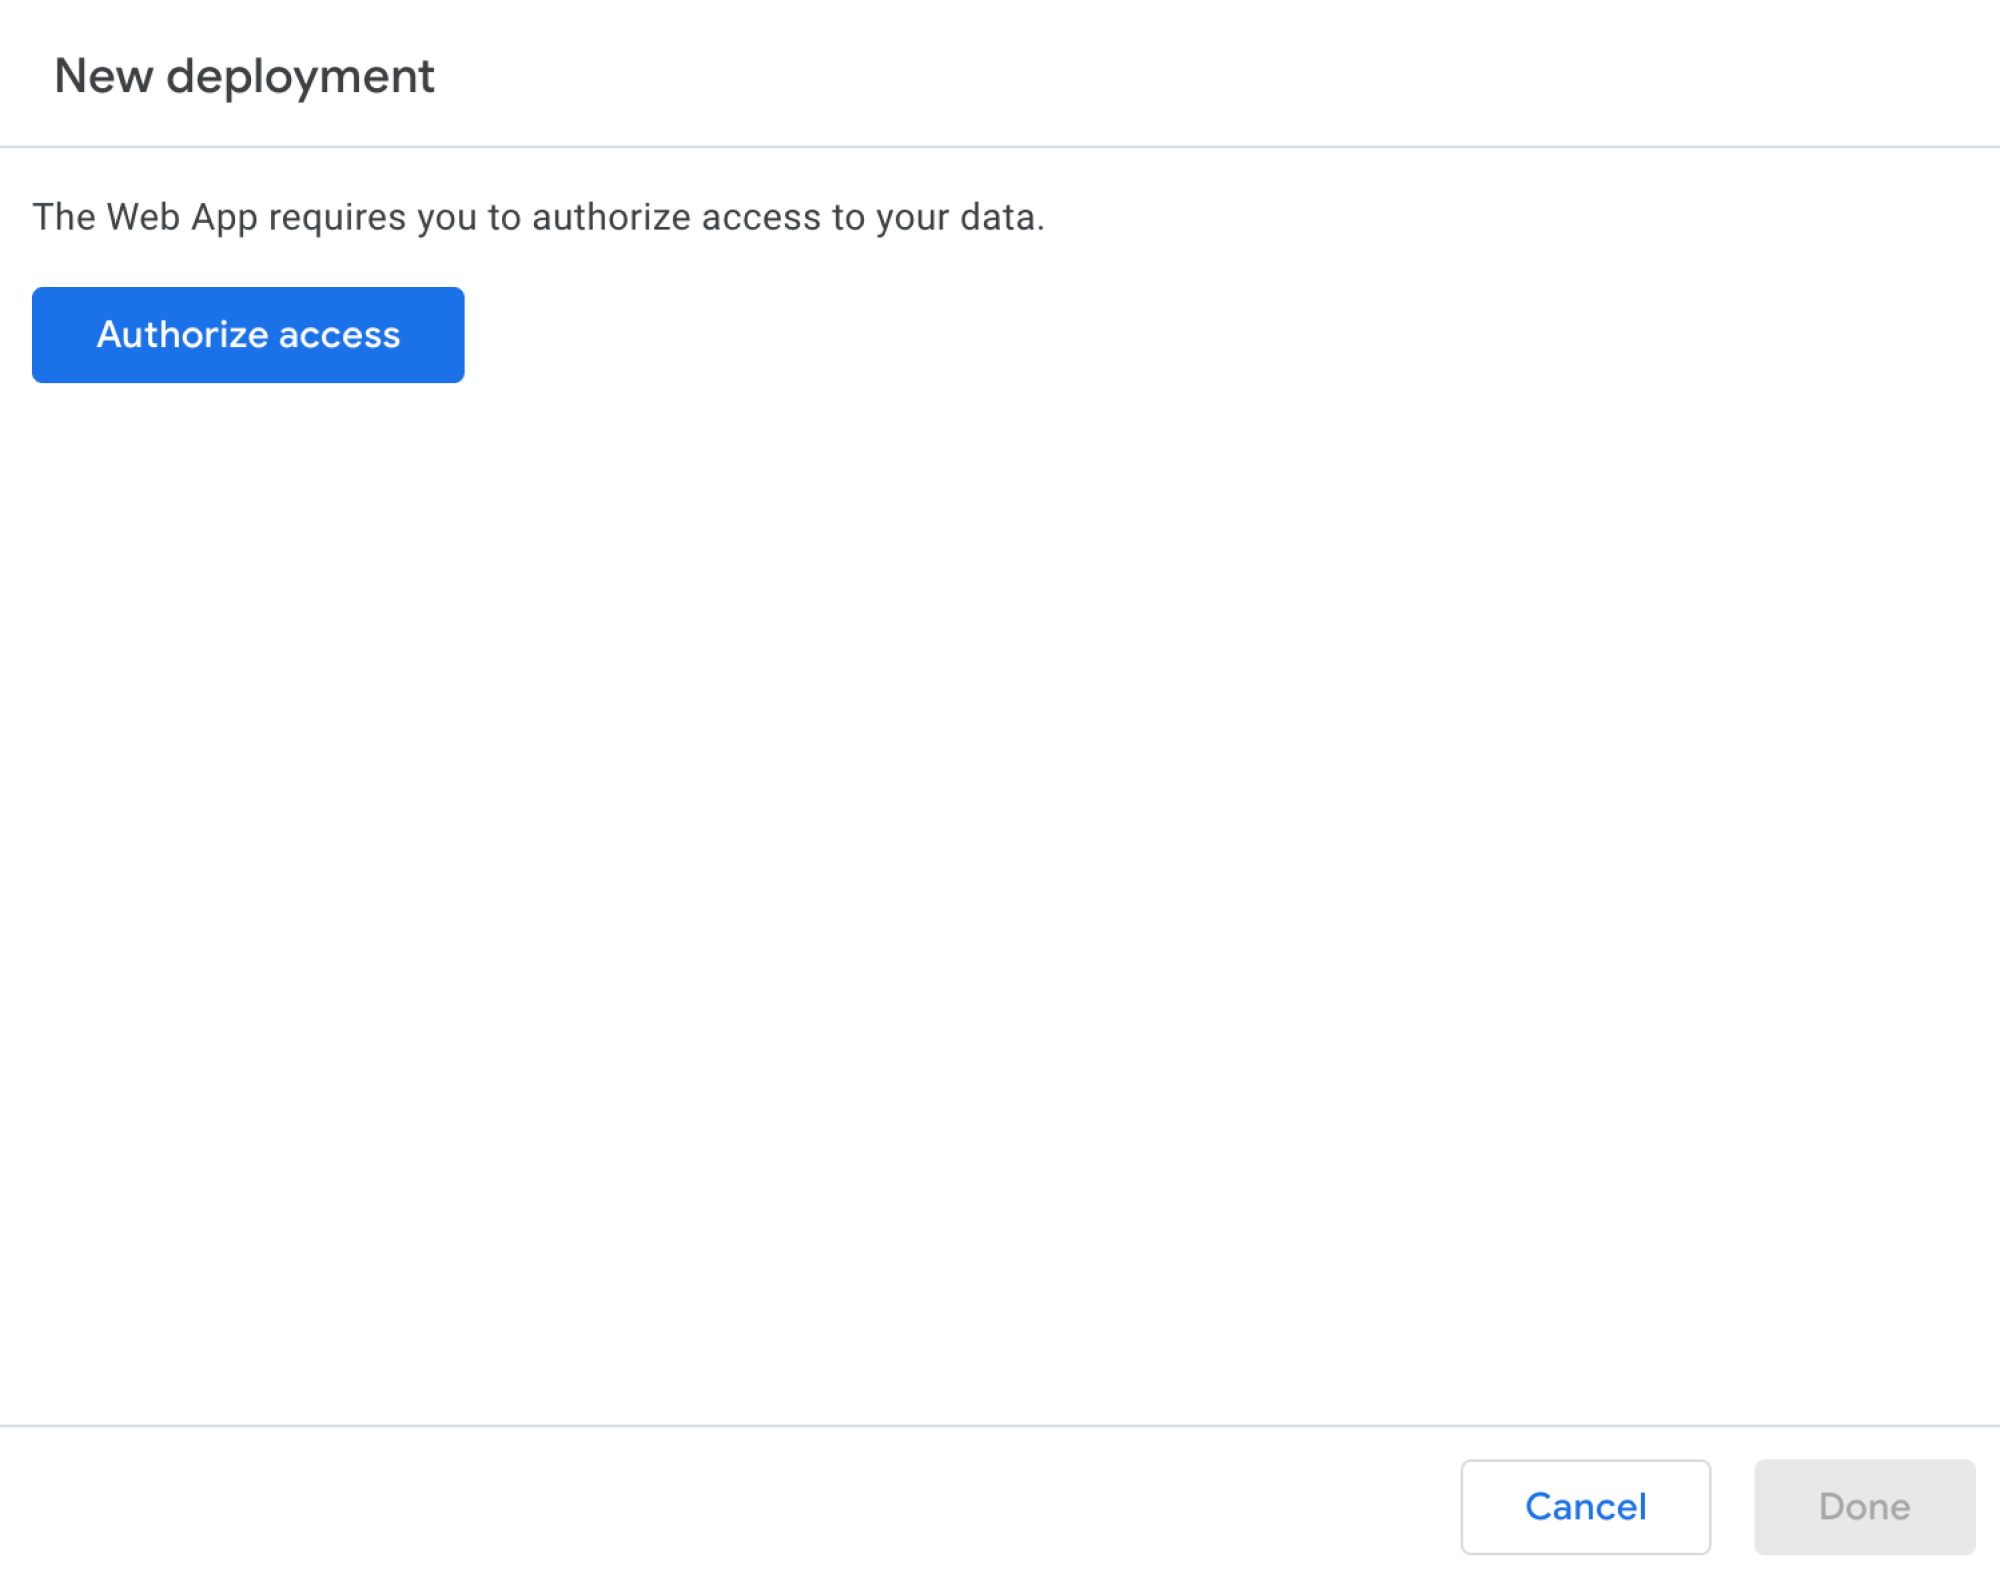
Authorize access to your data.
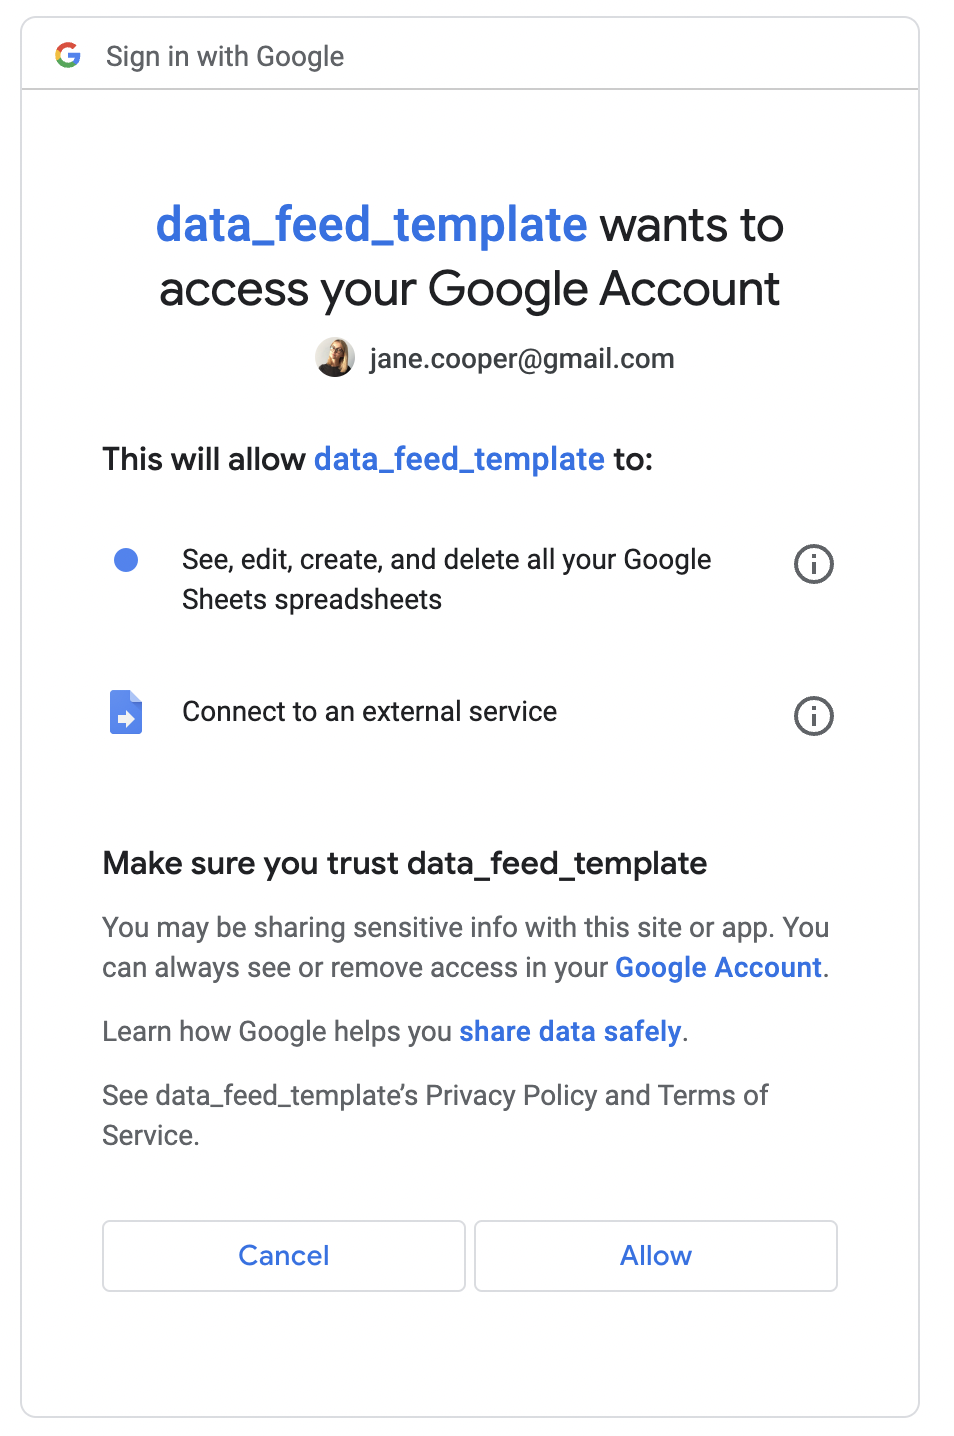
Click the Allow button.
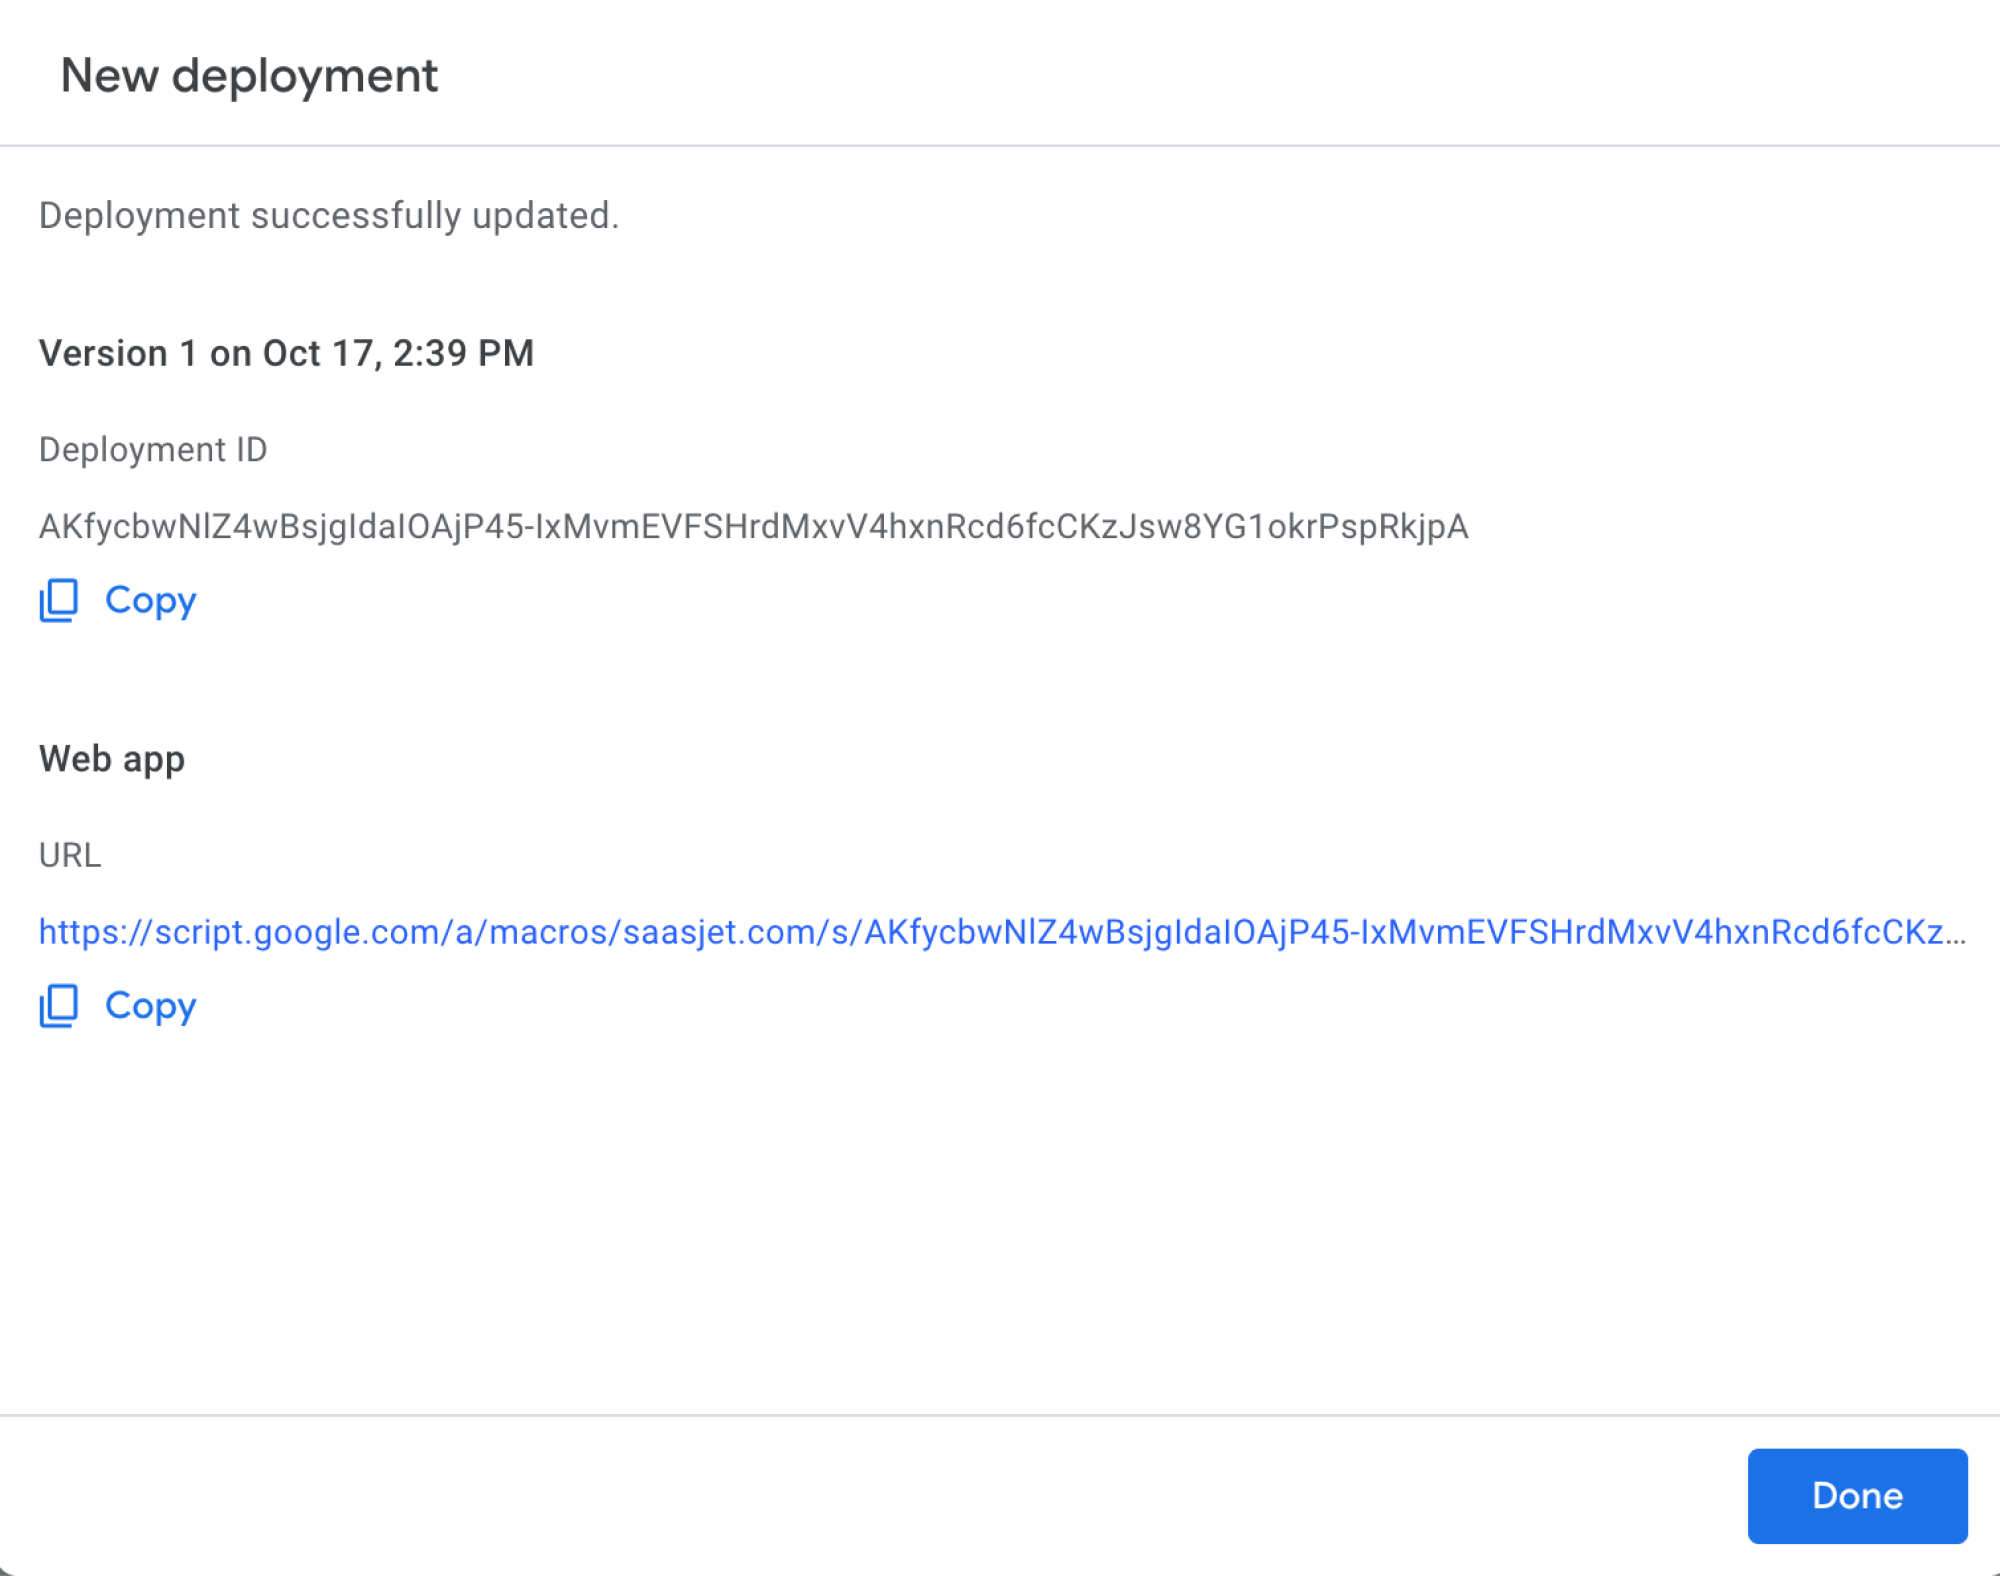
Click the Done button to finish the deployment.
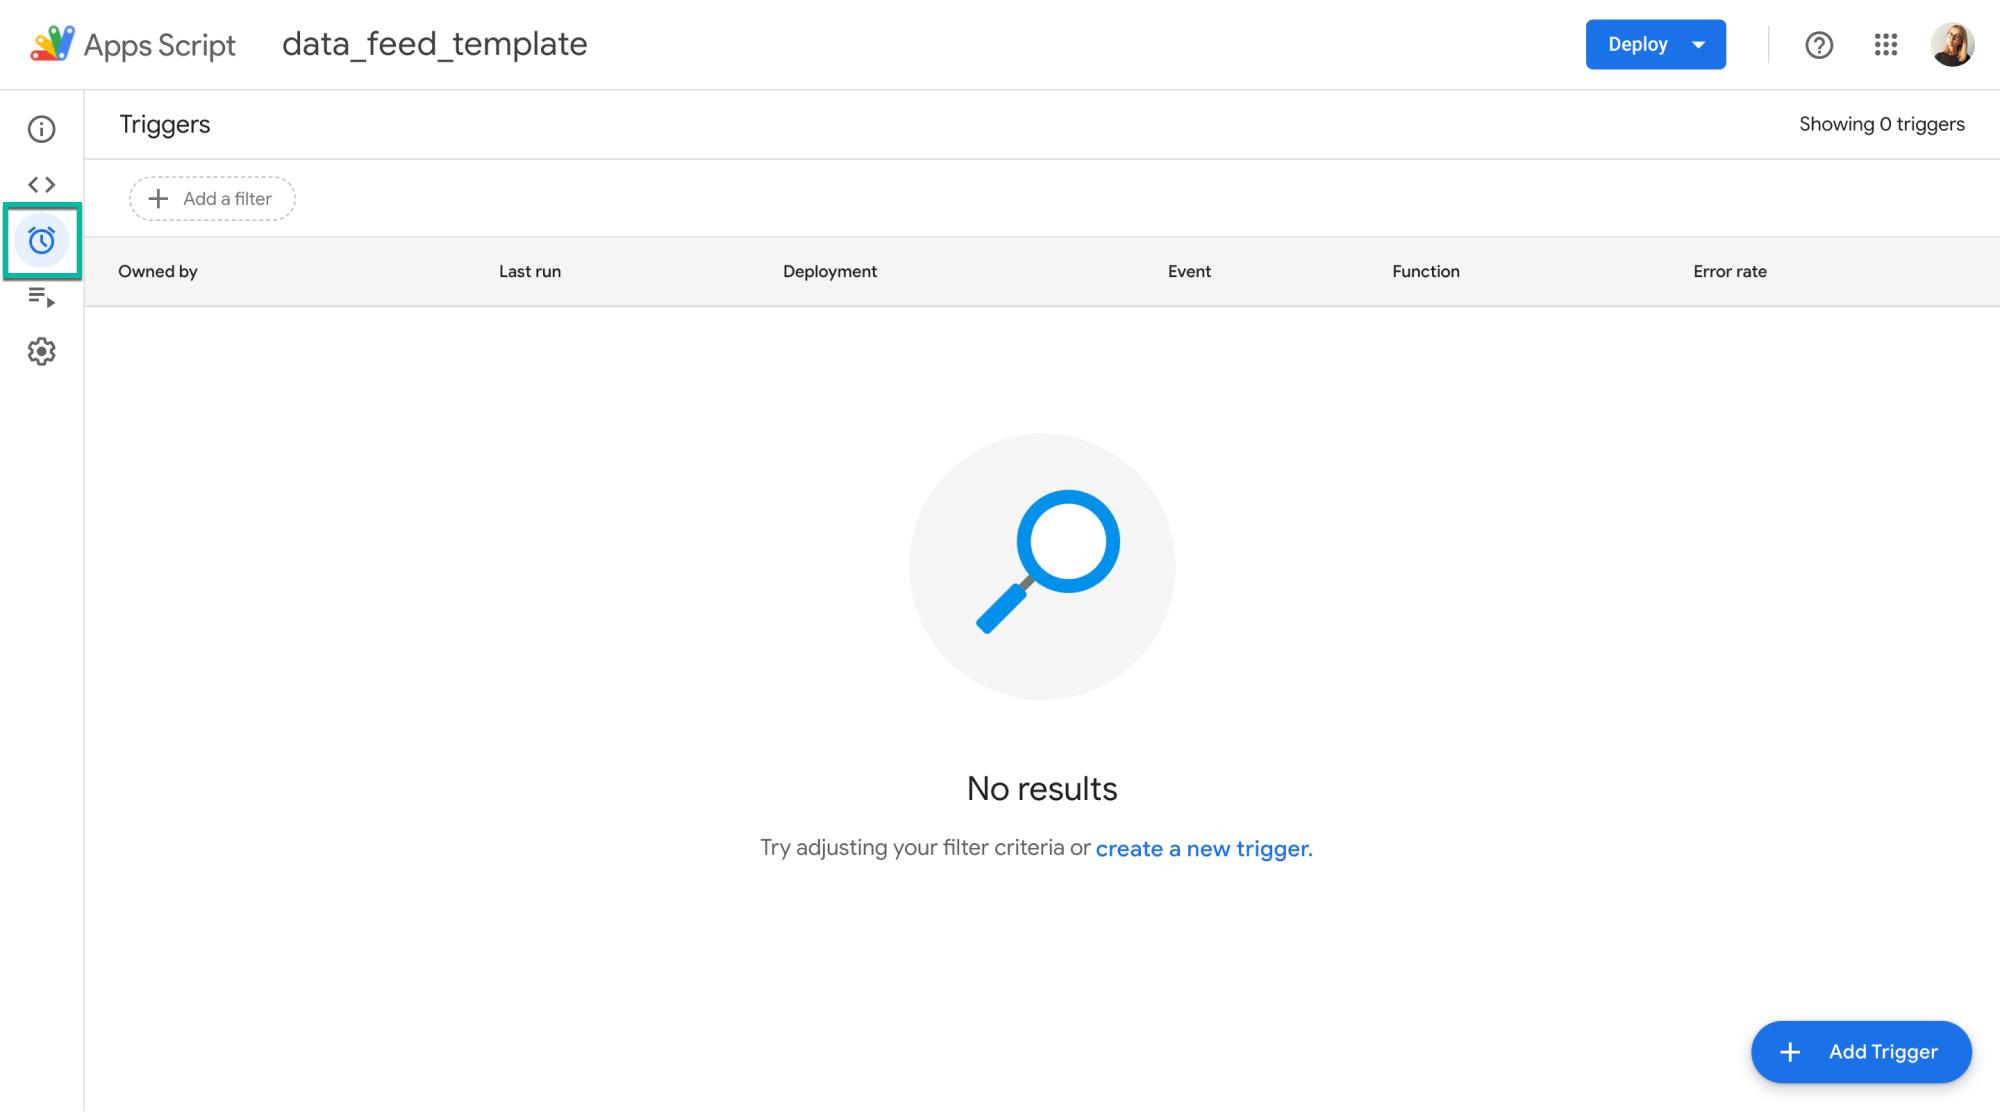
4. Add scheduling for updating results.
add trigger, (2 screen), 3 screen - result
Select the run function in the Choose which function to run the item and click the Save button.
Please note that the selected function must be exclusively run. Otherwise, you will receive an error, and the data from the app cannot be transferred to Google Spreadsheet.
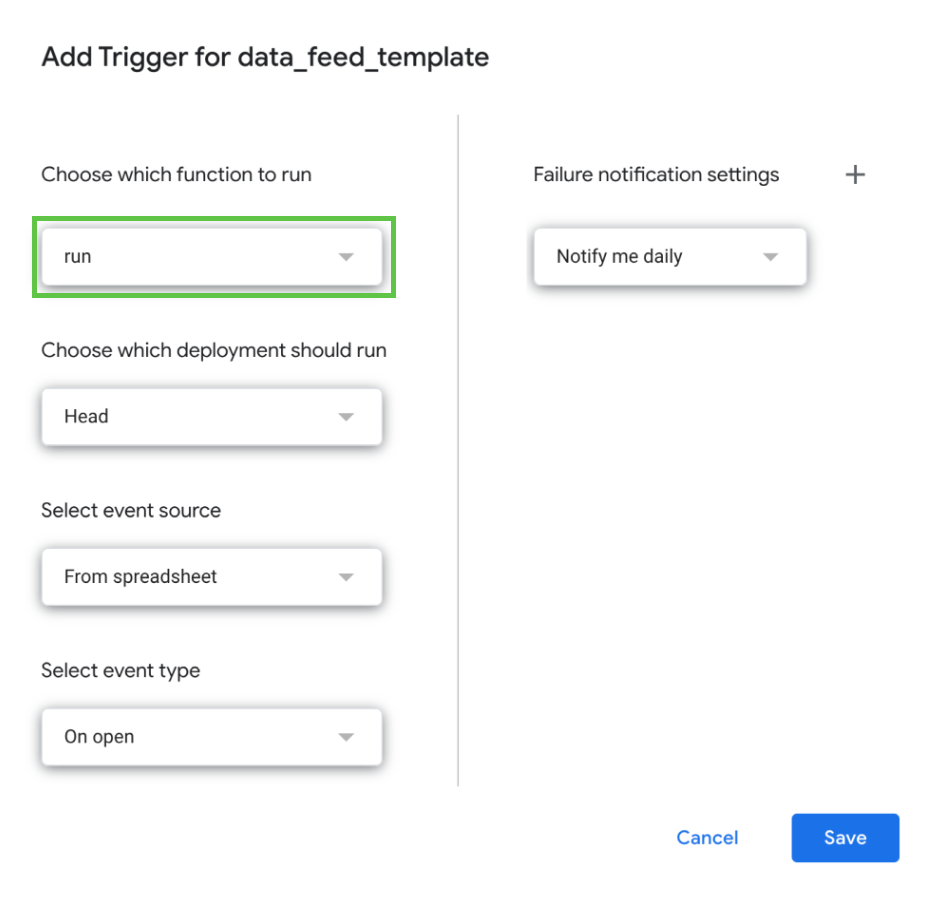
When you open the spreadsheet, the data will be updated.
You can select other options in the Select event source before updating the information if you need to.

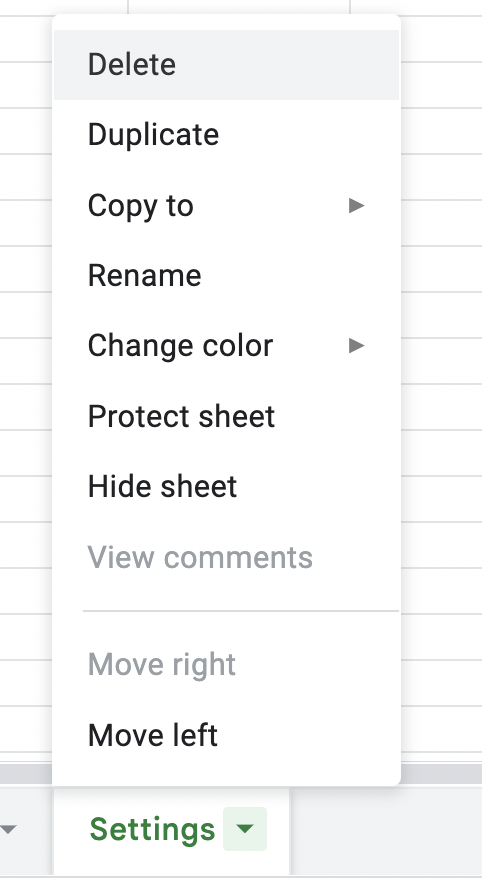
5. You should return to the document and delete the Settings tab.
6. Press F5 button or reload a page. When the page is loaded, you will see a pop-up where you need to insert the Data Feed link (the link that is generated in the add-on).
The JSON Data Feed link allows you to integrate Time in Status add-on data into third-party analytics or external systems. More info >> JSON Data Feed link
How to get the JSON Data Feed link?
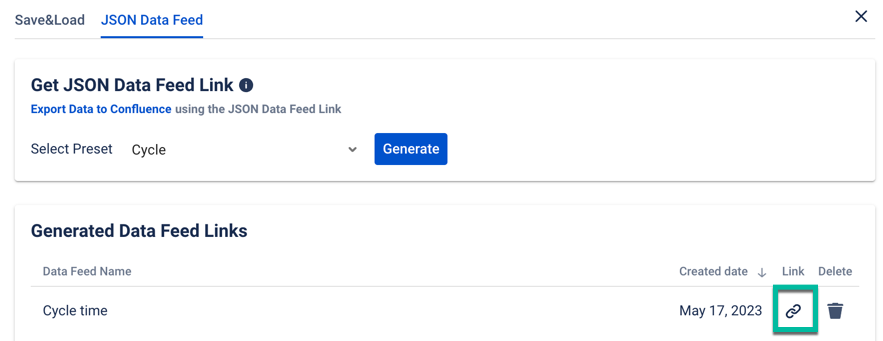
Go to the Time in the Status report, open the dropdown, and select Data Feed.

Select the Preset you want to receive as the JSON Data Feed link.
If you do not have any presets, go to the Save&Load tab and create your first preset. How to create a preset?
-20230531-121920.png?inst-v=49ebad44-34d1-4646-828c-335c3eb4a389)
Copy the generated link.
Insert the Data Feed link
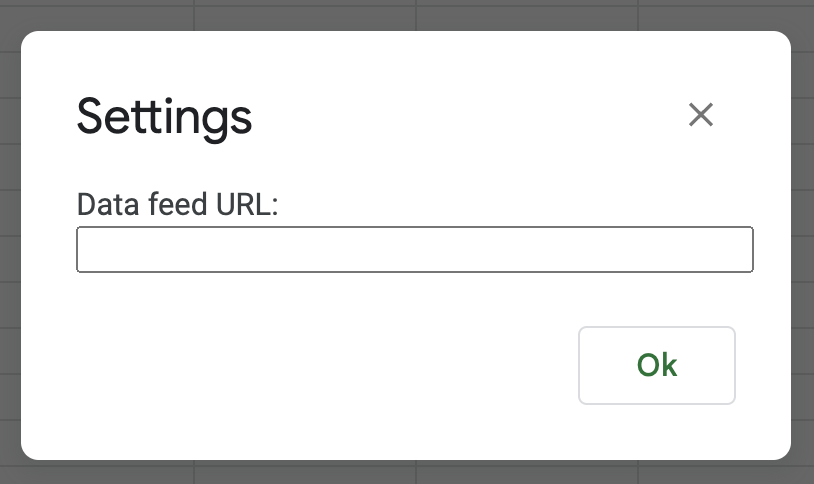
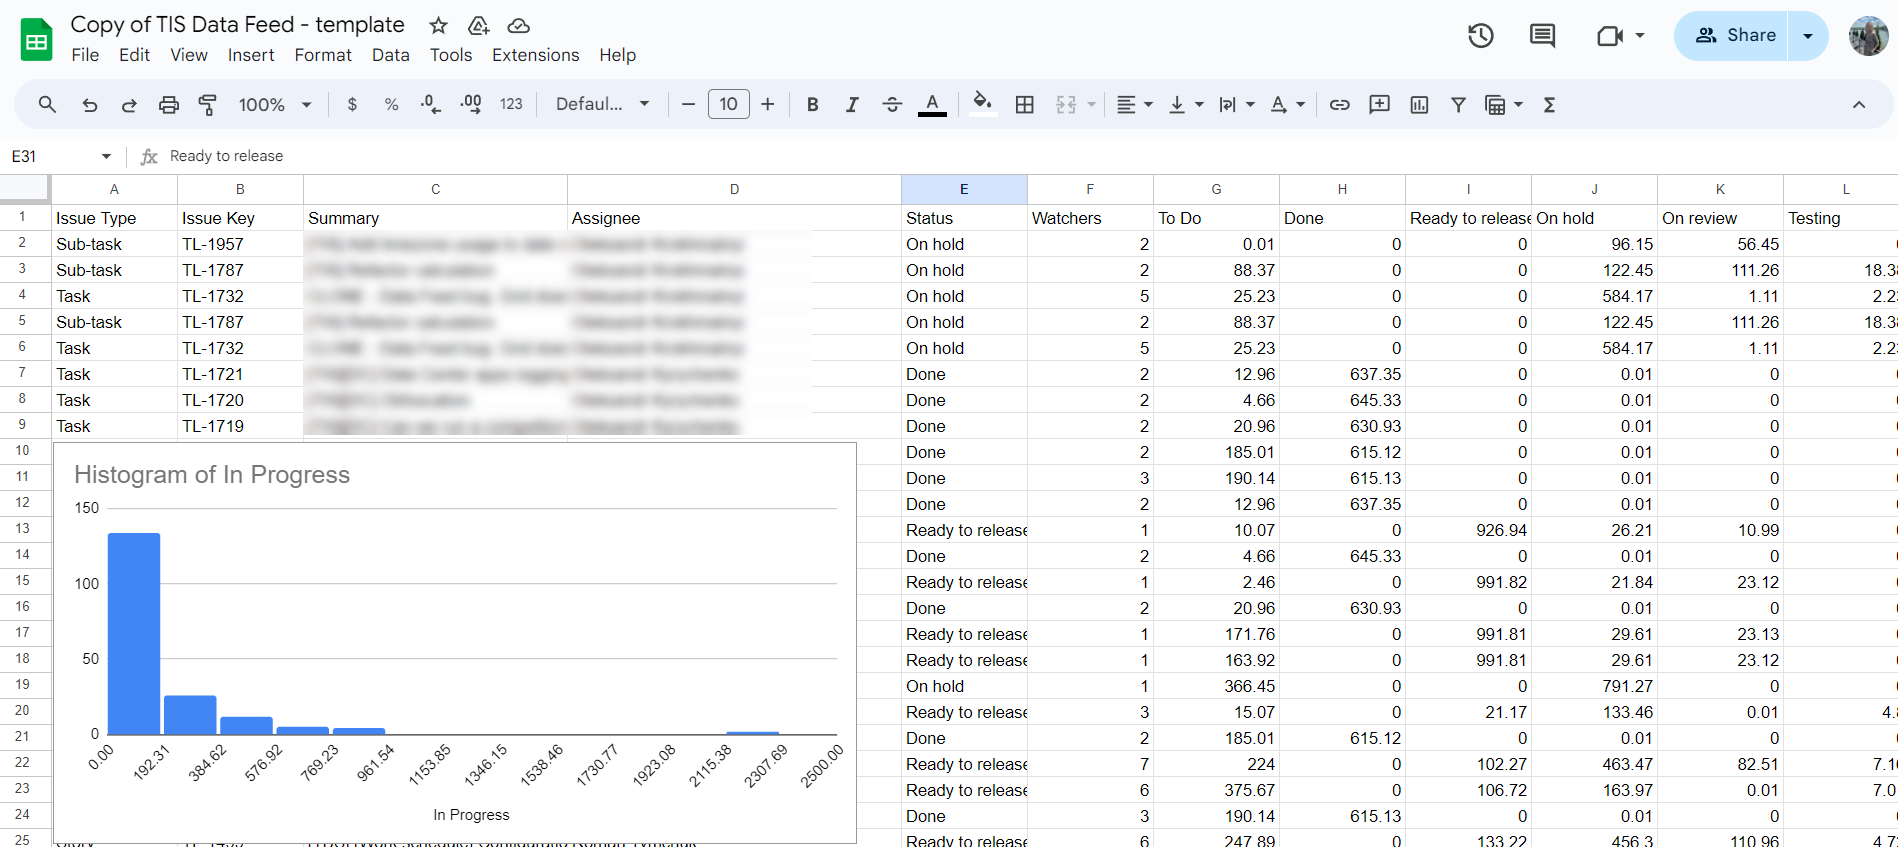
7. When you insert the link and press the Save button, the report will be loaded. Then, you can go to the Report tab in your document and get a result.
To change the link to the report, repeat steps 5 and 6.
If you need help or want to ask questions, please contact SaaSJet Support or email us at support@saasjet.atlassian.net
Haven't used this add-on yet? Try it now!