
Time Metrics Tracker | Time Between Statuses app measures the duration Jira work items spend transitioning between statuses. It helps teams understand transition speeds, analyze cycle and lead times, resolution time, and time to market. Users can customize the calculations, adjust for work schedules, and visualize where time is spent to improve efficiency.
Configurations
Find the installed Time Metrics Tracker app in the Jira sidebar and click it to open it.
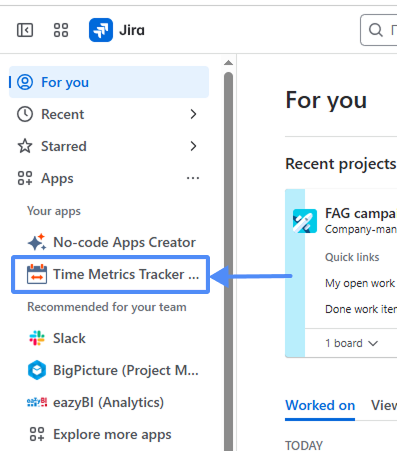
You can also open the app directly from a Jira space navigation.

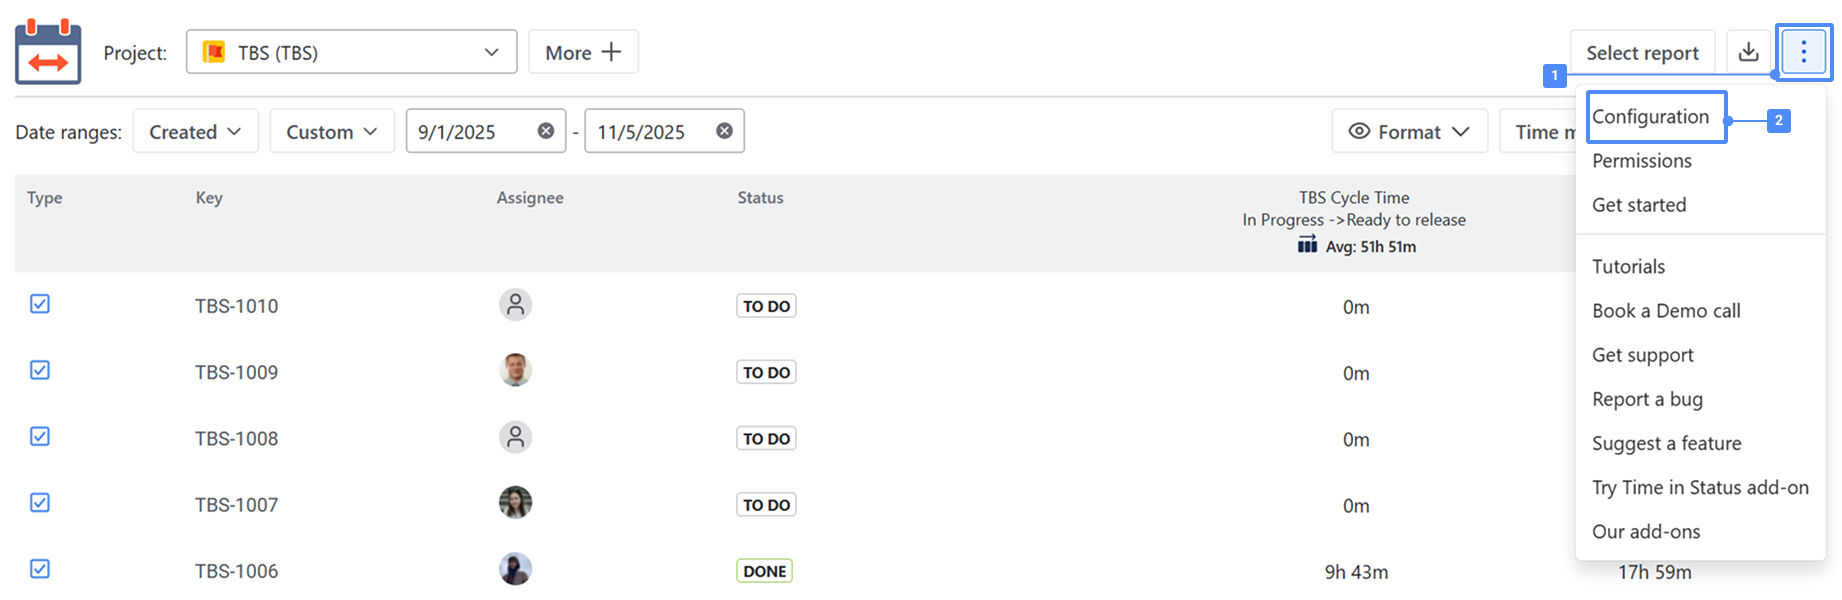
Click Configuration manager — this button can be found in two places:
1️⃣ In the top-right corner of the report screen:
Click the three-dots menu (⋯) and choose Configuration from the dropdown list.
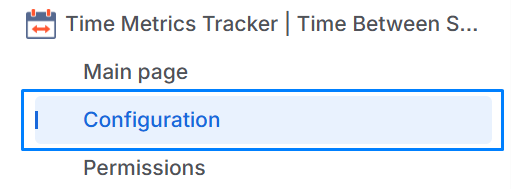
2️⃣ In the left sidebar, directly under the Time Metrics Tracker section of the app, the Configuration item is displayed in the navigation menu.
1. Manage Work Schedule
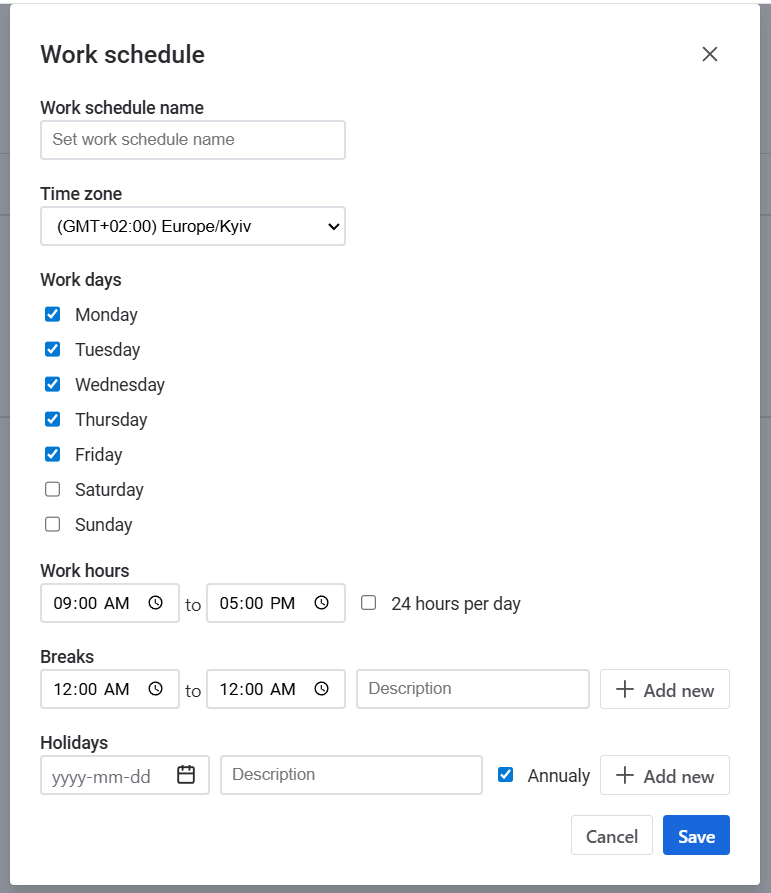
Click Work Schedule in the configuration manager to manage your team's work schedules.
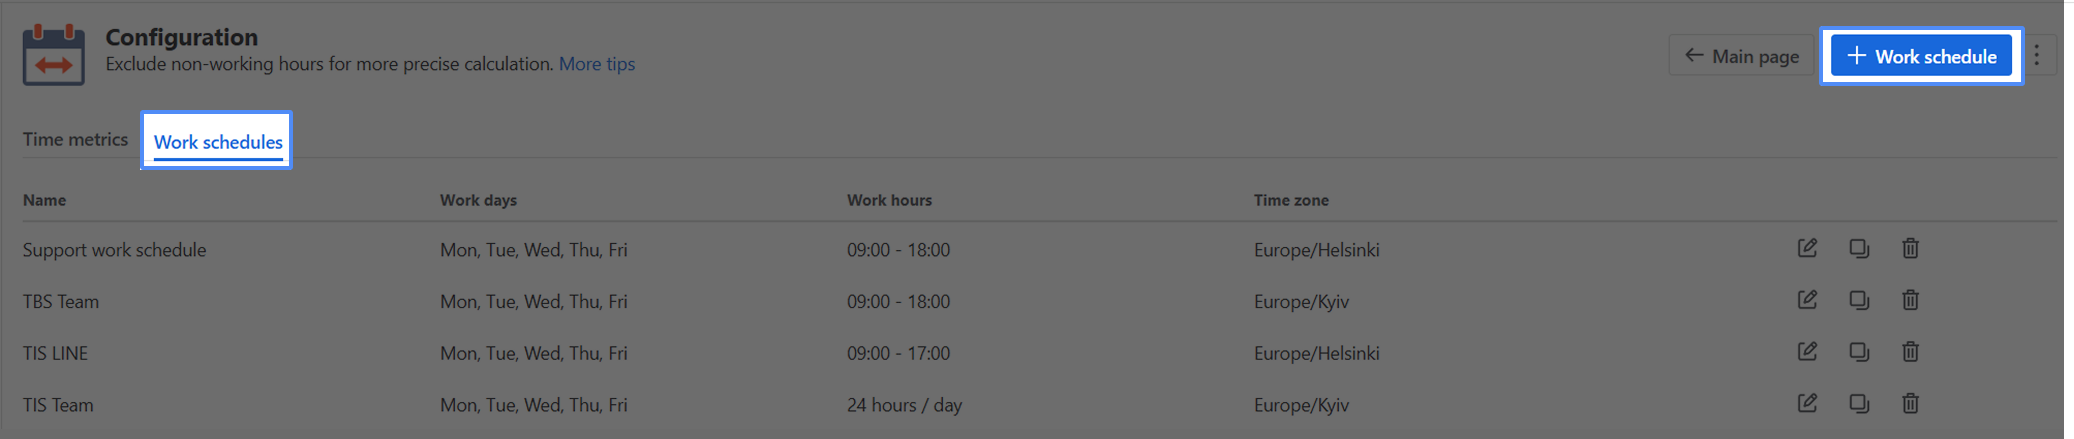
You can choose working days, time zone, working hours, breaks, and holidays.
The time that work items have spent between statuses will be calculated according to your work schedule settings.
2. Add a new Time metric
While you are in the configuration manager, you may add the Time metric as well.

After entering the Configuration menu, you can create and manage time metrics.
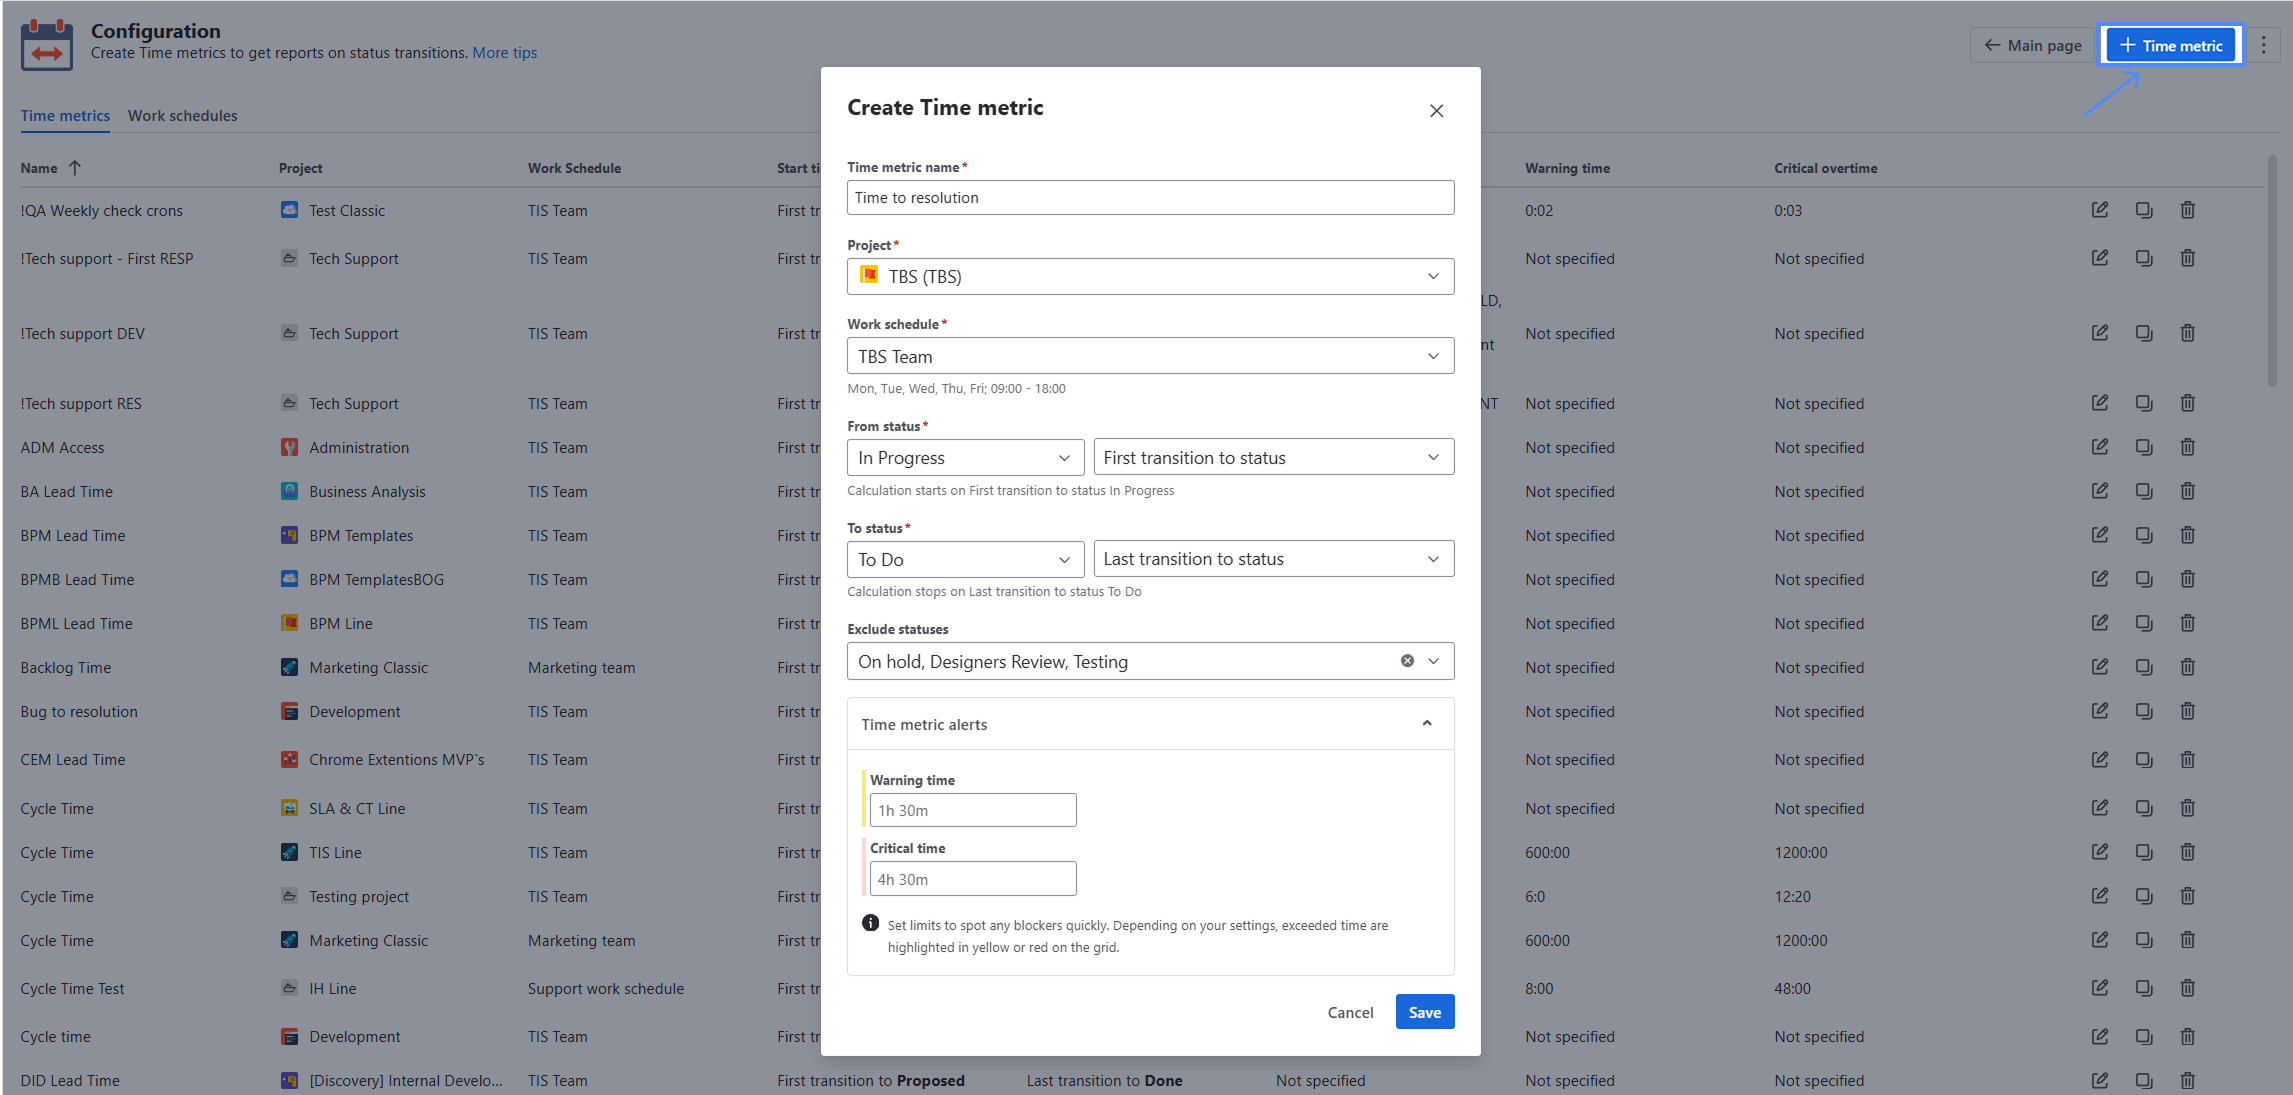
Select the required project and set the work schedule according to which the time metrics will be calculated. Next, set the necessary conditions for calculating the time metric by selecting the necessary transits from/to the status.
You can also choose a status at which the calculation should pause.
After customizing your calculation preferences, set the Warning and Critical time limits.
This feature will help you to get the visual color tagging on work items to notify you when the time limits have been exceeded:
Warning time limit - yellow
Critical time limit - red
.png?cb=de2f9cf0162165e76f84b5d6ed8a6d8c)
3. Choose a Time Format
The Format option lets you select the time format of status duration:
-
Minutes
-
Hours Minutes
-
Hours: Minutes
-
Days Hours Minutes
-
Decimal Weeks
-
Decimal Hours
-
Decimal Days
-
Business Decimal Weeks
-
Business Decimal Days
-
Business Days Hours Minutes
.png?cb=b2ccb9451f0f87b7b06992d8b37e3ef2)
All reports are available for export.
* Please note: To extract data for analysis, choose the Decimal Hours time format. This format enables us to perform calculations on the exported data and build charts.
If you need any help or have questions, please contact us at SaaSJet Support or via email support@saasjet.atlassian.net
Haven't used this app yet? Try it now! >>>