
Content: Overview › Dynamic References › Configuration Steps
Create personalized messages displayed to users after form submission to provide feedback, confirmation, direct access to their work item, and next steps for a smooth user experience.
Overview
The Customize Submission Message feature enhances user engagement by providing tailored post-submission messages. Use this feature to:
-
Thank respondents for their feedback
-
Provide further instructions or next steps
-
Share direct links to created work items
-
Reference submitted form data for personalization
Availability: Custom submission messages are available exclusively for forms that are shared externally or shared externally from the issue.
Dynamic References
You can include two types of dynamic content in your submission messages:
🎫 Work Item References (New!)
Reference the created Jira work item to give users immediate access to their ticket:
-
${workItemKey} or ${issueKey} – Displays the work item key (e.g., TP-189)
-
${workItemLink} or ${issueLink} – Provides a clickable link to the work item
Benefits:
✅ Users can immediately access their created ticket
✅ Reduces follow-up questions about ticket status
✅ Improves transparency and user confidence
📝 Form Element References
Reference user responses using form element keys (e.g., ${SLI-1}) to personalize messages based on their input:
-
Format: ${element-key} where element-key is the unique identifier (e.g., SLI-1, DD-2)
-
Works with most form elements (text inputs, dropdowns, radio buttons, checkboxes, dates, etc.)
Limitations:
-
❌ Not compatible with content elements, attachments, or consent checkboxes
-
❌ Empty or non-existent elements are excluded from the message
-
📋 Multiple selections display as comma-separated lists
🛠️ How to Configure Submission Messages
Step-by-step process:
1️⃣ Open your form – Create a new form or use an existing one.
2️⃣ Access Settings – Go to the Settings tab and click the Customize submission message button.
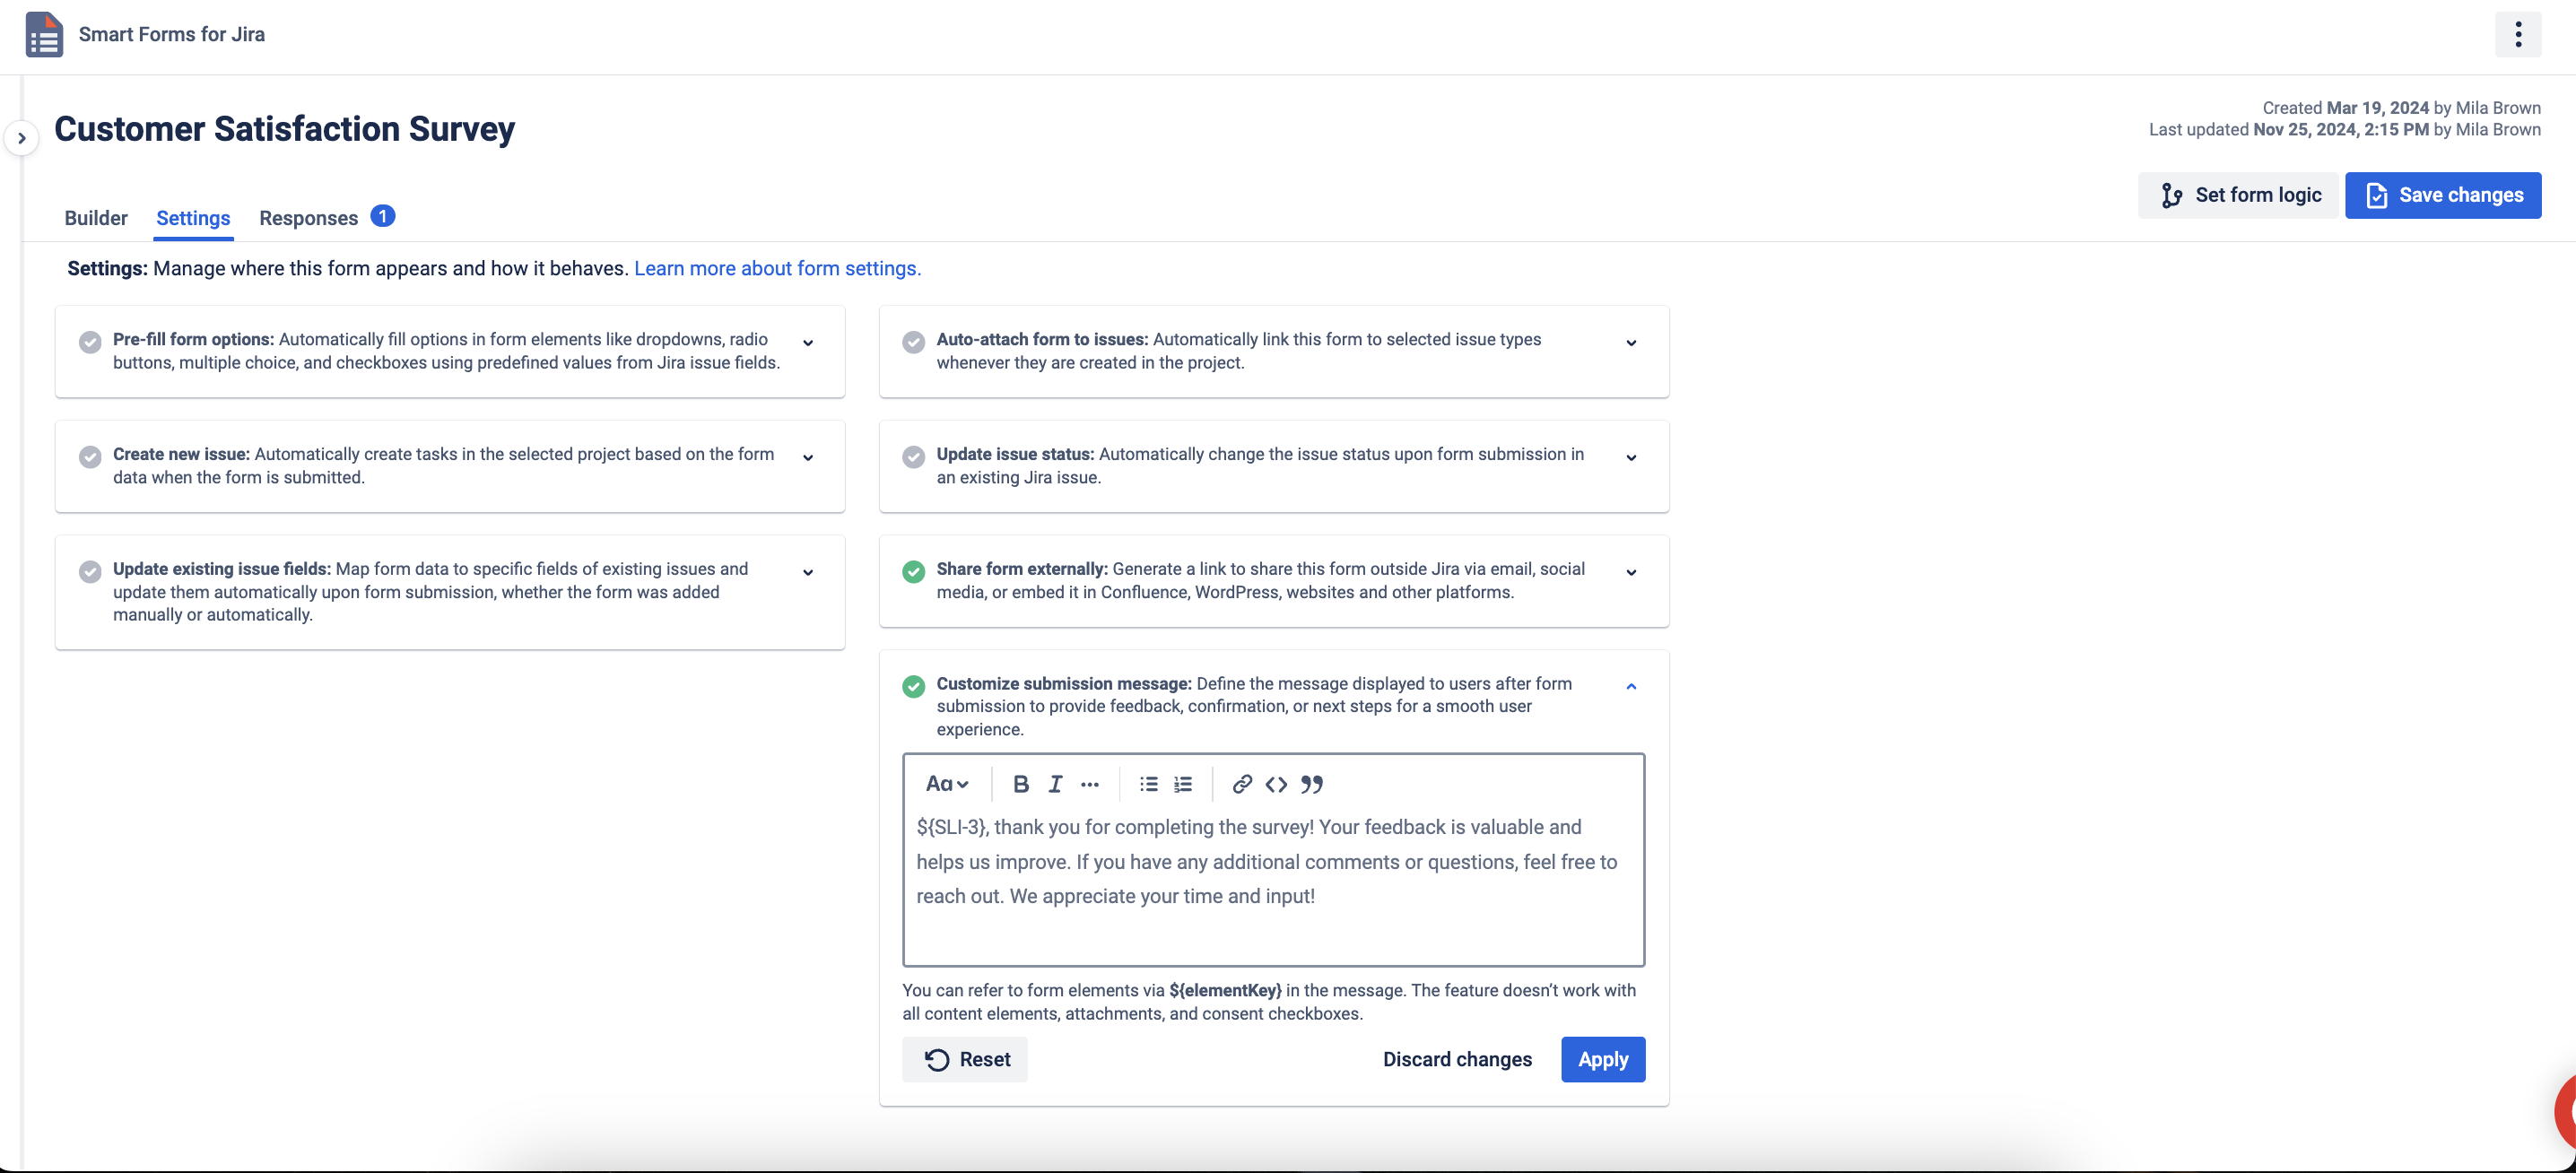
3️⃣ Write your message – Use the text editor to compose your message with:
-
${workItemKey} or ${issueKey} for the ticket number
-
${workItemLink} or ${issueLink} for a clickable link
-
${element-key} to reference form responses (e.g., ${SLI-1})
4️⃣ Share the form – Click the Share form button and generate a public URL.
5️⃣ Distribute – Copy and provide the URL to users who should fill and submit the form.
💡 Things to Keep in Mind
📋 Message Formatting – Use the rich text editor for bold, italic, lists, and links
🔗 Work Item Links – Only available when "Create new work item" is configured in form settings
🔤 Element Keys – Find element keys in the form builder (e.g., SLI-1, DD-2)
✏️ Text Editing – Messages support markdown-style formatting
🌐 External Forms Only – Custom messages only appear on externally shared forms
📌 Related Features
-
Create New Jira Work Item – Configure automatic work item creation from form submissions
-
Share Forms Externally – Learn how to share forms with non-Jira users
-
Form Appearance – Customize submit button text and form styling
Questions? Please, contact us through SaaSJet Support
If you haven't used this add-on yet, then try it now!